Flooring Install: Top 10 Proven Tips for a Perfect Finish
Make Your Flooring Install a Success
When starting on a flooring install project, it’s crucial to start off on the right foot. Whether you’re considering doing it yourself or hiring a professional, understanding the basics can save you time, money, and headaches. Below are key points to kickstart your journey:
- DIY vs. Professional: DIY can be cost-effective and satisfying but requires significant time and skill. Professional service offers expertise and efficiency but at a higher cost.
- Cost Considerations: Expect to pay between $2.50 and $13 per square foot for vinyl plank flooring, while hardwood could be pricier.
I’m Francisco Romero, owner of Romero Hardwood Floors Inc. With over 15 years of experience in flooring install, my team and I prioritize flawless execution and customer satisfaction. Allow me to guide you through the essentials of flooring installation, ensuring you get the best results for your home or commercial space.

Basic flooring install vocab:
– best flooring contractors near me
– floor companies
– flooring contractor near me
Preparing for Your Flooring Install
Choosing the Right Flooring Material
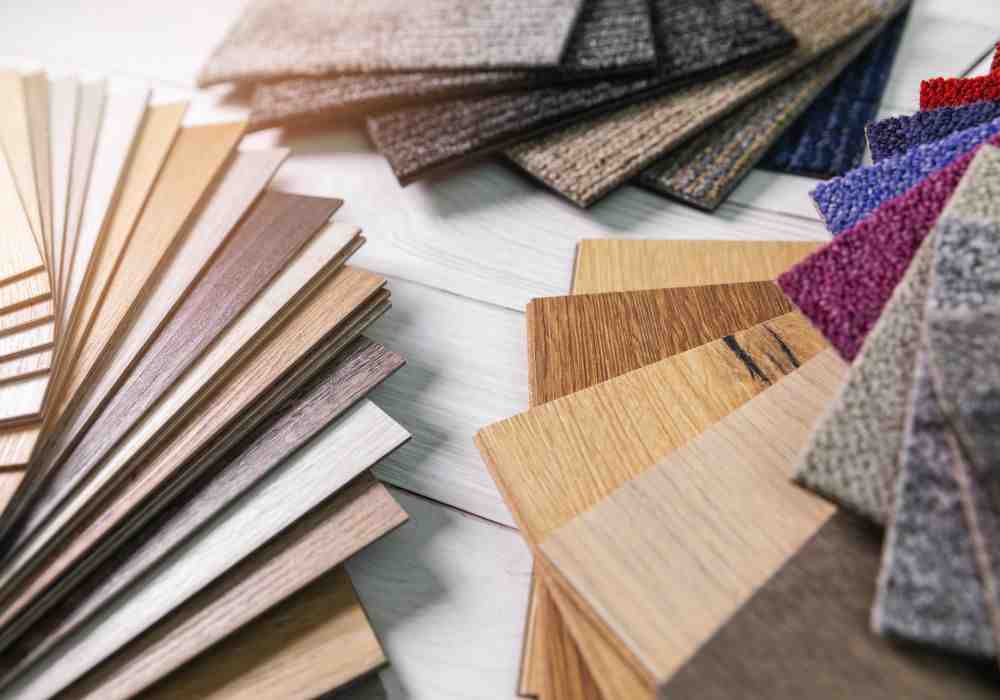
Selecting the right flooring material is a crucial step in your flooring install. Each type has its own benefits and costs, so it’s important to choose one that fits your needs and budget.
Laminate Flooring:
– Cost: $1 to $5 per square foot for plastic laminate, up to $12 for real wood laminate.
– Benefits: Durable, scratch-resistant, and available in various designs.
– Ideal For: High-traffic areas like living rooms and hallways.
Vinyl Plank Flooring:
– Cost: $2.50 to $13 per square foot.
– Benefits: Economical, water-resistant, and easy to install.
– Ideal For: Kitchens, bathrooms, and basements.
Hardwood Flooring:
– Cost: Higher than laminate and vinyl, but adds significant value to your home.
– Benefits: Timeless beauty, can be refinished multiple times.
– Ideal For: Living rooms and bedrooms.
Tools and Materials Checklist
Before you start your flooring install, make sure you have all the necessary tools and materials. Here’s a handy checklist:
Tools Required:
– Utility Knife: For cutting materials.
– Tape Measure: For accurate measurements.
– Straight Edge: To ensure straight cuts.
– Rubber Mallet: For tapping planks into place.
– Floor Tapping Block: To protect the edges of the planks.
– Pencil: For marking cuts.
– Multi-tool or Jamb Saw: For undercutting door casings.
– Circular Saw or Jigsaw: For cutting planks.
– Plank Flooring Cutter (optional): For quick, clean cuts.
Materials Needed:
– Flooring Material: Laminate, vinyl plank, or hardwood.
– Joint Spacers: To maintain expansion gaps.
– Adhesives (if required): For certain types of flooring.
– Underlayment: For added insulation and soundproofing.
– Safety Gear: Gloves, safety glasses, and knee pads.
Subfloor Preparation
A well-prepared subfloor is crucial for a successful flooring install. Here’s how to get your subfloor ready:
1. Assess the Subfloor:
– The subfloor must be level within 1/4-inch per 10 feet.
– Use a hammer to pound down protruding nails or screws.
– Scrape away any dried paint or debris.
2. Clean the Subfloor:
– Sweep and vacuum thoroughly to remove dust and debris.
– Ensure the subfloor is dry and free from moisture.
3. Check for Damages:
– Look for cracks or uneven surfaces and repair them.
– Address any moisture issues to prevent future problems.
Measuring and Planning
Accurate measurements and a solid plan are key to a smooth installation. Follow these steps:
1. Measure the Room:
– Measure the length and width of the room.
– Multiply these to get the square footage.
2. Plan the Layout:
– Decide the direction of the planks. Typically, they should run parallel to the longest wall.
– Dry-fit a few planks to see how they look and adjust if necessary.
3. Calculate Material Needs:
– Add 10% to your total square footage to account for waste and cuts.
– Ensure you have enough underlayment and adhesives if needed.

By choosing the right materials, gathering the necessary tools, and preparing your subfloor, you’re setting the stage for a successful flooring install. Up next, we’ll dive into the step-by-step guide to installing different types of flooring.
Step-by-Step Guide to Flooring Install
Installing Laminate Flooring
1. Dry-Fitting the Planks
Start by laying out a few planks without adhesives to see how they fit. This helps you visualize the final look and make any adjustments.
- Positioning: Place the first row of planks along the longest wall. Ensure the grooves face the room.
- Spacing: Use spacers to maintain a 1/4-inch gap from the wall for expansion.
2. Attaching the Planks
Once you’re satisfied with the dry-fit, it’s time to secure the planks.
- First Row: Attach the short sides of the planks by snapping the tongue into the groove.
- Subsequent Rows: Stagger the seams by starting each row with a plank cut to 1/3 or 2/3 of its length. Tap the planks into place using a tapping block and rubber mallet.
3. Finishing Touches
Complete your installation with these steps:
- End Cuts: Measure and cut the last plank in each row to fit.
- Trimming: Install baseboards to cover the expansion gaps.
- Cleanup: Remove any spacers and ensure the floor is clean.
Installing Vinyl Plank Flooring
1. Layout Planning
Begin by planning the layout to minimize waste and ensure a symmetrical design.
- Centering: Start from the center of the room and work outwards for balanced seams.
- Dry-Fitting: Lay out a few planks to confirm your pattern.
Depending on your vinyl type, you may need to apply adhesive.
- Self-Stick: Peel off the backing and press the planks firmly in place.
- Glue-Down: Spread adhesive with a trowel and lay the planks.
3. Seam Alignment
Proper seam alignment is crucial for a professional look.
- Snapping Planks: Align the tongue and groove and snap the planks together. Use a tapping block to ensure a tight fit.
- Staggering Joints: Like laminate, stagger the seams for stability.
4. Finishing Touches
- Trimming: Install floor trim around the room’s edges.
- Sealing: Apply sealant around moisture-prone areas like kitchens and bathrooms.
Installing Hardwood Flooring
1. Acclimation
Before installation, let the hardwood acclimate to the room’s temperature and humidity for 48-72 hours. This prevents warping.
2. Subfloor Preparation
Ensure the subfloor is clean, dry, and level. Address any irregularities to avoid future issues.
3. Nailing Techniques
Secure the hardwood planks using the right nailing techniques.
- First Row: Start with the groove side against the wall. Use a pneumatic nailer to secure the planks.
- Subsequent Rows: Continue nailing each row, ensuring the seams are staggered for stability.
4. Sanding and Finishing
After installing the planks, follow these steps for a smooth finish:
- Sanding: Sand the entire floor to achieve a uniform surface.
- Staining: Apply stain if desired to achieve the right color.
- Sealing: Finish with a protective sealant to improve durability.
By following these detailed steps, you can achieve a professional finish for your flooring install, whether you’re working with laminate, vinyl plank, or hardwood.
Next, we’ll explore some tips and tricks to ensure your installation looks top-notch and lasts for years.
Tips and Tricks for a Professional Finish
Maintaining Your New Floor
Avoiding Common Mistakes
Mistakes during a flooring install can lead to costly repairs and unsightly finishes. Here are some common pitfalls and how to avoid them:
- Skipping Subfloor Prep: Always ensure your subfloor is clean, dry, and level. Any irregularities can cause issues with the final installation.
- Incorrect Spacing: Use spacers to maintain a 1/4-inch expansion gap around the room’s perimeter. This prevents buckling as the floor expands and contracts.
- Improper Adhesive Use: For glue-down floors, apply adhesive evenly with the right trowel size. Too much or too little can cause planks to lift or shift.
Ensuring Even Spacing
Even spacing is crucial for both aesthetics and durability. Here’s how to ensure it:
- Stagger Seams: Stagger the seams in a 1/3 or 2/3 pattern. This adds stability and visual appeal.
- Use Spacers: Place spacers between the wall and the first row of planks. This keeps the gap consistent for expansion.
- Check Alignment: Regularly check that planks are aligned properly. Use a tapping block to snug them together without damaging edges.
Every room has unique challenges. Here’s how to handle common obstacles:
- Door Frames: Undercut door frames so the flooring slides underneath for a clean look.
- Irregular Walls: Use a contour gauge to trace and cut planks to fit around curves or uneven walls.
- Vents and Fixtures: Measure and cut precisely around vents and fixtures. Use a jigsaw for detailed cuts.
Cleaning Tips
Proper cleaning extends the life of your new floor:
- Regular Sweeping: Sweep daily with a soft-bristle broom to remove dirt and prevent scratches.
- Damp Mopping: Mop with a damp (not wet) mop and a cleaner designed for your flooring type. Avoid excessive water.
- Immediate Spill Cleanup: Blot spills immediately to prevent water damage and stains.
Repair Advice
Even with the best care, accidents happen. Here’s how to tackle common repairs:
- Scratches: Use a touch-up kit or a wax stick that matches your floor color. For deeper scratches, lightly sand and reapply finish.
- Loose Planks: If a plank becomes loose, reapply adhesive or use finishing nails to secure it.
- Water Damage: For minor water damage, dry the area thoroughly. For severe damage, replace the affected planks.
Long-Term Care
Keep your floor looking new with these long-term care tips:
- Use Felt Pads: Place felt pads under furniture legs to prevent scratches.
- Avoid High Heels: High heels can dent floors. Encourage guests to remove shoes.
- Rugs and Mats: Use rugs in high-traffic areas and mats at entryways to catch dirt and moisture.
By following these tips and tricks, you’ll ensure your flooring install looks professional and lasts for years. Next, we’ll address some frequently asked questions to help you steer your flooring project with confidence.
Frequently Asked Questions about Flooring Install
How Much Does It Cost to Install 1000 Square Feet of Flooring?
The cost of installing 1,000 square feet of flooring varies greatly depending on the type of material you choose and the complexity of the installation.
Here’s a breakdown of average costs:
- Hardwood: Installing hardwood can range from $7,000 to $23,000. This includes both materials and labor, with prices varying based on the type of wood and installation complexity.
- Vinyl: Vinyl flooring is more budget-friendly, typically costing between $3,000 and $7,000 for 1,000 square feet.
- Laminate: Expect to pay around $3,000 to $10,000 for laminate flooring, which offers the look of wood at a lower cost.
- Ceramic Tile: This is a labor-intensive option, costing between $6,000 to $20,000.
Remember to factor in additional costs like removing old flooring and preparing the subfloor. These can add to the total price.
Can I Install Flooring Myself?
DIY flooring installation can save you money on labor, but it’s not for everyone. Here are some things to consider:
DIY Feasibility
- Skill Level: If you’re handy and have experience with DIY projects, you might be able to handle a flooring install. However, complex materials like hardwood or tile may require professional skills.
- Tools Required: You’ll need various tools, such as a saw, tape measure, spacers, and adhesive. Renting or buying these can add to your costs.
- Time Investment: Installing flooring yourself can be time-consuming. A professional might complete a job in a few days that could take you a week or more.
Pros of DIY Installation
- Cost Savings: You save on labor costs, which can be significant.
- Flexibility: Work at your own pace and on your schedule.
Cons of DIY Installation
- No Warranties: If something goes wrong, you’re responsible for repairs.
- Potential Mistakes: Errors can lead to costly fixes and a less-than-professional finish.
How Do I Choose the Right Flooring Installer?
Choosing the right flooring installer is crucial for a successful project. Here’s what to look for:
Certifications and Training
- Certifications: Look for installers with certifications from recognized organizations. This ensures they have undergone proper training.
- Experience: Ask about their experience with your specific type of flooring. An experienced installer is more likely to deliver quality work.
Reviews and References
- Customer Reviews: Check online reviews and ratings to see what past clients say about their work.
- References: Ask the installer for references. Speaking to previous clients can give you insight into their reliability and quality.
Warranties and Guarantees
- Warranty on Labor: A good installer will offer a warranty on their work, giving you peace of mind.
- Material Warranties: Ensure they use materials with good warranties. This protects you in case of defects.
Cost and Estimates
- Detailed Estimates: Get detailed written estimates from multiple installers. This helps you compare costs and understand what’s included.
- Transparency: A reputable installer will be transparent about their pricing and any additional costs that might arise.
By considering these factors, you can choose a flooring installer who will provide quality work and a smooth installation process.
Next, we’ll dig into the conclusion, summarizing the benefits of professional installation and how it can improve your property value.
Conclusion
When it comes to changing your home with new flooring, partnering with Romero Hardwood Floors Inc is a smart choice. Based in Revere, MA, we specialize in hardwood flooring installation and services for both residential and commercial properties. Established in 2006, we have built a reputation for competitive pricing, punctuality, and guaranteed workmanship. Here are some benefits of professional installation and how it can improve your property value.
Benefits of Professional Installation
Expertise and Precision
Hiring professionals like us ensures that your flooring install is done right the first time. Our team has the skills and experience to handle any type of flooring, from hardwood to laminate. We follow industry standards to ensure a flawless finish, which is crucial for the longevity and beauty of your floors.
Time and Cost Efficiency
While DIY projects can be tempting, they often take longer and may lead to costly mistakes. With professional installation, you save time and avoid potential errors. We come equipped with all necessary tools and materials, streamlining the process and reducing overall costs.
Warranties and Peace of Mind
One of the biggest advantages of hiring professionals is the warranty on labor. At Romero Hardwood Floors Inc, we stand by our work, offering warranties that give you peace of mind. If any issues arise post-installation, we are here to address them promptly.
Enhancing Property Value
Increased Home Value
New flooring can significantly boost your home’s market value. Hardwood floors, in particular, are a timeless choice that appeals to potential buyers. According to Forbes, installing hardwood flooring is one of the best upgrades you can make to your home, offering a high return on investment.
Improved Aesthetics
A new floor can transform the look and feel of your home. Whether you opt for the classic elegance of hardwood or the modern appeal of vinyl planks, new flooring improves your home’s decor and creates a welcoming environment.
Durability and Longevity
Professional installation ensures that your new floors are not only beautiful but also durable. With proper care, hardwood floors can last for generations, making them a long-term investment in your home’s beauty and functionality.
For a flooring solution that combines beauty, durability, and expert installation, look no further than Romero Hardwood Floors Inc. Contact us today for your FREE estimate and start the journey to transform your home with floors that offer both style and substance.
