Wood Floor Repair: 5 Expert Tips for Perfect Results
Wood Floor Repair is essential for maintaining the beauty and longevity of your floors, especially in busy areas like Revere, MA. If you’re dealing with scratches, stains, or water damage, understanding the right repair techniques can revive your floor’s luster and save you from expensive replacements. Here’s a quick overview to get you started:
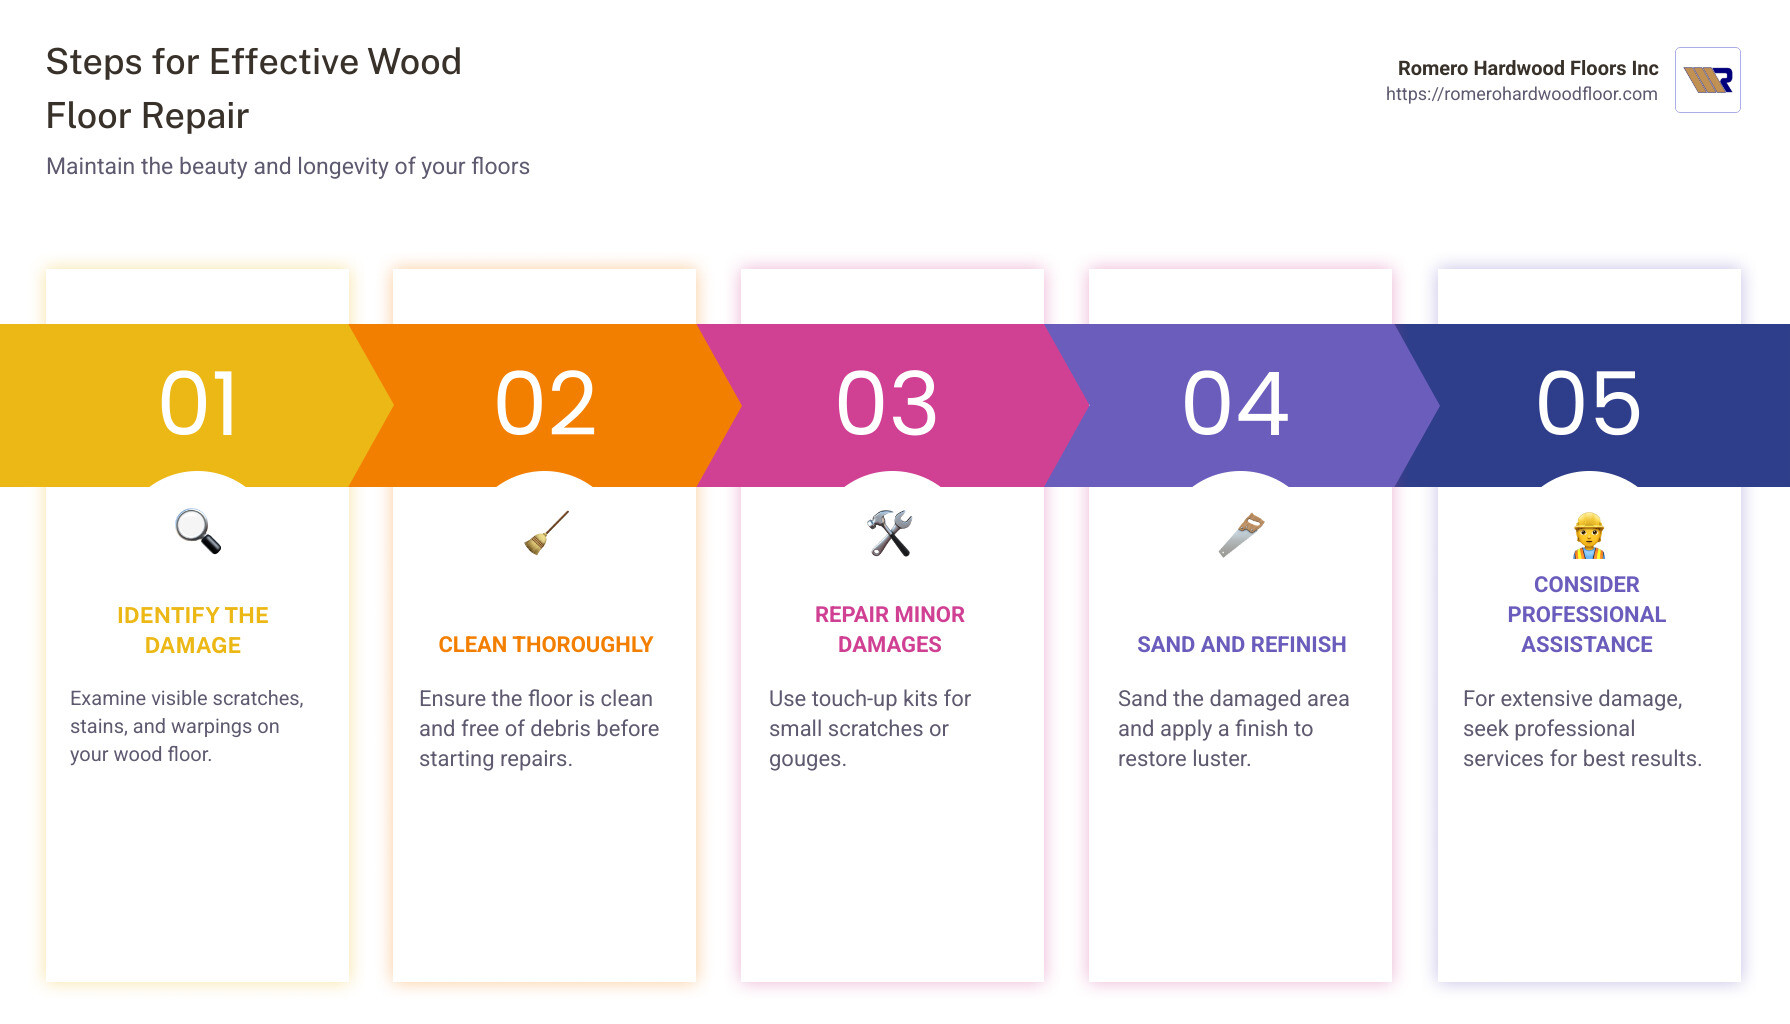
- Identify the Damage: Examine any visible scratches, stains, or warpings.
- Choose the Right Method: Use minor touch-up kits for small scratches or refinishing for broader damage.
- Consider Professional Help: If the damage is extensive, professional services like Romero Hardwood Floors may be needed for refinishing or replacing boards.
Francisco Romero, owner of Romero Hardwood Floors Inc., has over 15 years of experience in delivering high-quality Wood Floor Repair solutions, ensuring durability and elegance in every project. His expertise can guide you through preserving your floors, striking the perfect balance between aesthetics and practicality.
Understanding Wood Floor Damage
Wood floors are a beautiful addition to any space, but they can suffer from various types of damage. Understanding what causes this damage is the first step in effective Wood Floor Repair.
Causes of Damage
High Foot Traffic
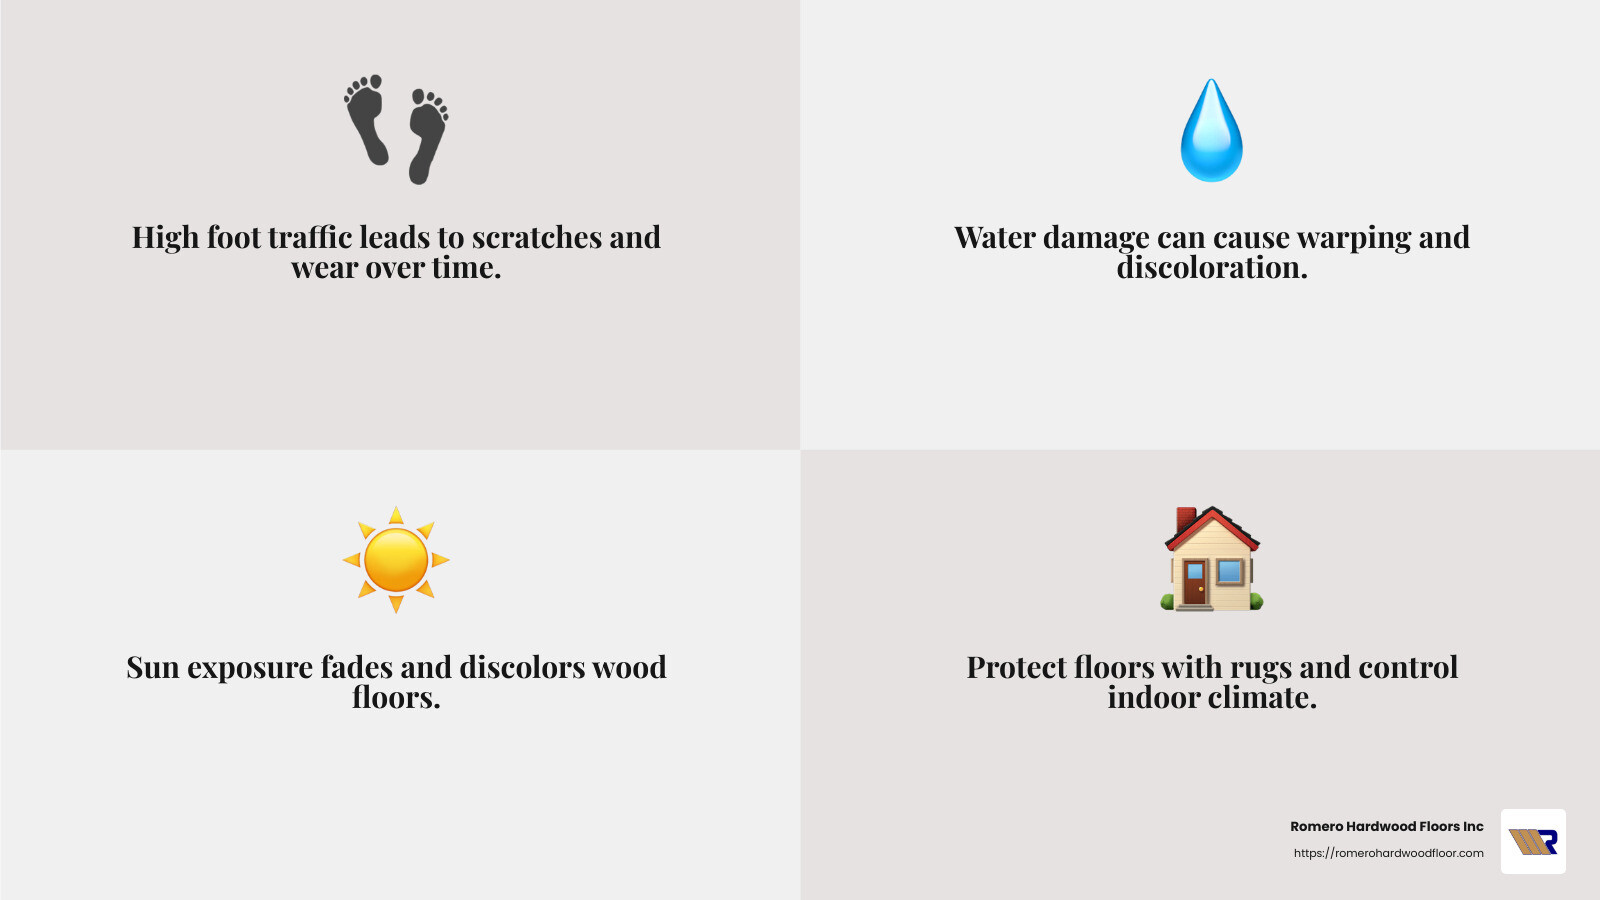
High traffic areas, like hallways and living rooms, see a lot of action. This constant use can lead to scratches and wear over time. Think about the number of times you walk across a room each day. All those footsteps add up, causing the finish to dull and the wood to wear down.
Water Damage
Water is a wood floor’s worst enemy. Spills, leaks, or even high humidity can lead to warping, staining, and discoloration. When wood absorbs water, it expands. Once it dries, it contracts, which can cause gaps or cracks. This is why it’s crucial to clean up spills immediately and maintain a stable indoor climate.
Sun Exposure
Sunlight can be just as harmful as water. Direct sunlight can fade and discolor wood floors over time. This is especially true for areas near windows or glass doors. You might notice the floor near a window is a different shade than the rest of the room. This fading is due to the UV rays in sunlight breaking down the wood’s natural color.
Protecting Your Floors
To keep your floors looking their best, consider using area rugs in high traffic zones, fixing leaks promptly, and using window treatments to block direct sunlight. Regular maintenance and quick attention to spills or scratches can prevent minor issues from becoming major problems.
Understanding these damage causes will help you take the right steps in Wood Floor Repair, ensuring your floors remain a stunning feature of your home. Let’s dive deeper into the essential tools and materials you’ll need for effective repairs.
Essential Tools and Materials for Wood Floor Repair
To successfully tackle Wood Floor Repair, having the right tools and materials is crucial. With the proper equipment, you can ensure a smooth and efficient repair process. Here’s what you’ll need:
Tools Needed
- Circular Saw
- Essential for cutting through damaged floorboards. Make sure to adjust the depth to match the thickness of your floorboards.
- Drill with a Spade Bit
- Useful for creating holes at the ends of damaged boards, making removal easier.
- Hammer and Pry Bar
- These help in carefully removing the damaged boards without harming the surrounding area.
- Measuring Tape
- Accurate measurements are key. Measure twice, cut once!
- Safety Gear
- Always wear safety goggles and a dust mask to protect yourself from sawdust and debris.
- Sharp Chisel
- Perfect for chiseling out the remaining edges of a board once the center is removed.
Materials Required
- Replacement Floorboards
- Choose boards that match the existing wood species and dimensions for a seamless look.
- Sandpaper (Various Grits)
- Different grits are needed for smoothing out surfaces and preparing the floor for finishing.
- Wood Filler and Wood Glue
- These are used to fill in small scratches or gaps and ensure a solid bond between new and existing boards.
- Stain and Polyurethane Finish
- A matching stain will blend the new board with the old, while polyurethane provides a protective finish.
- Finishing Nails
- Used to secure new boards in place. Ensure they are the correct size to avoid damaging the subfloor.
Preparation Steps
- Remove Damaged Board
- Drill holes and make parallel cuts with the circular saw. Use the chisel to remove edges carefully.
- Inspect and Clean Subfloor
- Before placing a new board, check the subfloor for any issues. Clean it thoroughly to remove debris and old adhesive.
- Level the Subfloor
- A smooth, even surface is critical for a successful repair. Use a leveling compound if needed.
- Cut and Fit Replacement Board
- Measure the space accurately and cut the new board to fit snugly. Test the fit before securing.
- Install and Secure New Board
- Apply wood glue to the tongues and grooves, then tap the board into place. Secure with finishing nails.
By gathering these tools and materials and following the preparation steps, you’ll be ready to tackle any Wood Floor Repair project with confidence. Next, we’ll explore the techniques for repairing different types of wood floor damage.
Wood Floor Repair Techniques
When it comes to Wood Floor Repair, understanding the type of damage is essential. Each type of damage requires a specific technique to restore your floors to their original beauty. Let’s explore the methods for repairing minor scratches, deep scratches, gouges, dents, gaps, and discoloration.
Minor Scratches
Minor scratches are often superficial and can be fixed with simple techniques. Start by cleaning the area thoroughly to remove dirt and debris. Use a #0000-grade super-fine steel wool to gently buff the scratch, always rubbing along the grain of the wood. This will help to smooth out the scratch and prepare it for color blending.
Next, use a floor color marker or stain pen that matches your floor’s color. Test it in an inconspicuous area first to ensure a good match. Apply the colorant to the scratch, let it dry, and then buff lightly with a tack cloth to blend it in seamlessly.
Deep Scratches
Deep scratches penetrate further into the wood and require more attention. Begin by sanding the scratch with fine-grit sandpaper to smooth the edges. Use a solvent-based wood filler to fill the scratch, ensuring it’s slightly overfilled to allow for sanding. Once the filler is dry, sand it level with the surrounding floor.
After sanding, apply a matching wood stain if needed, followed by a protective finish like polyurethane to seal and protect the repair.
Gouges and Dents
Gouges and dents can be more challenging but are still manageable. For gouges, clean the area and use a plastic putty knife to apply wood filler. Smooth it out and let it dry completely before sanding it flush with the floor surface.
For dents, try using a damp cloth and an iron. Place the damp cloth over the dent and apply the iron briefly. The steam can help the wood fibers expand and reduce the dent. If this doesn’t fully work, fill the remaining dent with wood filler and sand smooth.
Gaps
Gaps between floorboards can occur due to seasonal changes or wear. For small gaps, use a matching wood filler or wood putty. Apply it with a putty knife and wipe away excess before it dries. For larger gaps, consider inserting thin strips of wood, glued in place, and sanded flush.
Discoloration
Discoloration often results from sun exposure or spills. For sun damage, sanding and refinishing the affected area can restore the original color. If the discoloration is due to a spill, clean the area with a suitable hardwood cleaner. For persistent stains, lightly sand the area and restain as needed.
By understanding these repair techniques, you can address various types of wood floor damage effectively. This knowledge empowers you to maintain the beauty and longevity of your floors. Next, we’ll explore how to repair wood floor surfaces, including cleaning, sanding, filling, staining, and finishing.
How to Repair Wood Floor Surfaces
Repairing wood floor surfaces involves several key steps: cleaning, sanding, filling, staining, and finishing. Each step is crucial to restoring the floor’s natural beauty and ensuring a long-lasting repair.
Cleaning
Before you start any repairs, clean the floor thoroughly. Sweep or vacuum the area to remove any loose dirt and debris. Use a hardwood floor cleaner and a damp mop to eliminate any grime. Avoid using excessive water, as it can seep into the wood and cause further damage. For areas with mold, scrub with trisodium phosphate (TSP) and rinse with water.
Sanding
Sanding is necessary for smoothing out scratches and preparing the surface for filling and staining. Use fine-grit sandpaper to sand the damaged area. Always sand along the wood grain to avoid additional scratches. For larger areas, a drum sander or orbital sander may be required. Start with a coarser grit and gradually move to a finer one for a smooth finish.
Filling
After sanding, fill any gaps, scratches, or dents with wood filler. Choose a filler that matches the color of your floor. Apply it using a putty knife, slightly overfilling the area to allow for sanding. Once the filler is dry, sand it down until it’s flush with the surrounding wood. This step ensures a seamless surface ready for staining.
Staining
Staining helps to blend the repaired area with the rest of the floor. Test the stain on a scrap piece of wood to find the closest match. Apply the stain using a brush or cloth, following the wood grain. Allow it to dry completely before proceeding. This step restores the color consistency and improves the wood’s natural beauty.
Finishing
The final step is applying a protective finish, such as polyurethane. This not only protects the wood but also gives it a polished look. Apply two coats, allowing each to dry thoroughly. Lightly sand between coats for a smooth finish. Choose between a water-based or oil-based finish depending on your preference for drying time and appearance.
By following these steps, you can effectively repair wood floor surfaces and maintain their elegance. Proper cleaning, sanding, filling, staining, and finishing will ensure your floors look as good as new, even after damage. Next, we’ll dive into frequently asked questions about wood floor repair, providing insights into cost, DIY methods, and more.
Frequently Asked Questions about Wood Floor Repair
Can damaged wood floors be repaired?
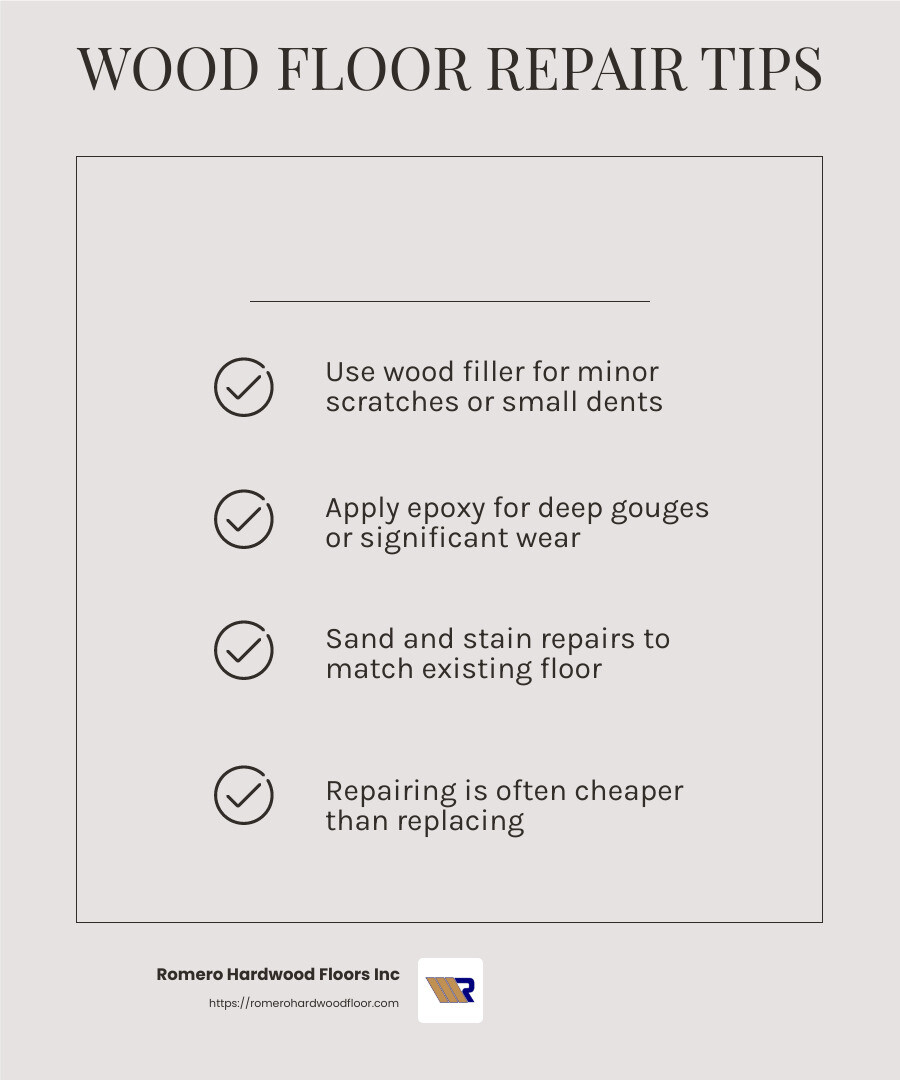
Absolutely! Damaged wood floors can often be repaired instead of replaced, saving you time and money. For minor issues like scratches or small dents, using a wood filler is a great solution. This material can fill in imperfections and be sanded smooth for a seamless look.
For deeper damage, such as gouges or significant wear, epoxy might be necessary. Epoxy is a strong adhesive that can repair larger areas and provide a durable finish. Once the epoxy sets, it can be sanded and stained to match the rest of your floor.
How to repair a wooden floor without replacing it?
Repairing a wooden floor without replacing it is possible with some DIY methods. Start by assessing the damage. For superficial scratches, a simple touch-up with a stain pen or wax stick can do wonders. For more extensive damage, follow these steps:
- Clean the area thoroughly to remove dust and debris.
- Sand the damaged spot gently to smooth out imperfections.
- Fill gaps or scratches with a matching wood filler.
- Stain the repaired area to blend with the existing floor.
- Finish with a protective coat of polyurethane.
If the damage is beyond your DIY skills, consider calling a professional. They have the expertise and tools to handle more complex repairs efficiently.
Is it cheaper to repair or replace hardwood floors?
When weighing the costs, repairing is generally more affordable than replacing hardwood floors. Repairing involves addressing specific areas of damage, which can range from $478 to $1,624 depending on the extent of the work needed. In contrast, replacing and installing new hardwood floors can cost anywhere from $2,480 to $7,028 or more.
Cost considerations also include the time and effort involved in each process. While repairs can often be completed in a day or two, replacing floors is a more extensive project that requires more time and disruption.
In conclusion, unless the floors are severely damaged or you desire a complete change, repairing is a cost-effective and practical choice. It restores the beauty of your wood floors without the higher expense of a full replacement.
Next, we’ll explore more about the benefits of professional help and how it can improve the longevity and appearance of your floors.
Conclusion
When it comes to Wood Floor Repair, choosing the right partner can make all the difference. At Romero Hardwood Floors Inc, we pride ourselves on offering expert solutions that not only address the immediate needs of your floors but also improve the overall value of your property.
Established in 2006, our company has built a reputation for reliability and excellence across Revere, MA, and surrounding areas. Our team is dedicated to delivering unparalleled service, ensuring that every project is completed on time and within budget. We understand the intricacies of wood floor repair, from minor scratches to extensive damage, and have the skills and tools needed to restore your floors to their original beauty.
Beyond just repairs, our services contribute to the long-term improvement of your property’s value. Well-maintained and beautifully restored floors can significantly boost the aesthetic appeal of your home or commercial space, making it more attractive to potential buyers or clients.
Investing in professional wood floor repair not only saves you money compared to full replacements but also ensures a high-quality finish that DIY methods might not achieve. Our commitment to customer satisfaction means we work closely with you to meet your specific needs and preferences.
In summary, whether you’re dealing with minor imperfections or significant wear and tear, Romero Hardwood Floors Inc is your go-to expert for all your wood flooring needs. Let us help you transform your space with floors that reflect quality, durability, and timeless style. For more information or to schedule a consultation, contact us today.
