How to Repair Damaged Hardwood Floors: 10 Powerful Fixes 2025
Why Hardwood Floor Damage Doesn’t Have to Break Your Budget
Learning how to repair damaged hardwood floors can save you thousands of dollars and preserve the beauty of your home’s most valuable feature. Here’s what you need to know:
Quick Repair Guide:
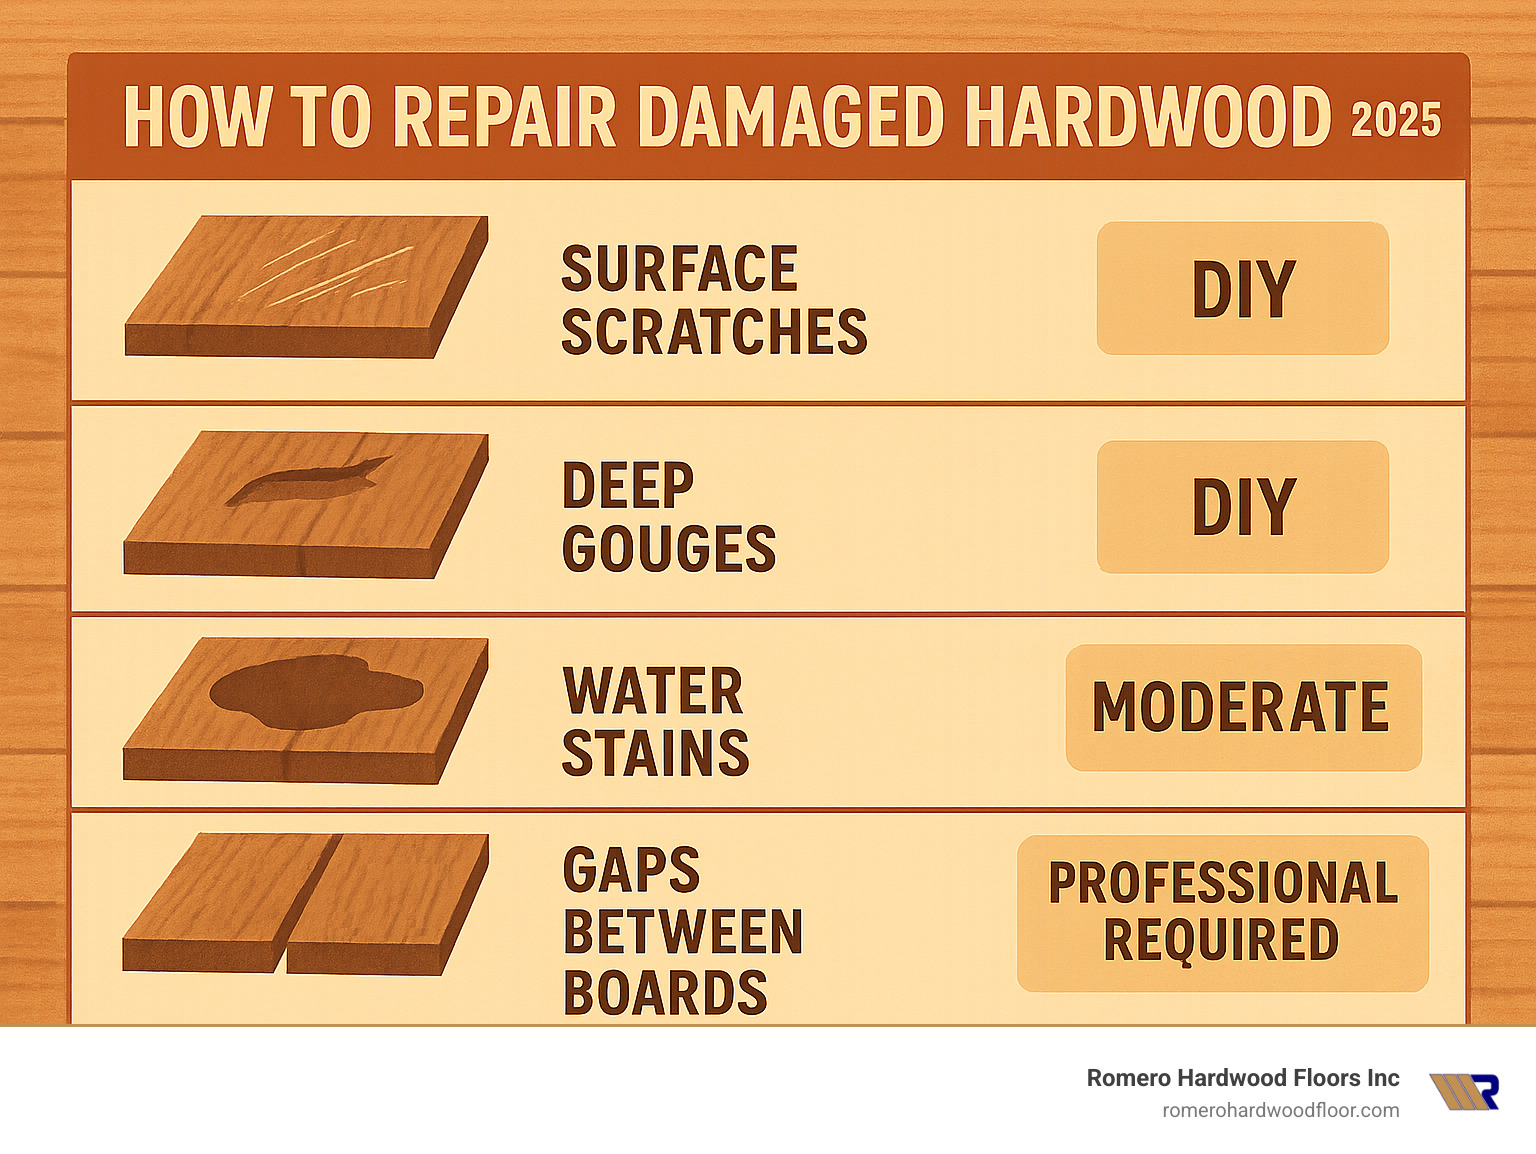
- Minor scratches → Use wood markers, walnut oil, or steel wool buffing
- Deep gouges → Fill with wood putty, sand smooth, match stain
- Water damage → Extract moisture, dry thoroughly, sand and refinish affected areas
- Gaps/squeaks → Use wood filler or shims between joists
- Individual boards → Cut out damaged pieces, install matching replacements
When to Call a Pro:
- Extensive water damage with mold
- Structural warping or buckling
- More than 25% of floor needs repair
Most hardwood floor damage isn’t as scary as it looks. With the right techniques, you can restore scratched, dented, or water-stained floors to their original beauty. Repairing typically costs $478-$1,624 versus $2,480-$7,028+ for full replacement.
I’m Francisco Romero, owner of Romero Hardwood Floors Inc., and I’ve spent over 15 years helping homeowners master how to repair damaged hardwood floors through both DIY techniques and professional restoration services.
How to repair damaged hardwood floors vocab to learn:
Assessing Hardwood Floor Damage Like a Pro
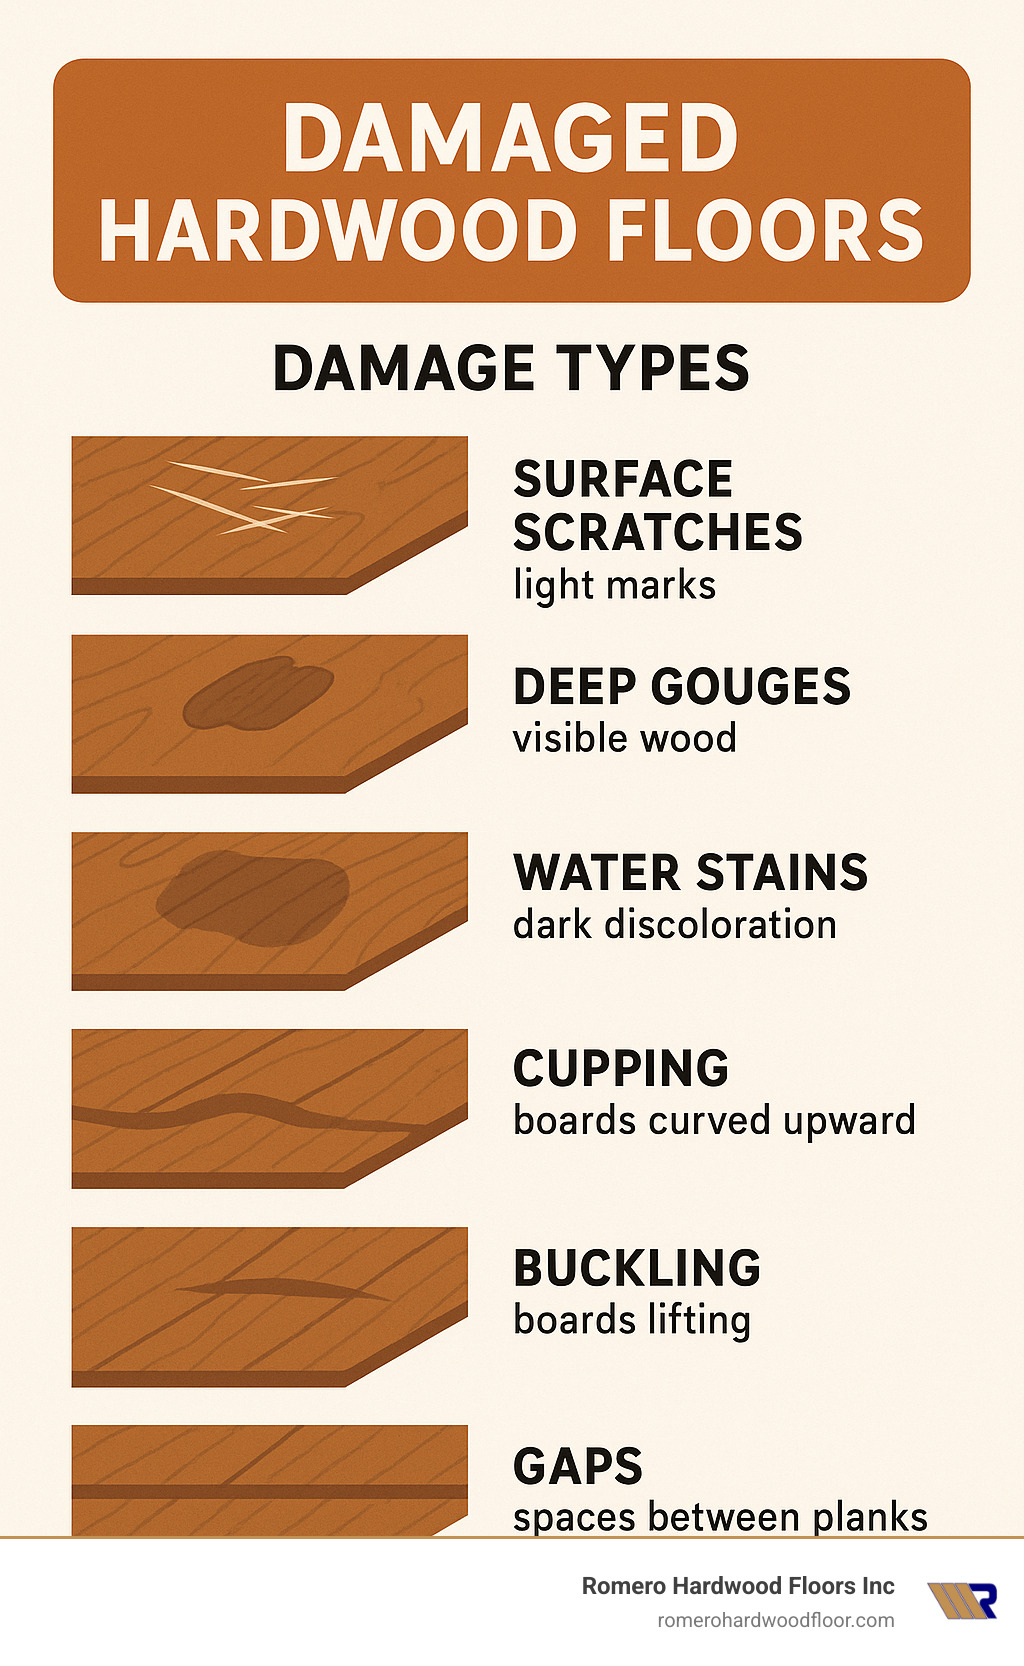
Before you grab any tools, you need to understand what’s really happening under your feet. The usual suspects include water damage, normal wear and tear, furniture scratches, and pet damage. Each one leaves its own calling card and requires a different repair approach.
Start by examining your floors in good lighting with a flashlight. Look for patterns – are scratches concentrated in high-traffic areas? Do stains appear near windows or water sources? This detective work will guide your entire repair strategy.
Common Causes You Can Control
Water spills that aren’t cleaned immediately can cause discoloration or warping. Follow the “30-second rule” – any spill should be wiped up within 30 seconds to prevent absorption.
Humidity swings cause wood to expand and contract, creating gaps in winter and potential buckling in summer. Maintain indoor humidity between 30-50% year-round to prevent most seasonal movement issues.
Pet claws create deep scratches that require wood filler repairs. Regular nail trims and protective area rugs prevent this damage entirely.
Furniture dragging accounts for many deep gouges. Felt pads under all furniture legs cost less than $10 and prevent thousands in repair costs. Replace them every six months as they compress over time.
When to Call In Moisture Meters & Flashlights
Cupping occurs when moisture swells the unfinished underside of boards more than the top, creating a wavy appearance. This often indicates subfloor moisture issues.
Buckling happens when boards lift significantly from the subfloor, usually due to flooding or lack of expansion gaps. If boards have raised more than a few inches, replacement is typically your only option.
Use a moisture meter to check both hardwood and subfloor before starting repairs. Readings should be stable and within normal ranges for your wood species. Scientific research on moisture control shows proper moisture management is crucial for long-term floor health.
How to Repair Damaged Hardwood Floors: Step-By-Step Overview
Successful how to repair damaged hardwood floors projects require proper preparation. About 80% of a successful repair happens before you even touch the damaged wood.
Your Essential Repair Arsenal:
Fine-grit sandpaper in 100, 150, and 220 grits, wood filler or epoxy putty, quality putty knife, color-matched wood stain and polyurethane finish, #0000 steel wool, shop vacuum, and tack cloth. Safety gear isn’t optional – protect your eyes and lungs with safety glasses and a dust mask.
The repair process follows a logical sequence: assess damage, clean thoroughly, make repairs, sand smooth, apply stain, and finish with protective coating. Skip a step or rush any phase, and you’ll likely be starting over.
| Repair Type | DIY Cost Range | Professional Cost Range | Time Investment |
|---|---|---|---|
| Minor scratches | $15-$45 | $150-$450 | 1-2 hours |
| Deep gouges | $25-$85 | $200-$600 | 2-4 hours |
| Board replacement | $50-$200 | $300-$900 | 4-8 hours |
| Water damage repair | $100-$500 | $500-$1,500 | 1-3 days |
Note: These are average costs based on internet data and not actual costs for Romero Hardwood Floors.
Quick Fixes for Minor Scratches & Scuffs
Wood repair markers work like magic for light scratches. Test color in a hidden spot first – build up color gradually rather than going too dark immediately.
The walnut method often surprises clients: crack open a fresh walnut and rub the meat directly over the scratch. Natural oils fill the void and make minor scratches disappear. Works best on medium to dark wood tones.
For deeper scratches that catch your fingernail, use #0000 steel wool. Work with the grain using light pressure and long, smooth strokes. Always finish by wiping away residue with a microfiber cloth.
More info about DIY scratch repair covers additional techniques for different scratch types.
Filling Deep Gouges, Dents & Cracks
Water-based fillers clean up easily and don’t smell like a chemical factory. Solvent-based versions provide stronger repairs but require better ventilation. I recommend water-based for DIYers unless dealing with high-traffic areas.
Try the steam method on dents first: place a damp cloth over the dent and apply a hot iron for 10-15 seconds. Steam can raise compressed wood fibers back to their original position about 60% of the time.
When filling gouges, slightly overfill the void using your putty knife. Wood filler shrinks as it dries. Once completely dry, sand flush with 150-grit sandpaper, then apply matching stain with a small artist’s brush.
More info about hardwood floor gouge repair covers advanced techniques for matching wood grain patterns.
Patching or Replacing Individual Boards
Start by drilling 1-inch diameter holes at each end of the damaged board. Use a circular saw set to exact board thickness to make plunge cuts connecting the holes. Remove the center section first, then carefully chisel out remaining edges.
The trickiest part involves removing the tongue from the adjacent board to allow the new piece to drop in. Cut your replacement board to fit, removing the lower groove lip if necessary.
You can either glue the replacement board or face-nail it. If face-nailing, drill pilot holes at a slight angle and countersink the nails. Fill nail holes with matching wood putty.
More info about step-by-step repair techniques provides detailed guidance for professional-quality board replacement.
For complex repairs, scratched or dented floors wood fillers offers additional professional techniques.
Specialized Repairs: Water, Warping & Gaps
Water damage requires immediate action. Stop the water source first, then focus on extraction and drying. Every minute counts when water meets wood.
Drying & Restoring Water-Damaged Floors
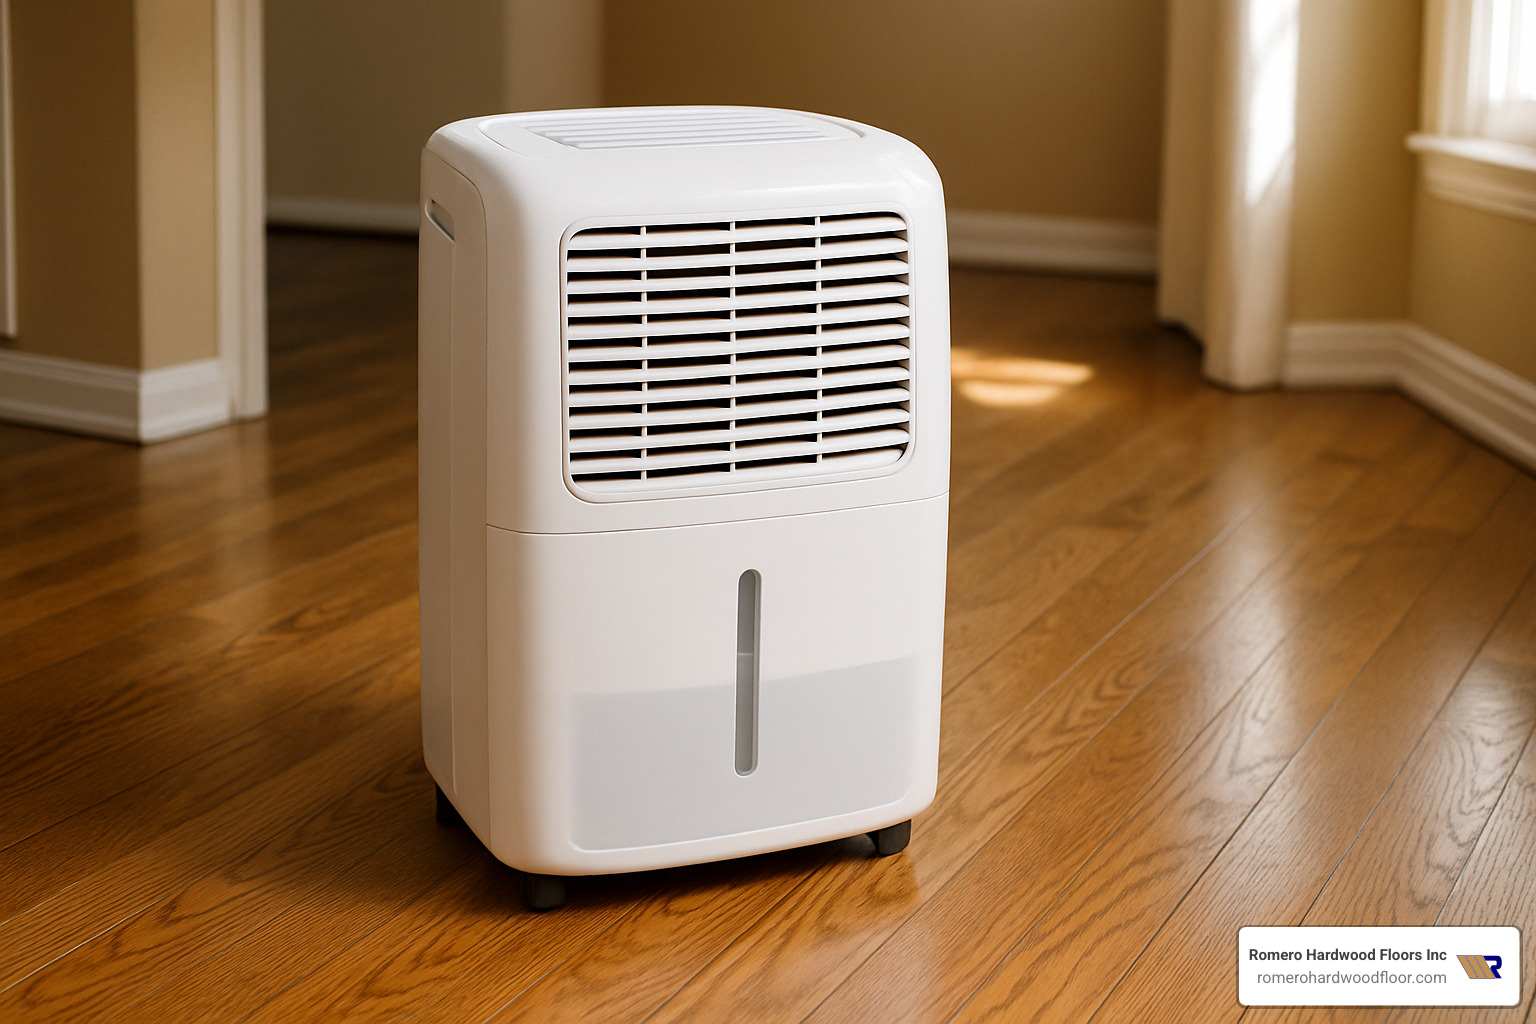
Remove standing water immediately using a wet vacuum or mop. Set up multiple fans to create airflow and position dehumidifiers strategically. Proper drying takes several days to a full week.
Don’t rush the drying process. Use a moisture meter to confirm wood has returned to normal levels. For Massachusetts climate, hardwood should read 6-9% moisture content.
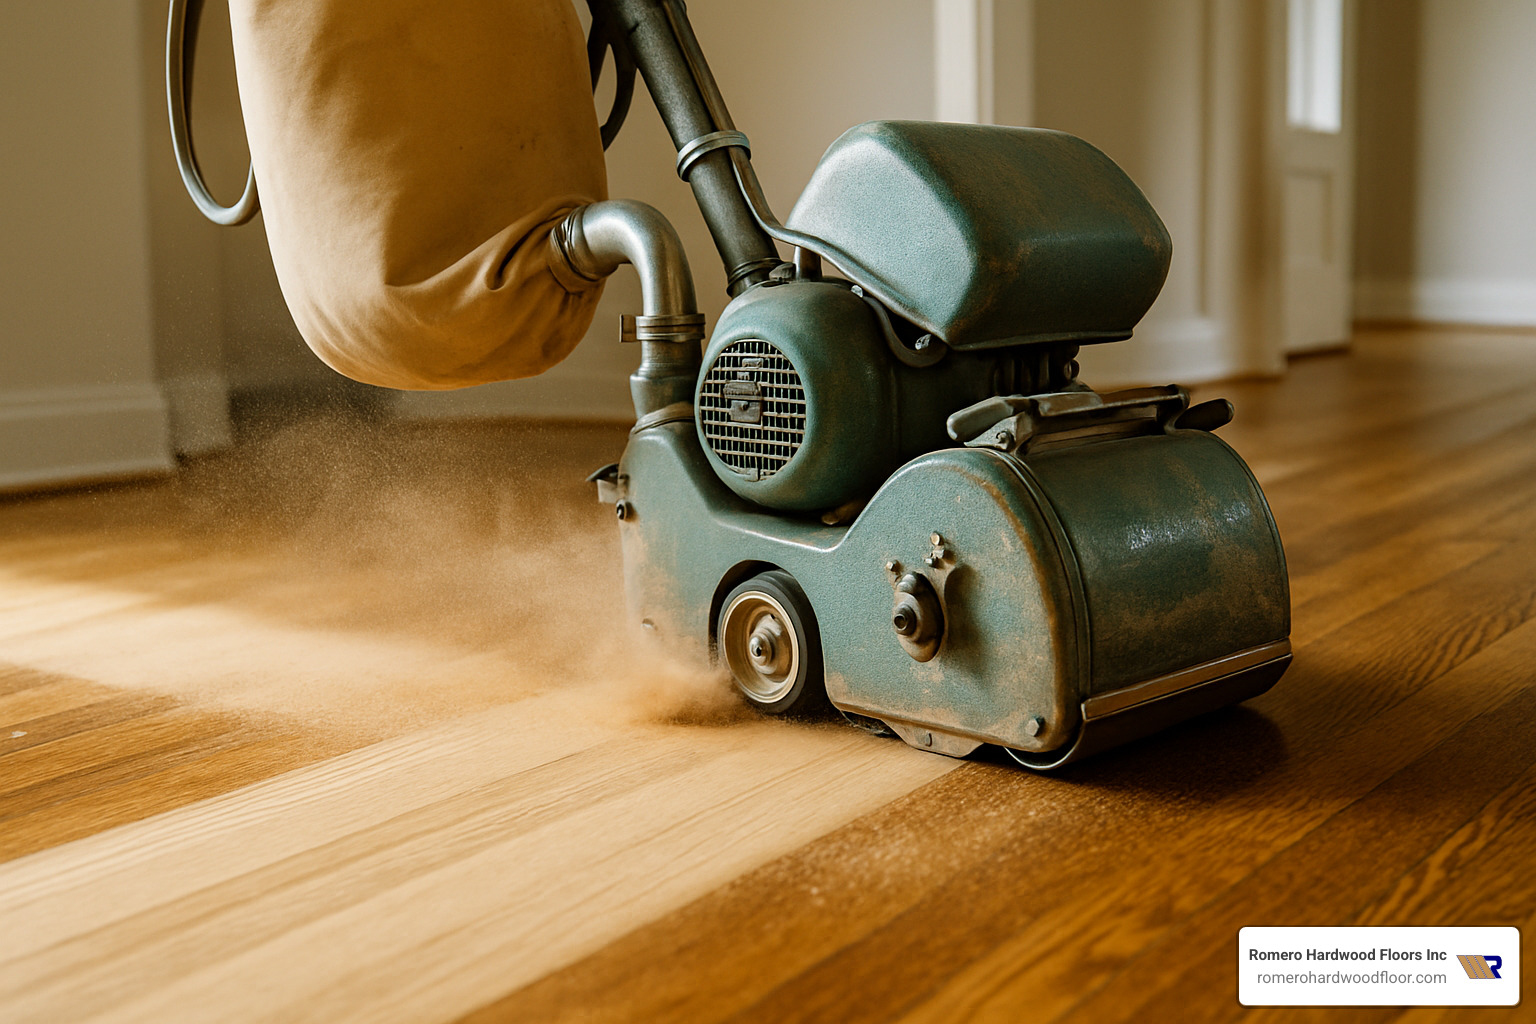
Once dry, sand the affected area starting with 100-grit sandpaper, then progress to 150-grit. Water stains often require bleaching before refinishing. Apply oxalic acid (wood bleach) according to manufacturer instructions.
More info about water damage repair covers advanced techniques for severe scenarios.
Fixing Warped or Buckled Boards
Warped boards sometimes correct themselves as moisture levels stabilize. Try using a dehumidifier and monitor boards for several weeks before replacement.
If boards have buckled significantly and lifted from the subfloor, replacement is usually your only option. Address the moisture source or you’ll be replacing boards again.
When installing replacements, proper acclimation is crucial. Store new boards in the room for at least 48 hours before installation.
More info about fixing warped floors provides detailed guidance for various warping scenarios.
Closing Unsightly Gaps & Silencing Squeaks
For gaps up to 1/4 inch, use latex wood filler or mix fine sawdust with wood glue. Wider gaps need wood strips – cut thin strips from matching wood, apply glue, and tap into place.
Squeaks typically come from movement between subfloor and joists. If you can access from below, insert shims between subfloor and joists where squeaking occurs. Can’t get underneath? Drive screws through the subfloor into joists to eliminate movement.
More info about fixing floorboard squeaks covers additional techniques, and fix squeaky planks provides more detailed steps.
Refinish vs Replace: Making the Cost-Smart Call
Should you refinish those worn floors or replace them entirely? Average repair costs based on internet data range dramatically: minor scratch repair runs $50-$600, deep gouge filling costs $100-$1,500, individual board replacement spans $200-$2,400, and water damage restoration can hit $500-$6,000. Full refinishing typically ranges from $1,200-$21,000.
Replacement costs run higher: partial replacement usually costs $1,500-$15,000, while full replacement ranges from $2,480 to $45,000+ for premium materials.
Signs It’s Time to Refinish, Not Replace
Refinishing makes sense when your floors’ bones are still strong. Surface-level damage is perfect for refinishing – scratches that catch light but don’t snag your fingernail indicate finish damage, not wood damage.
Finish wear patterns near doors or high-traffic areas are exactly what refinishing was designed to fix. Fading and discoloration from sunlight affects only the surface.
The thickness test determines everything: solid hardwood floors can handle 6-10 refinishing cycles over their lifetime. If you’ve got at least 1/8 inch of wood above the tongue and groove connection, refinishing is doable.
When Only Full Replacement Makes Sense
Structural damage is your red flag – rot, termite damage, or boards that have warped beyond repair. Severe water damage with blackened boards or persistent mold growth often extends into the subfloor.
Thin wear layers on engineered hardwood present another replacement scenario. The 25-30% rule: when more than a quarter of your floor needs significant repair, replacement often becomes more cost-effective.
Maintenance & Damage Prevention Cheat-Sheet
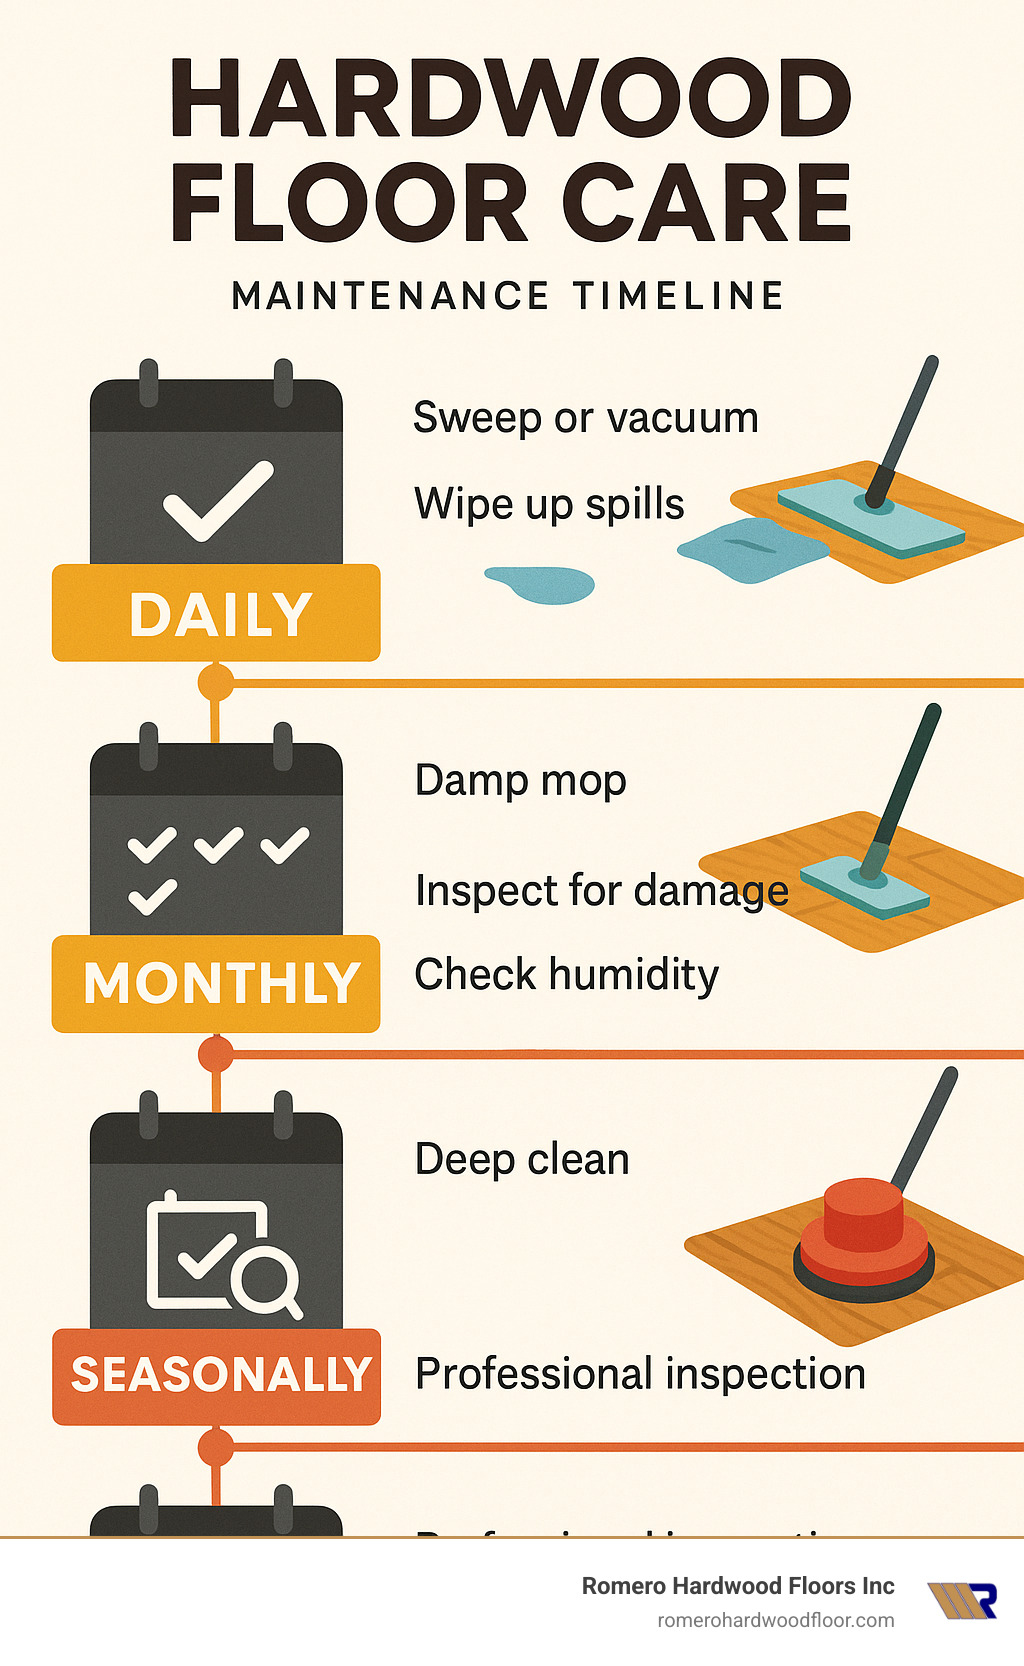
Regular maintenance prevents major problems. Daily care starts with sweeping or vacuuming using a soft brush attachment. Clean spills within 30 seconds – liquid penetrates wood finish faster than you’d think.
Weekly maintenance means damp mopping with hardwood floor cleaner, never soaking wet. Check furniture pads monthly – they compress over time. Pet owners need to stay on top of nail trims.
Monthly inspections help catch problems early. Walk around looking for new damage or wear patterns. Check humidity levels – that 30-50% range prevents most seasonal movement issues.
Seasonal deep cleaning keeps floors looking their best. Rearrange furniture periodically to prevent permanent wear patterns. Consider UV-blocking treatments for large windows.
Annual professional inspections catch problems before they become expensive repairs. High-traffic areas benefit from annual buff and recoat services.
Refinishing schedules depend on lifestyle: light residential use needs refinishing every 10-15 years, busy households every 7-10 years, commercial spaces every 3-5 years.
Hardwood Floor Repair and Refinishing provides detailed maintenance guidance for different floor types.
Frequently Asked Questions about How to Repair Damaged Hardwood Floors
How many times can I sand my hardwood floor?
Solid hardwood floors can typically handle 6-10 refinishing cycles over their lifetime. We maintain at least 1/8 inch above the tongue and groove connection for structural stability.
Engineered hardwood with thin wear layers (less than 1/8 inch) might only survive 1-2 light sandings. Thicker engineered floors can handle 3-5 refinishes if you’re careful about material removal.
Before renting that drum sander, measure your floor’s actual thickness at floor vents or by carefully removing baseboard.
Is it cheaper to repair or replace hardwood floors?
Repair wins almost every time when actually possible. Based on industry data, targeted repairs typically range from $478-$1,624, while full replacement costs $2,480-$7,028 or more.
Catch damage early – that small water stain costs under $200 to fix now, but could require replacing entire sections later. If less than 25% of your floor needs attention, repair is almost always the smart financial choice.
These are average costs based on internet data and not specific pricing for Romero Hardwood Floors.
Can I refinish just one room or section?
Yes, but it’s trickier than expected. The challenge is creating seamless blends where newly refinished areas meet existing floors. This requires progressive sanding grits, careful color matching, and applying finish slightly beyond repair areas.
Test your stain mixture on scrap wood first – colors look completely different under various lighting conditions.
Conclusion
Learning how to repair damaged hardwood floors transforms what feels like a nightmare into a manageable project. Most floor damage looks worse than it actually is – with the right approach, you can restore floors to their original beauty without breaking the bank.
Minor scratches respond to simple solutions like wood markers or the walnut trick. Deep gouges need patience and proper wood filler. Water damage requires immediate action and thorough drying. Each repair type has its own approach, and once you understand what you’re dealing with, the fix becomes straightforward.
Successful hardwood floor repair is 20% technique and 80% patience. Rush the process, and you’ll end up with visible repairs. Take your time, follow the steps, and most people won’t notice where damage used to be.
Know your limits. Surface scratches and minor gouges make perfect weekend projects. Extensive water damage with potential mold issues requires professional expertise.
At Romero Hardwood Floors Inc., we’ve been helping Massachusetts homeowners make smart flooring decisions since 2006. Our service area spans from Beverly to Woburn, and we’ve seen every type of floor damage imaginable.
Your hardwood floors are built to last generations. With proper care and timely repairs, they’ll outlive most other home improvements by decades. Prevention beats repair every time – follow our maintenance schedule, keep humidity levels stable, and address spills immediately.
Need professional help? We offer free consultations throughout our service area. More info about hardwood floor repair contractors will connect you with our team and help determine the best approach for your specific situation.
