Wooden Floor Installation: Top 10 Essential Tips 2024
Wooden floor installation is an excellent way to transform spaces with warmth and sophistication. Whether you’re considering upgrading the floors in your home or a commercial property, understanding the basics can save you time and ensure a successful outcome. Here’s a quick overview to get you started:
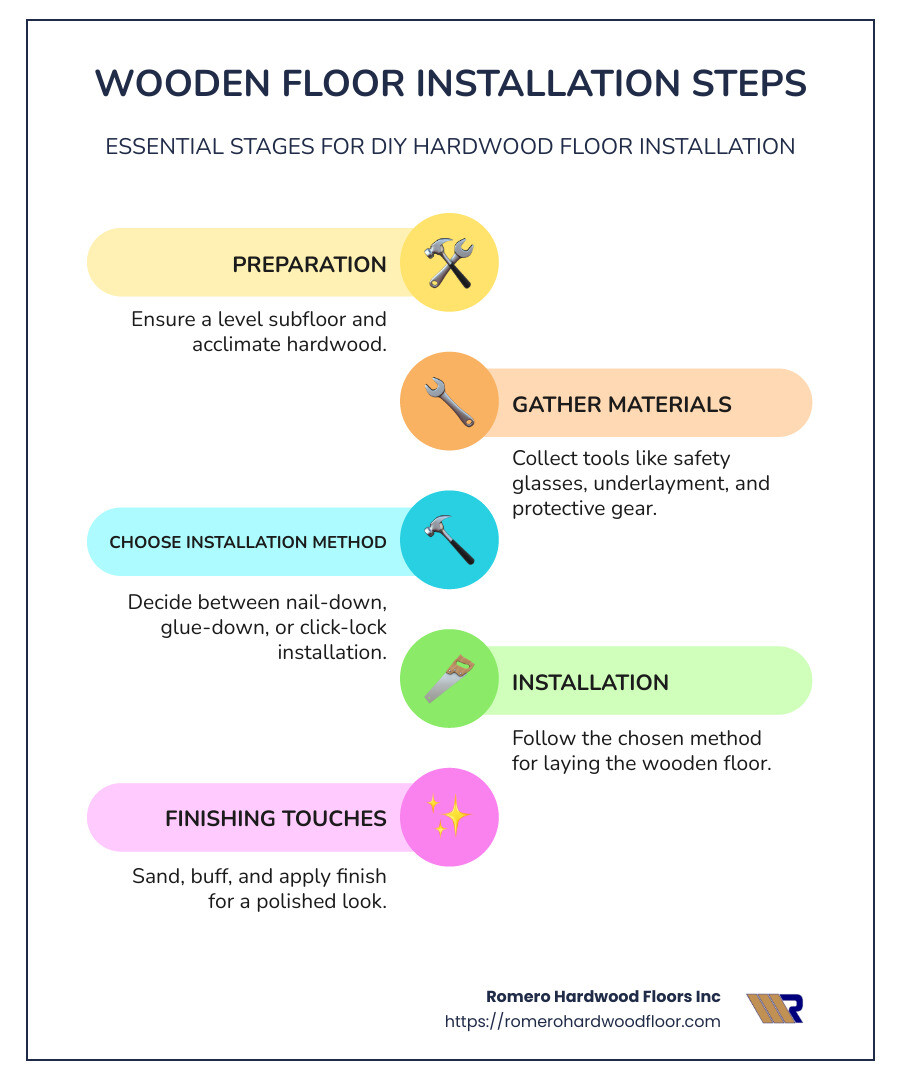
- Install Methods: Choose from nail-down, glue-down, or click-lock installations.
- Preparation: Ensure a level subfloor and acclimate hardwood before installation.
- Materials and Tools: Gather essentials like safety glasses, underlayment, and protective gear.
The primary benefits of installing wooden floors include long-lasting durability, improved property value, and a timeless aesthetic appeal. Different methods offer unique advantages, whether it’s the ease and speed of a click-lock system or the stability of a nail-down technique. Selecting the right method and preparing thoroughly will help you achieve a stunning, professional result.
As Francisco Romero, with over 15 years of expertise in wooden floor installation and as the owner of Romero Hardwood Floors Inc., I’ve seen how quality hardwood floors can lift any space. Let me guide you through the essentials to ensure your installation is seamless and long-lasting.
Important wooden floor installation terms:
– engineered hardwood flooring
– hardwood flooring install
– hardwood floor repair contractors
Preparing for Wooden Floor Installation
Before diving into wooden floor installation, proper preparation is crucial to ensure a smooth process and lasting results. Let’s break down the essential steps and materials you’ll need.
Acclimate Hardwood
Start by letting your hardwood acclimate to the room’s environment for at least five days. This prevents warping and ensures the wood adapts to the room’s temperature and humidity levels. Keep the room between 65-75°F and humidity between 30-55%.
Remove Baseboards and Measure Trim
Carefully remove existing baseboards and trim to make room for your new flooring. This step helps maintain a clean look and allows for expansion gaps.
Remove Existing Flooring
If you’re replacing old flooring, pull it up yourself to save on costs. Carpets, in particular, are easy to remove. Ensure the subfloor is clean and free of debris.
Level Subfloor and Install Moisture Barrier
A level subfloor is vital for a successful installation. Use a level to check for any irregularities and correct them. For added protection, especially in moisture-prone areas, install a moisture barrier to prevent future damage.
Tools and Materials Needed
Gather the right tools and materials to make the installation process smooth:
- Tools: Hammer, saw, tape measure, nail punch, tapping block, and jigsaw.
- Underlayment: Provides cushioning and sound dampening.
- Protective Gear: Safety glasses, knee pads, and a respirator to ensure safety during installation.
Choosing the Right Hardwood
Selecting the right hardwood is a blend of aesthetics, durability, and budget considerations.
- Solid vs. Engineered Hardwood: Solid hardwood is durable and can be refinished multiple times. Engineered hardwood is more stable in humid conditions and can be installed over concrete.
- Wood Species: Oak, maple, cherry, walnut, and bamboo each offer unique looks and durability levels.
- Janka Score: This measures wood hardness. Choose a species with a suitable score for your needs.
- Cost Considerations: Prices vary based on wood species and finish. Consider your budget and the long-term value of each option.
By preparing thoroughly and choosing the right materials, your wooden floor installation will not only improve your space’s beauty but also its functionality and value.
Step-by-Step Installation Guide
Nail-Down Installation Method
The nail-down method is a classic choice for installing solid hardwood flooring. It’s favored for its cost-effectiveness and the almost invisible appearance of nails once the floor is complete. This method requires a wood subfloor, which provides a sturdy base.
- Prepare the Subfloor: Ensure it’s clean, dry, and level.
- Lay the First Row: Use a chalk line to guide the placement. Leave a ¾-inch gap for expansion.
- Nail at a 45-degree Angle: Secure each board by nailing through the tongue at a 45-degree angle. This hides the nails effectively.
- Continue the Installation: Use a pneumatic floor nailer after the third row for efficiency. Rent one for about $40 a day if needed.
- Finish with Face Nailing: For the last rows, face nail the boards to ensure they stay in place.
Pro Tip: Stagger the end joints by at least 6 inches to add stability and a more natural look.
Interlocking Installation Method
Also known as click-lock installation, this method is perfect for DIY enthusiasts. It’s quick, straightforward, and doesn’t require nails or glue.
- Prepare the Surface: Make sure it’s clean and level.
- Start with the First Row: Lay the boards along the longest wall, clicking them into place.
- Continue the Installation: Simply click each board into the previous one. This method is quick and allows for easy adjustments.
- Finish the Last Row: You might need to cut the boards to fit, leaving a ¾-inch expansion gap.
Advantages: This method is DIY-friendly and allows for easy disassembly if changes are needed later.
Glue-Down Installation Method
Ideal for concrete floors, the glue-down method provides a strong bond and is often used for engineered wood.
- Spread Adhesive: Use a trowel to apply glue in small sections. Work on a few rows at a time to prevent the adhesive from drying too quickly.
- Lay the First Row: Align the boards carefully, leaving a ¾-inch gap for expansion.
- Continue the Installation: Fit the groove of each new board into the tongue of the previous one and tap gently with a rubber mallet.
- Finish the Last Row: Cut boards to size, ensuring a snug fit with the expansion gap.
Tip: Always follow the manufacturer’s instructions for the adhesive and floor type to ensure the best results.
Staple-Down Installation Method
Similar to the nail-down method, staple-down installation uses staples instead of nails. This method offers a strong initial hold due to the staple’s two-pronged design.
- Prepare the Subfloor: As with nail-down, a wood subfloor is essential.
- Start with the First Row: Use a chalk line to guide your installation.
- Staple at the Tongue: Secure the boards by stapling through the tongue at every floor joist.
- Continue the Installation: Use a pneumatic stapler for efficiency.
- Finish with Face Stapling: For the last rows, face staple to ensure stability.
Consideration: While staples provide a strong hold initially, they may not be as forgiving as nails with wood movement over time.
By choosing the right method based on your subfloor and skill level, you can achieve a beautiful and durable wooden floor installation. Now that we’ve covered the installation methods, let’s dive into some tips and tricks for a smooth installation process.
Tips and Tricks for a Smooth Installation
Installing a wooden floor can be a rewarding DIY project, but it requires careful planning and execution. Here are some handy tips and tricks to ensure your installation goes smoothly and looks professional.
Plan Your Board Layout
Before you start, plan your board layout. This means thinking about how the boards will look once installed. Lay out the boards in the room to get a sense of the color and grain patterns. This step, known as “racking the boards,” helps avoid creating noticeable light and dark areas in your floor. Use boards from different cases to mix shades and lengths for a more natural look.
Stagger End Joints
When laying the boards, stagger the end joints by at least 6 inches. This not only adds to the visual appeal of the floor but also improves its structural stability. Staggering prevents aligning the joints in a straight line, which can weaken the floor and lead to gaps over time.
Install Perpendicular to Floor Joists
For a stronger floor, install the boards perpendicular to the floor joists. This orientation adds strength and minimizes movement. If you lay the boards parallel to the joists, they might sag or separate over time.
Round Up Your Order
When buying materials, always round up your order. This means purchasing a little more than your calculated requirement. Extra boards account for mistakes, cuts, and future repairs. It’s better to have a few spare boards than to run short mid-project.
Avoid Common Mistakes
- Improper Acclimation: Allow the wood to acclimate to your home’s temperature and humidity for at least 48 hours before installation. This prevents warping and gaps.
- Uneven Subfloor: Ensure the subfloor is level and smooth. An uneven subfloor can lead to creaky floors and poor board alignment. Sand down any high spots and fill low spots for a flat base.
- Incorrect Board Placement: Take your time to align the first row perfectly, as it sets the foundation for the entire installation. Use a chalk line for guidance.
- Insufficient Underlayment: Use an appropriate underlayment or moisture barrier, even if the hardwood is waterproof. This layer protects against moisture and helps dampen noise.
By following these tips and avoiding common pitfalls, you can achieve a professional-looking floor that stands the test of time. Next, we’ll address some frequently asked questions about wooden floor installation to further guide you through the process.
Frequently Asked Questions about Wooden Floor Installation
What is the process of installing wood floors?
Installing wood floors involves several key steps to ensure a beautiful and durable finish. Here’s a quick overview:
- Acclimate Hardwood: Before installation, let your wood acclimate to the room’s temperature and humidity for at least 48 hours. This prevents warping or gaps later on.
- Remove Baseboards: Carefully take off the baseboards to make room for the new flooring. This will help cover the expansion gap needed for the wood.
- Measure and Trim: Measure your space accurately to determine how much flooring you need. Trim any door casings to accommodate the new floor height.
- Remove Existing Flooring: If there’s old flooring, remove it to expose the subfloor. Ensure the subfloor is clean, dry, and level.
- Install Hardwood: Choose your installation method—nail-down, glue-down, or click-lock. Each method has its own steps and tools, so follow the manufacturer’s instructions closely.
- Sand and Buff: Once installed, sand the floor to smooth out any imperfections and buff it for a polished look.
- Finish Hardwood: Apply a protective finish to improve durability and appearance. This could be a water-based or oil-based polyurethane, depending on your preference.
Can I install hardwood floor myself?
Yes, you can install a hardwood floor yourself if you’re an advanced DIYer. However, choose a method that fits your skill level. Here are some options:
- Click-Lock Method: This is the most DIY-friendly method. It involves snapping the boards together and is quick and straightforward.
- Glue-Down Method: Suitable for engineered wood on concrete floors. It requires precision in applying adhesive, so it’s a bit more challenging.
- Tongue and Groove Method: Common for solid hardwood, this method involves nailing or stapling the boards at an angle. It requires careful alignment and is best for those with some experience.
What do you put under hardwood flooring?
Underneath your hardwood floor, you’ll need a few layers to ensure stability and protection:
- Underlayment: This provides a smooth surface for the wood to rest on. It also helps with sound dampening and adds a slight cushion underfoot.
- Moisture Protection: A moisture barrier is crucial, especially if you’re installing over concrete or in a humid area. It prevents moisture from seeping up and damaging the wood.
- Buffer: The underlayment acts as a buffer between the subfloor and the hardwood, reducing friction and noise.
By following these guidelines and choosing the right materials, you can ensure a successful wooden floor installation. Next, we’ll discuss more about the benefits of professional installation and how Romero Hardwood Floors Inc can help you achieve the perfect floor for your home.
Conclusion
As we wrap up this guide on wooden floor installation, it’s clear that while DIY projects can be rewarding, they also come with their own set of challenges. Installing hardwood floors requires precision, patience, and the right tools. But don’t worry—if you’re not ready to tackle this project yourself, professional help is just around the corner.
Benefits of Professional Installation
Choosing a professional service for your hardwood floor installation can save you time, stress, and potentially costly mistakes. Professionals bring expertise and efficiency to the table, ensuring that your floors are installed correctly and look stunning. They also have access to specialized tools and techniques that can improve the final result, such as perfectly aligned boards and seamless transitions.
Why Choose Romero Hardwood Floors Inc
If you’re in the Revere, MA area, look no further than Romero Hardwood Floors Inc. Established in 2006, we have built a reputation for delivering quality workmanship and customer satisfaction. Our team is known for being punctual, offering competitive pricing, and guaranteeing our work.
Competitive Pricing: We understand that budget is a significant concern for homeowners, which is why we strive to offer the best prices in the industry without compromising on quality.
Guaranteed Workmanship: Our commitment to excellence means that we stand by our work. We ensure that every project meets our high standards, giving you peace of mind and a beautiful floor that lasts.
In conclusion, whether you choose to DIY or go with a professional service, installing hardwood floors is an investment in your home’s value and aesthetic appeal. With the right guidance and expert help from Romero Hardwood Floors Inc, you can transform your space with floors that you’ll cherish for years to come.
