Fix wood floor water damage: Top 7 Proven Restoration Tips
Fix wood floor water damage can feel overwhelming, but with the right approach, your neat wooden surfaces can regain their former beauty. Whether from a plumbing leak, spilled water, or a flood, the key steps to tackle this problem quickly and effectively include:
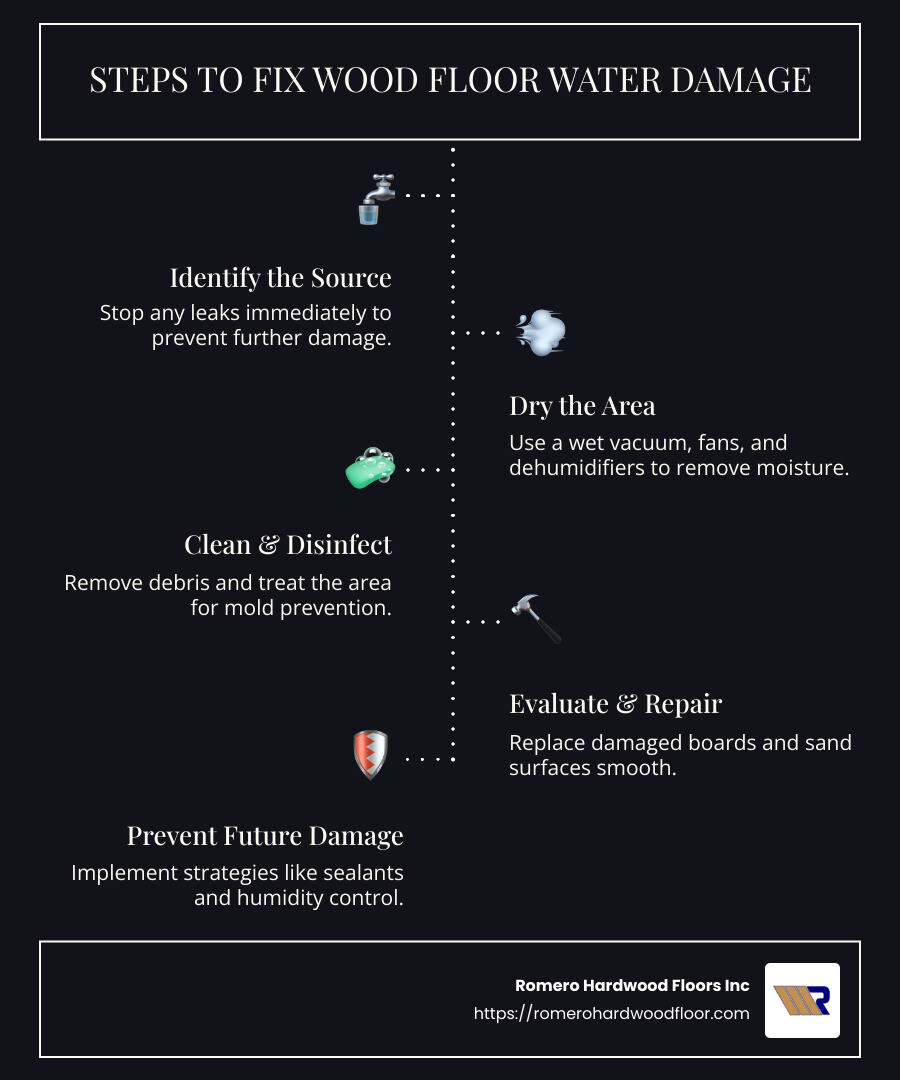
- Identify the Source: Stop any leaks immediately.
- Dry the Area: Use a wet vacuum, fans, and dehumidifiers.
- Clean & Disinfect: Remove any debris and treat for mold prevention.
- Evaluate & Repair: Replace damaged boards and sand surfaces smooth.
As a passionate hardwood flooring specialist based in Revere, MA, I’m Francisco Romero, with over 15 years of experience, and I understand the intricacies of how to fix wood floor water damage effectively. With my expertise at Romero Hardwood Floors Inc, I have helped countless homeowners restore and refresh their wooden floors.
Assessing the Damage
Before you can fix wood floor water damage, it’s crucial to assess the damage accurately. Knowing what you’re dealing with will guide your next steps in the restoration process. Here’s how to identify signs of damage and what to look for:
Signs of Damage
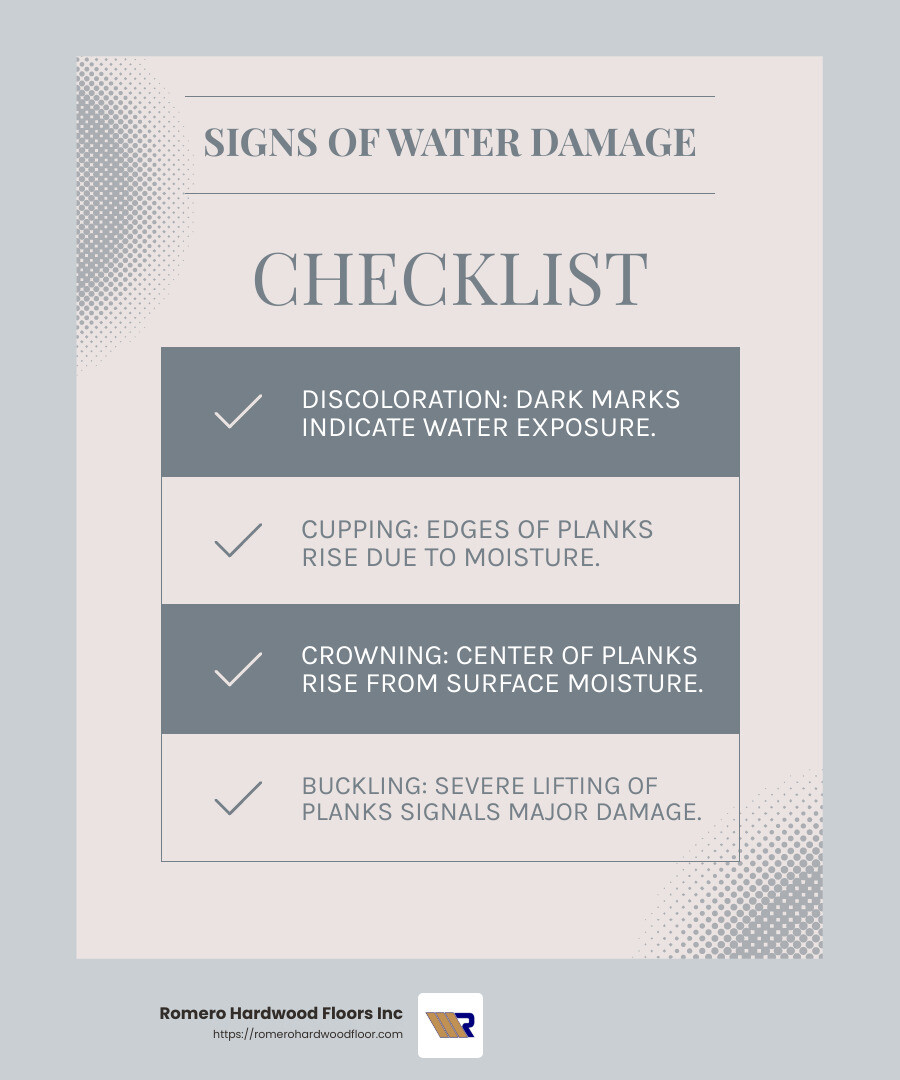
Discoloration: Water often leaves dark marks on wood floors. These stains can be a clear indication of water exposure.
Cupping: This occurs when the edges of the wood planks rise, creating a concave shape. It often points to moisture beneath the boards.
Crowning: The opposite of cupping, crowning happens when the center of the plank rises higher than the edges, usually due to moisture on the surface.
Buckling: In severe cases, the wood planks may lift off the subfloor entirely. This is a sign of significant water damage and requires immediate attention.
Mold Growth: Extended exposure to moisture can lead to mold, which not only damages the floor but also poses health risks.
Moisture Assessment
To accurately assess the moisture levels in your hardwood floors, use a moisture meter. This tool provides precise readings, helping you understand how deep the water has penetrated. A high moisture reading indicates that drying and dehumidifying are necessary before any repair work can begin.
Mold Signs
Mold thrives in damp environments and can be a serious issue if not addressed promptly. Look for:
- Visible Mold: Black or green spots on or between the floorboards.
- Musty Odor: A persistent, musty smell is a strong indicator of mold presence.
- Health Symptoms: If anyone in the home experiences respiratory issues, mold could be the culprit.
If you detect any signs of mold, it may be time to consult a professional for proper remediation. Mold can spread quickly and may require specialized treatment to ensure it’s completely eradicated.
By understanding these signs and using tools like moisture meters, you can decide if you can handle the repairs yourself or if professional help is needed. This sets the stage for efficient and effective restoration.
Fix Wood Floor Water Damage
Once you’ve assessed the damage, it’s time to fix wood floor water damage by taking immediate action. Here’s a quick guide to help you get started:
Stop the Water Source
The first step is crucial: stop the water source. Identify where the water is coming from and halt it immediately. Whether it’s a leaky pipe or an overflowing sink, addressing the source prevents further damage.
- Identify Leaks: Check for dripping pipes or wet spots on walls and ceilings.
- Shut Off Water: If necessary, turn off the main water supply to stop the flow.
Quick action here can save your floors from more extensive damage.
Remove Excess Water
Once the water source is controlled, the next step is to remove excess water from the floor. The longer water sits, the more damage it can cause.
- Use a Wet Vacuum: A wet vacuum is your best friend for removing standing water. It’s efficient and can prevent further damage and mold growth.
- Squeegee and Absorbent Cloths: For smaller areas, use a squeegee and absorbent cloths to soak up water.
- Avoid Pouring More Water: When cleaning, avoid adding more water to the area. Use a damp, not soaked, mop if necessary.
Dry the Floor
Drying the floor is critical to prevent warping and mold. This process might take a few days but is essential for successful restoration.
- Set Up Fans and Dehumidifiers: Place fans around the room to increase air circulation. A dehumidifier will help pull moisture from the air, speeding up the drying process.
- Open Windows and Doors: If the outside air is less humid, open windows and doors to promote airflow and help dry the area naturally.
- Avoid Heat: Do not use heaters to dry the floor quickly, as this can cause cracking and other issues.
Taking these steps promptly can make a significant difference in the outcome of your hardwood floor restoration. With patience and diligence, your floors can be saved and restored to their former glory.
Cleaning and Disinfecting
Cleaning and disinfecting are crucial steps in the journey to fix wood floor water damage. Proper cleaning not only restores the floor’s appearance but also prevents mold and mildew.
Cleaning the Floor
Once the excess water is removed, it’s time to clean the floor thoroughly. This helps eliminate any dirt or debris that can lead to mold growth.
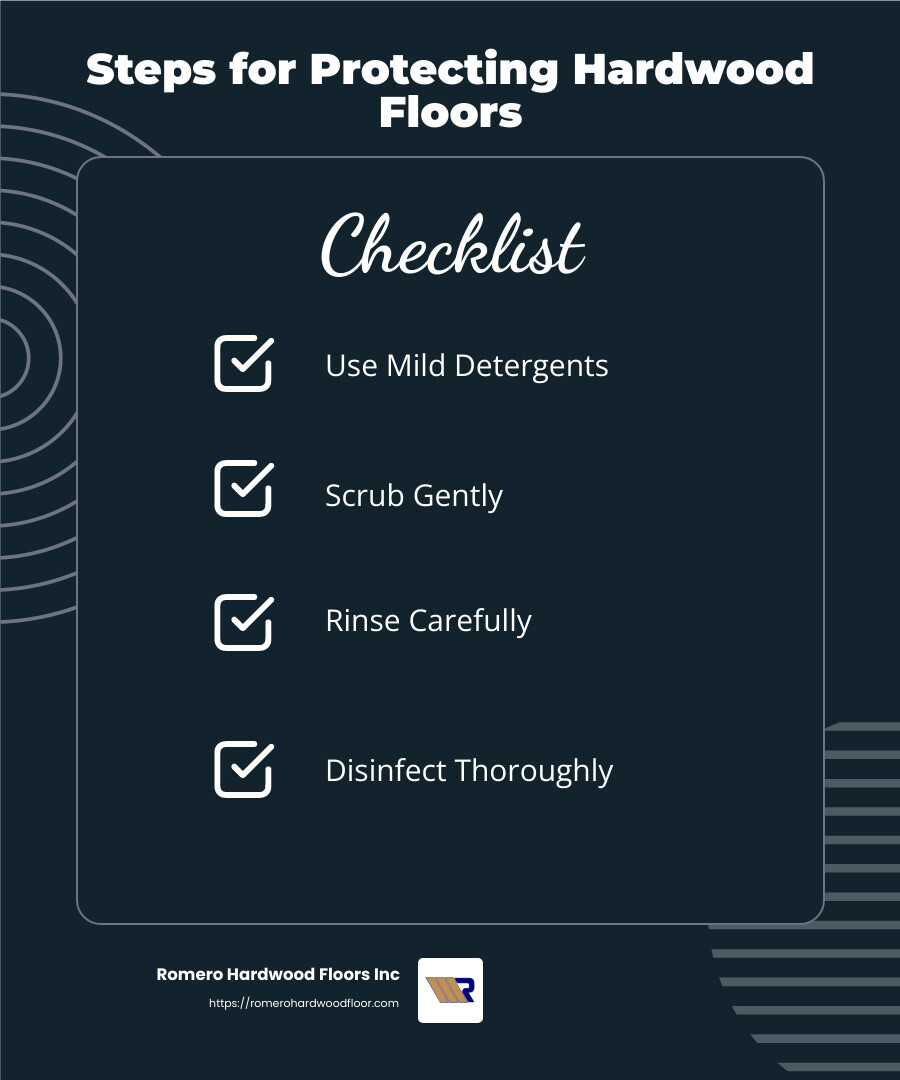
- Use Mild Detergents: Mix a mild detergent with water. Avoid harsh chemicals that can damage the wood.
- Scrub Gently: Use a non-abrasive brush to gently scrub the floor. This removes any dirt or mud without scratching the wood.
- Rinse Carefully: After scrubbing, rinse with clean water. Use a damp cloth instead of pouring water directly onto the floor.
Disinfecting the Area
Disinfecting is key to killing bacteria and preventing mold. A simple homemade solution can be effective.
- Homemade Disinfectant: Mix water with a small amount of bleach and mild detergent. This solution can effectively kill bacteria lingering on the surface.
- Apply Evenly: Use a soft cloth to apply the disinfectant. Ensure the entire area is covered, especially corners and joints where mold can hide.
- Dry Thoroughly: After disinfecting, dry the area thoroughly. Use fans and a dehumidifier to remove any remaining moisture.
Mold Prevention
Preventing mold is essential for maintaining the health of your hardwood floors.
- Inspect Regularly: Keep an eye out for any signs of moisture or mold, especially in hidden areas like under rugs or furniture.
- Maintain Ventilation: Good airflow helps keep the floors dry. Use fans or open windows to maintain ventilation.
- Use Mold-Resistant Products: Consider using mold-resistant sealants or finishes on your hardwood floors for added protection.
By following these cleaning and disinfecting steps, you can protect your floors from further damage and ensure they remain safe and beautiful. Next, we’ll dive into the process of repairing the hardwood floor itself.
Repairing the Hardwood Floor
After cleaning and disinfecting, the next step in fixing wood floor water damage is to repair the hardwood floor itself. This involves addressing any subfloor damage, replacing damaged boards, and sanding the surface to restore its original beauty.
Addressing Subfloor Damage
Before you can fix the hardwood surface, it’s important to check the subfloor. A damaged subfloor can lead to further issues down the line.
- Inspect the Subfloor: Carefully remove a few floorboards to inspect the subfloor. Look for signs of moisture, mold, or rot. A spongy or soft subfloor indicates serious damage.
- Drying the Subfloor: If the subfloor is wet, use dehumidifiers and fans to dry it completely. This can take several days, so be patient. Ensuring all moisture is removed is crucial to prevent future problems.
- Replacing Damaged Sections: If parts of the subfloor are rotten or moldy, they need to be replaced. Cut out the damaged sections and replace them with new, dry plywood. Secure the new plywood to the joists for stability.
Board Replacement
Once the subfloor is sound, it’s time to replace any damaged hardwood boards.
- Select Matching Boards: Choose new boards that match the existing floor in type, color, and grain. This ensures a seamless repair.
- Installation Method: Use the same method as the original installation. If the boards were nailed, glue, or floated, follow the same technique to install the new ones.
- Secure the Boards: For nailed installations, align the new board with the existing ones and nail it into place, ensuring the nails hit the joists. For glued installations, apply wood glue to the back of the board and press it firmly. Use clamps if necessary until the glue sets.
Sanding
After replacing the damaged boards, sanding is the next step to ensure a smooth, even surface.
- Sanding Process: Sand the entire floor to level out any differences between the new and old boards. This step also helps prepare the floor for staining and sealing.
- Use Proper Equipment: A drum sander is typically used for large areas, while an edge sander can reach corners and tight spaces.
- Smooth Finish: Start with a coarse grit sandpaper and gradually move to a finer grit for a smooth finish.
With these steps, you can repair the hardwood floor and restore its natural beauty. Thorough drying and careful replacement are key to a successful repair. Next, we’ll explore how to prevent future water damage and keep your floors in top condition.
Preventing Future Water Damage
Once you’ve successfully repaired your hardwood floor, the next crucial step is to prevent future water damage. By taking a few proactive measures, you can keep your floors looking beautiful and lasting longer.
Rugs and Mats
Strategic Placement: Place rugs and mats in areas prone to water exposure.
- Entrance Areas: A mat at each entrance can catch wet shoes, preventing water from being tracked onto your hardwood floors.
- Under Sinks and Pet Bowls: Use mats under sinks and pet bowls to catch spills. This is especially important in kitchens and bathrooms.
Maintenance Checks
Regular Inspections: Routine checks can catch potential problems before they become serious.
- Plumbing Inspections: Regularly inspect plumbing for leaks. Even a small leak can lead to significant water damage over time.
- Sealant Reapplication: Reapply sealant every few years. This provides a barrier against moisture, keeping your floors protected.
Sealants
Using the right sealant can make a big difference in protecting your floors.
- Oil-Based Sealants: These penetrate deep into the wood, offering excellent water resistance and durability.
- Water-Based Sealants: These are environmentally friendly and dry quickly, providing a clear finish that doesn’t yellow over time.
Humidity Control
Controlling humidity in your home is essential for preventing warping and swelling of your hardwood floors.
- Dehumidifiers: Use dehumidifiers in areas prone to high humidity. This helps keep moisture levels in check.
- Ventilation: Ensure proper ventilation in your home. Good airflow helps maintain a balanced humidity level.
By implementing these strategies, you can significantly reduce the risk of water damage to your hardwood floors. Next, we’ll tackle some frequently asked questions about water-damaged hardwood floors.
Frequently Asked Questions about Water-Damaged Hardwood Floors
How long does it take for water to damage hardwood floors?
Water damage can begin in just a few hours. The extent of the damage depends on the amount of water and where it has seeped. A small spill on a treated surface might not cause harm if cleaned up quickly. However, floods or burst pipes can lead to significant damage in less than 24 hours. Acting swiftly is crucial to prevent severe damage.
Can minor water damage on hardwood floors be fixed without professional help?
Yes, you can often fix minor water damage without calling in the pros. If you spot a small area of swelling or discoloration, here’s what you can do:
- Remove surface water with a shop vacuum.
- Dry the area using fans and dehumidifiers.
- Clean the spot with a non-abrasive cleaner.
- Sand and refinish the affected area.
If the damage seems beyond your comfort level or expertise, it’s wise to consult a professional.
What are the signs that water damage to hardwood floors is severe?
Severe water damage can show up in several ways:
- Crowning: The center of the boards rises, indicating moisture at the top.
- Cupping: The edges of the boards rise, indicating moisture underneath.
- Buckling: The boards lift entirely from the subfloor.
- Mold Growth: You might see visible mold or notice a musty smell.
- Lifting Nails and Floorboards: Boards start to separate or nails come loose.
If you notice these signs, immediate action is necessary. Severe damage often requires professional intervention to prevent further issues.
By understanding these FAQs, you can better assess and address water damage in your hardwood floors.
Conclusion
In the journey to restore your water-damaged hardwood floors, the importance of a professional assessment cannot be overstated. While some minor issues can be tackled with DIY methods, severe cases often require the expertise and precision that only seasoned professionals can offer. This is where Romero Hardwood Floors Inc comes into play.
As a trusted name in the flooring industry, Romero Hardwood Floors Inc has been serving the communities of Revere, MA, and surrounding areas since 2006. Our team specializes in comprehensive restoration services, ensuring your floors are not only repaired but also protected against future damage. We understand the nuances of water damage and have the tools and expertise needed to bring your floors back to life.
Why choose us?
- Expert Assessment: Our experienced professionals will conduct a thorough evaluation to identify the extent of the damage and recommend the best course of action.
- Custom Solutions: Whether it’s replacing damaged boards or addressing subfloor issues, we offer solutions custom to your specific needs.
- Quality Workmanship: With a commitment to excellence, our repairs are designed to last, enhancing both the beauty and value of your home.
- Customer Satisfaction: We pride ourselves on delivering timely, reliable service that minimizes disruption to your home while maximizing results.
By partnering with Romero Hardwood Floors Inc, you’re not just repairing your floors—you’re investing in a long-term solution that preserves the elegance and durability of your hardwood.
For more information on how we can help you fix wood floor water damage, visit our hardwood floor repair services page. Here, you can explore our services and request a free estimate to get started on restoring your floors to their former glory. Let us help you turn a crisis into an opportunity for renewal and rejuvenation.
