Fixing Dents in Wood: 5 Powerful Easy Steps for 2025
Reviving Your Wood: Simple Solutions for Unsightly Dents
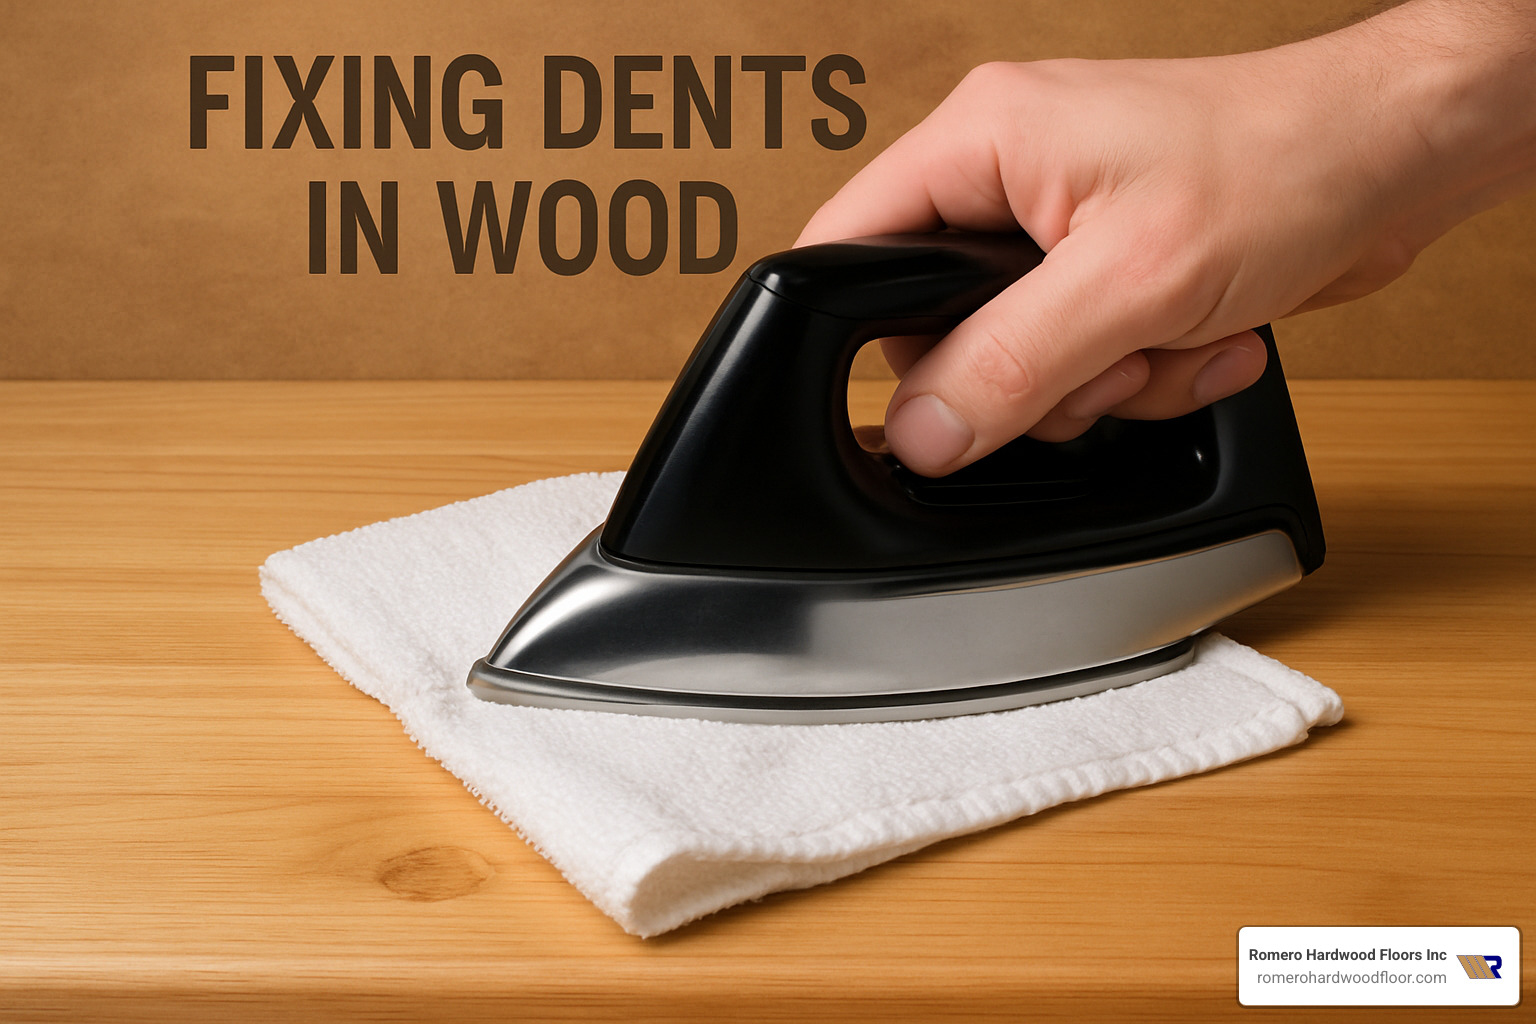
Fixing dents in wood is easier than you might think. With just a few household items, you can restore your wood surfaces without calling in professionals.
Quick Fix for Wood Dents:
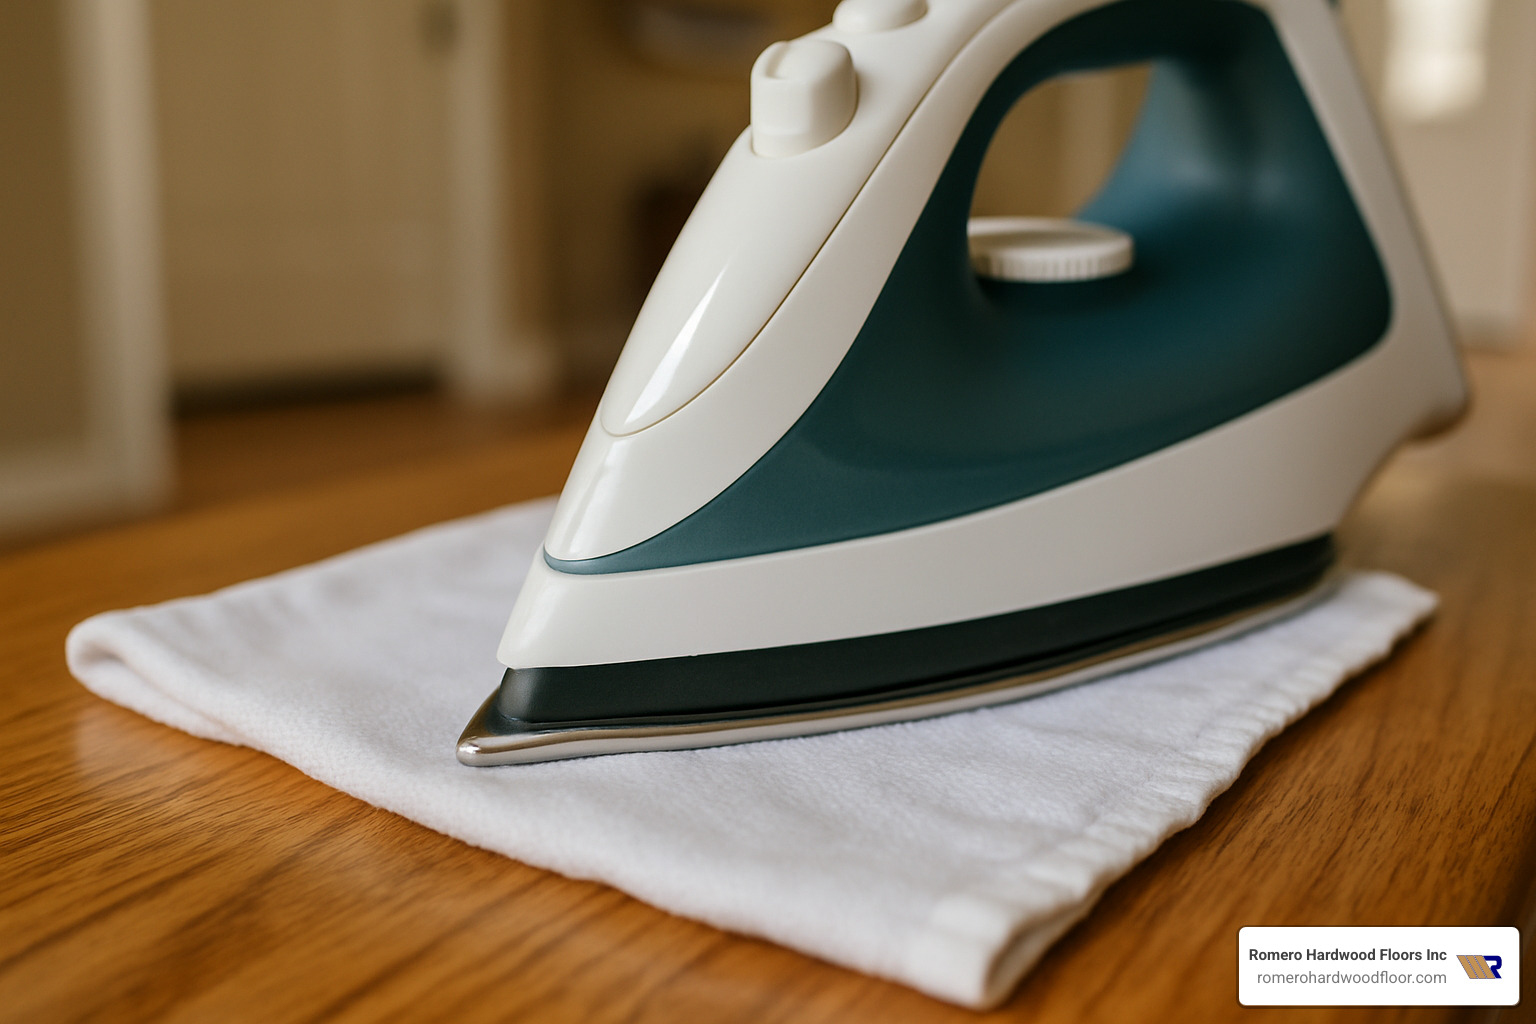
1. Place a damp cotton cloth over the dent
2. Apply a hot iron (on high/linen setting) for 5-10 seconds
3. Repeat until the dent rises
4. Let dry completely
5. Lightly sand with fine-grit paper if needed
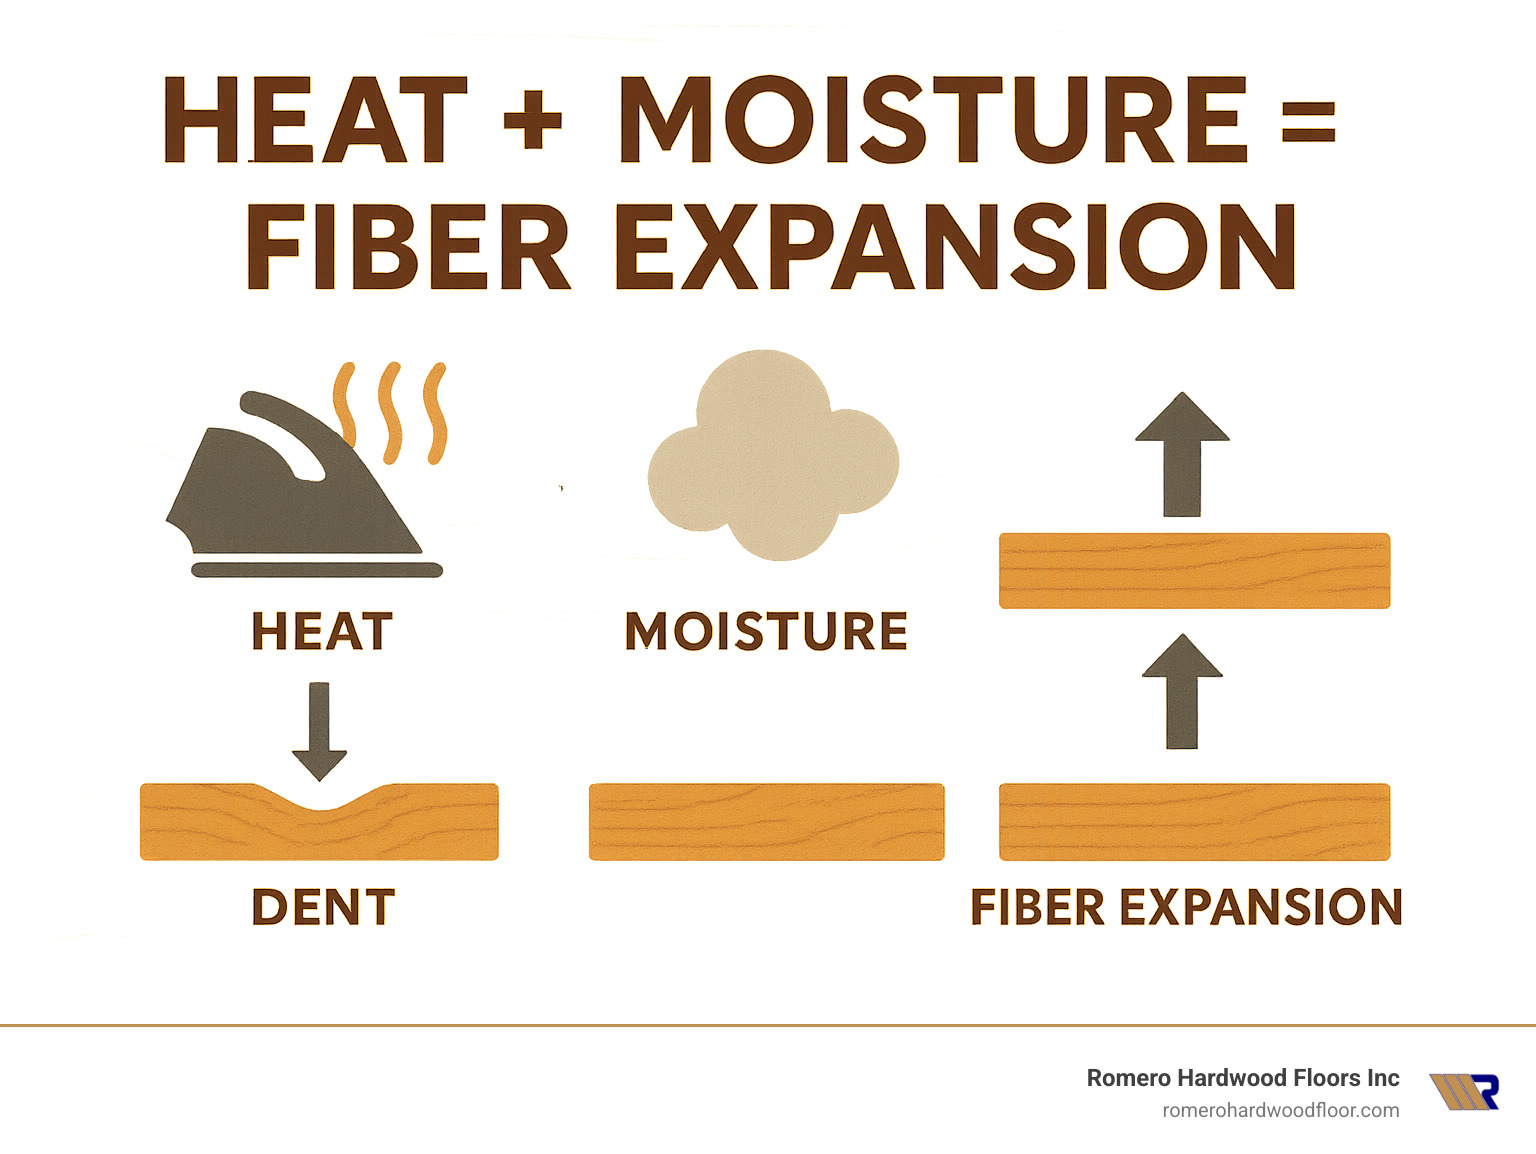
This method works because heat and moisture cause compressed wood fibers to swell back to their original position. For best results, use this technique on shallow dents where the wood fibers are only compressed, not broken or torn.
I’m Francisco Romero, owner of Romero Hardwood Floors Inc., and in my 15+ years of experience restoring hardwood surfaces, I’ve used this steam technique for fixing dents in wood countless times with remarkable results on both residential and commercial floors throughout Revere, MA.
Easy fixing dents in wood word list:
– Hardwood Floor Repair
– flooring restoration and refinishing
– hardwood floor lifting repair
Dents vs. Gouges & Why They Happen
Before you grab that iron, let’s figure out what you’re actually dealing with on your beautiful hardwood floor.
Dents happen when something blunt—maybe your child’s metal truck, a dropped hammer, or yes, those killer heels you love—puts pressure on the wood and compresses the fibers. Think of it like squishing a sponge. The good news? Those fibers are just waiting for some steam to help them bounce back to their original shape.
Scratches are more superficial troublemakers. They scrape across the grain, damaging the finish or surface fibers without really pressing down into the wood. These are mostly cosmetic issues that won’t respond to our steam method.
Gouges are the heartbreakers of wood damage. When wood fibers are actually torn away or ripped out—like when you accidentally dragged that sharp furniture corner across the floor during your last move—no amount of steam will bring back what’s gone. These deeper wounds need fillers and more extensive repair.
In my years at Romero Hardwood Floors, I’ve seen some creative culprits behind wood dents. Pet claws scrambling around corners, dropped kitchen utensils, toy trucks with metal edges, and the classic furniture drag are frequent offenders. And let’s not forget high heels—a single stiletto can exert more pressure per square inch than an elephant!
The type of wood matters tremendously in how it responds to both damage and repair. Softer woods like pine and cedar dent more easily but also respond better to steaming. Hardwoods like oak and maple resist dents better but can be more stubborn when you’re trying to fix them.
| Type | What Happens to Fibers | Typical Cause | Best Fix |
|---|---|---|---|
| Dent | Compressed | Impact (blunt) | Steam-iron method |
| Scratch | Surface abraded | Keys, sharp objects | Buff, wax, touch-up |
| Gouge | Torn/removed | Sharp impact, tools | Fill/sand/refinish |
Your floor’s moisture content also plays a starring role in this drama. Wood in drier climates or winter-heated homes tends to be more brittle and less responsive to steam treatments. Meanwhile, the finish on your floor acts like a protective shield—some finishes allow steam to penetrate better than others (we’ll get to that in the special cases section).
The good news? Most everyday dents are perfect candidates for the simple steam-iron method we’re about to explore. And trust me, there’s something incredibly satisfying about watching a dent slowly rise back to the surface like magic. I still get a kick out of it after all these years of fixing dents in wood floors across Massachusetts!
Fixing Dents in Wood: The Steam-Iron Method
That iron sitting in your laundry room isn’t just for wrinkle-free shirts—it’s also a secret weapon for fixing dents in wood. Who knew your household appliances moonlighted as woodworking tools?
The Science Behind the Steam
When something heavy smacks your beautiful wood floor or furniture, it compresses the wood fibers without breaking them. Think of those fibers like tiny sponges that got squished. Add some heat and moisture, and those compressed fibers will drink up the water and expand back to their original shape. It’s simple physics that feels like magic when you see a dent slowly disappear before your eyes.
Your Must-Have Toolkit
Before you channel your inner repair hero, gather these simple tools:
- Household iron set to the “linen” setting (no steam function needed)
- 100% cotton rag (an old t-shirt works perfectly—just make sure it’s clean!)
- Distilled water (tap water works too, but distilled prevents mineral deposits)
- Painter’s tape to protect surrounding areas
- 220-grit sandpaper for any touch-ups after the repair
- Wood finish touch-up kit matching your existing finish
- Safety gloves because hot irons and fingers aren’t friendly companions
I’ve seen customers try all sorts of fancy gadgets, but honestly, these basic tools work better than anything else I’ve encountered in my years of floor restoration.
Fixing Dents in Wood Safely – Step-by-Step
Let me walk you through this process like I would for my own family members (who constantly call me about their floor emergencies!).
1. Test First
Always, always test on an inconspicuous area first. I can’t tell you how many times I’ve seen people dive right in only to find their finish doesn’t play nice with heat. A quick test in a closet corner or under furniture saves heartache.
2. Isolate the Dent
Use painter’s tape around your dent if you’re worried about affecting the surrounding finish. This creates a little “repair zone” and helps protect the rest of your beautiful wood.
3. Apply Water
Place a few drops of water directly on the dent. Give it a minute to soak in—the water needs time to penetrate those compressed fibers. You’ll notice the wood might darken slightly as it absorbs the moisture.
4. Cover with Damp Cloth
Lay your slightly damp cotton cloth over the dent. Don’t soak it—you want it damp enough to create steam but not dripping wet. The cloth acts as both a steam generator and a buffer protecting your wood from direct heat.
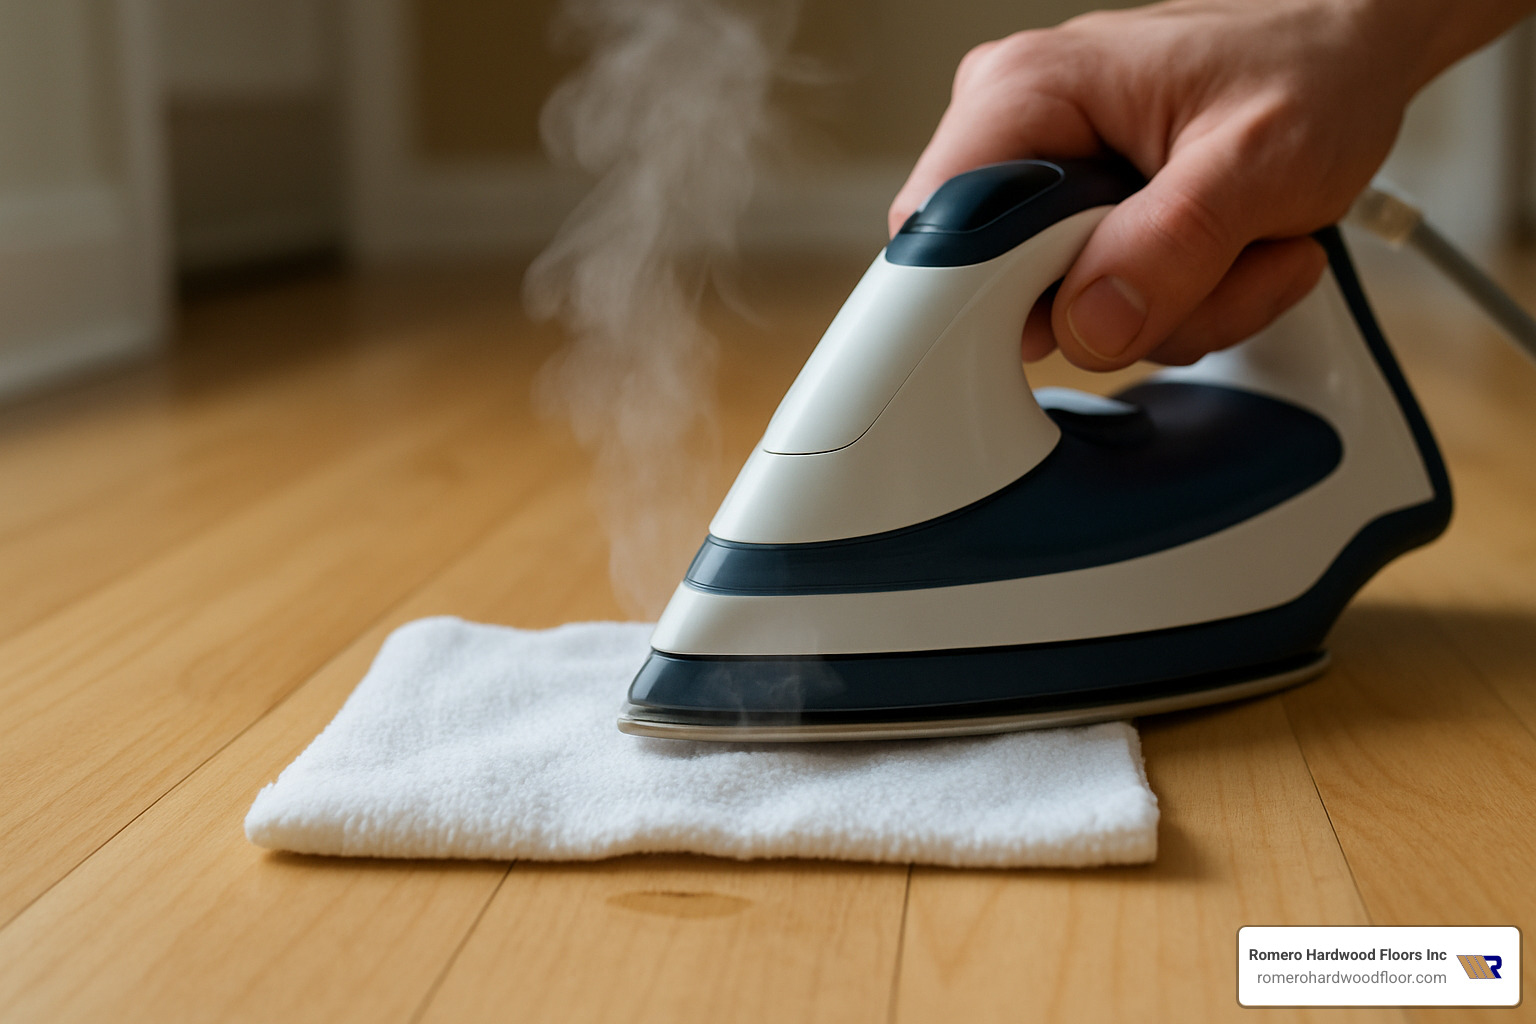
5. Iron Time
Here’s where the magic happens! Press your hot iron (on the linen setting) onto the cloth and make gentle circular motions for about 5-10 seconds. Keep the iron moving to prevent scorching—I’ve seen too many “repair spots” turn into “burn spots” when someone gets distracted.
6. Check Progress
Lift the cloth and check your handiwork. Most dents need 2-5 steam treatments before they fully rise. If you still see a depression, re-wet your cloth and try again. Patience pays off here—rushing through with too much heat can damage your wood.
7. Let Dry
Once the dent has disappeared, let the area dry completely. You might be tempted to speed things up with a hairdryer, but natural drying prevents warping. If you’re in a hurry, a quick wipe with denatured alcohol can flash-dry the surface.
8. Light Sanding
After everything’s bone dry, lightly sand the area with 220-grit paper. This step removes any raised grain and smooths everything out. Use gentle pressure—you’re just feathering the edges, not refinishing the whole floor!
9. Touch Up Finish
Finally, apply a matching finish to restore the sheen. For most homeowners, a wood touch-up marker or wax stick works fine for small repairs. Larger areas might need a spot application of polyurethane or whatever finish matches your floor.
I’ve seen this simple technique save countless Massachusetts homeowners from expensive refinishing jobs. For deeper insights into floor-specific repairs, check out our step-by-step hardwood floor repair techniques.
This method works best on dents, not scratches or gouges where wood fibers are actually torn. Those require different approaches—which we’ll cover next!
Special Cases & Pro Tips: Finishes, Deep Dents, Prevention
Navigating Wood Finishes
When it comes to fixing dents in wood, the finish on your floor or furniture plays a crucial role in how successful your steam treatment will be.
Polyurethane finishes act like a plastic raincoat over your wood – they’re great for protection but can be stubborn when you’re trying to steam out dents. The moisture simply can’t penetrate to reach those compressed fibers below. In these cases, you might need to create tiny pinholes with a fine needle over the dent area, or accept that you’ll need to strip and refinish after your repair.
Shellac and lacquer finishes are a bit more forgiving. They’re somewhat permeable, allowing some steam to pass through, but beware – excessive moisture can cause “blushing” (those cloudy white spots nobody wants). Keep your iron passes short and don’t over-saturate your cloth.
Oil-finished woods tend to “breathe” better, making them ideal candidates for the steam method. The natural oils allow moisture to penetrate while still protecting the wood’s surface.
“I once spent 20 minutes trying to steam a dent in my polyurethane-finished dining table before realizing I was essentially ironing a plastic sheet. A couple of tiny pinholes later and that dent popped right out!” – Francisco Romero
What About Deep Dents?
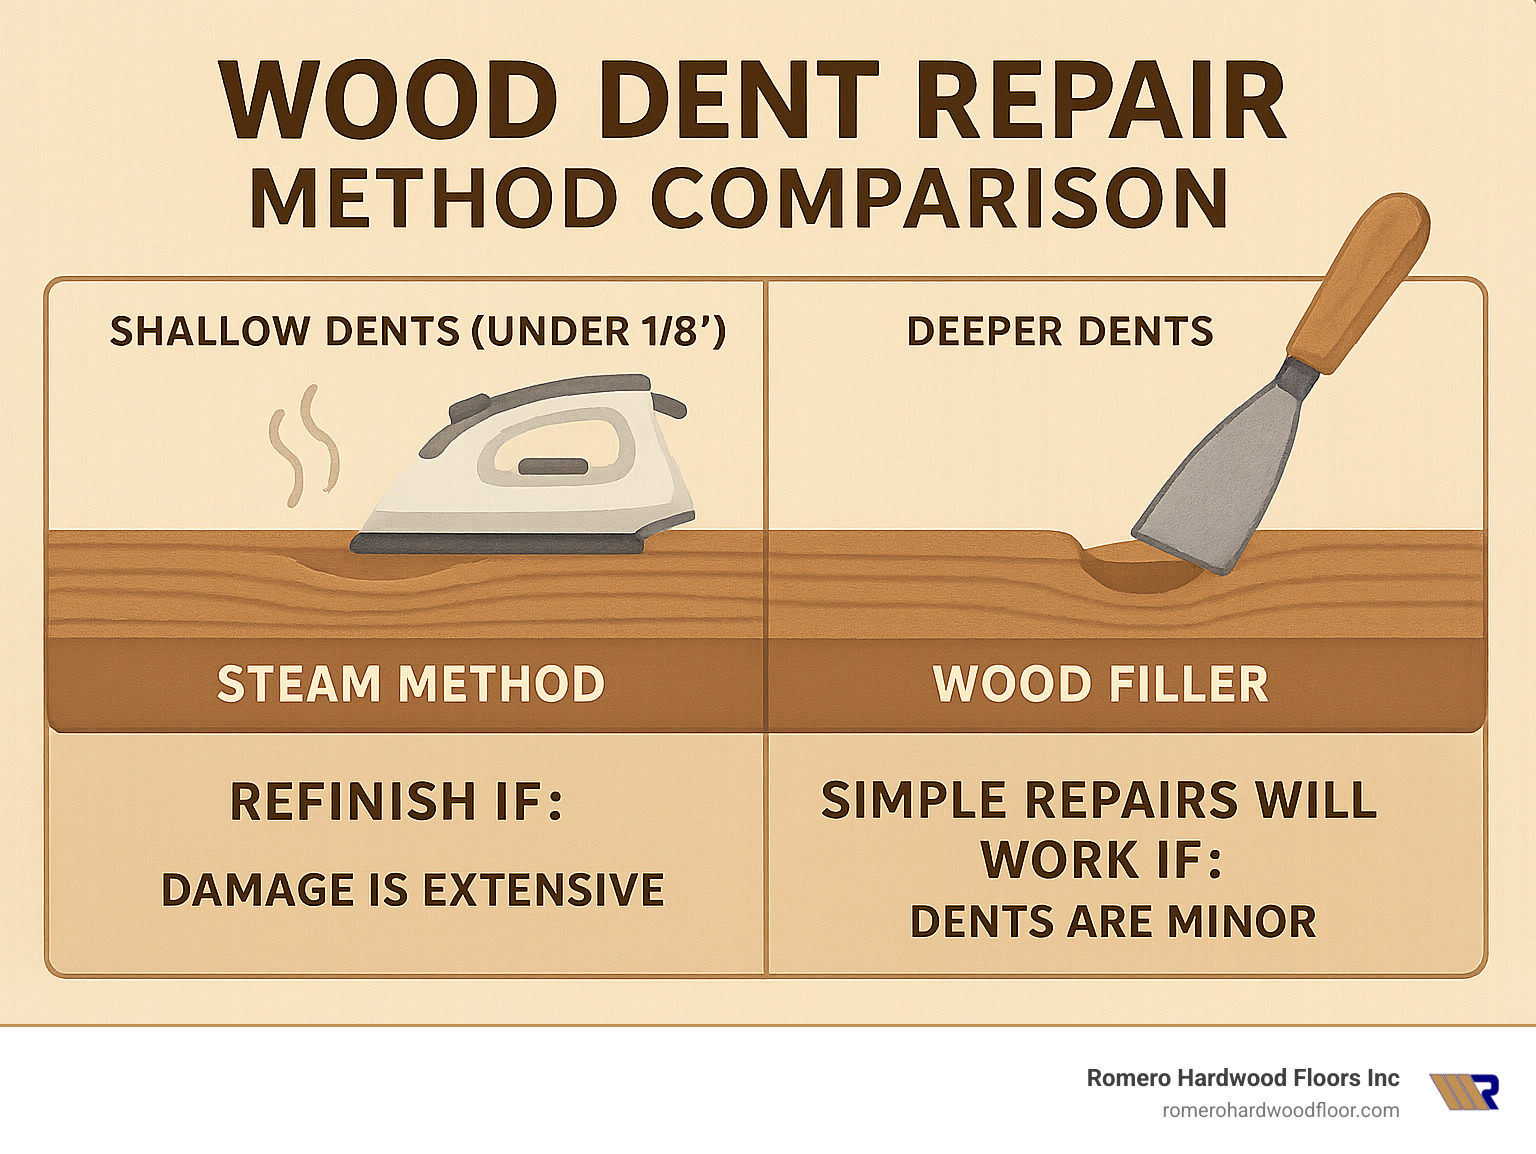
Let’s be honest – some dents are just too deep for steam therapy. Here’s my rule of thumb: if the dent is deeper than 1/8″ or if you can see broken wood fibers, it’s time to switch tactics.
For these deeper wounds, wood filler, epoxy, or a color-matched burn-in stick will be your best friends. Apply your filler of choice, let it dry completely, sand it flush with the surrounding surface, and then touch up the finish to match.
Some woodworkers swear by these alternative steaming approaches for stubborn (but still shallow) dents:
Vinegar-water solution (mixed 1:1) can sometimes help swell fibers more effectively than plain water. Dampen the dent, wait a few minutes, then proceed with your steam treatment.
Tea kettles provide concentrated steam you can direct right at the dent – perfect for those hard-to-reach spots on curved furniture pieces.
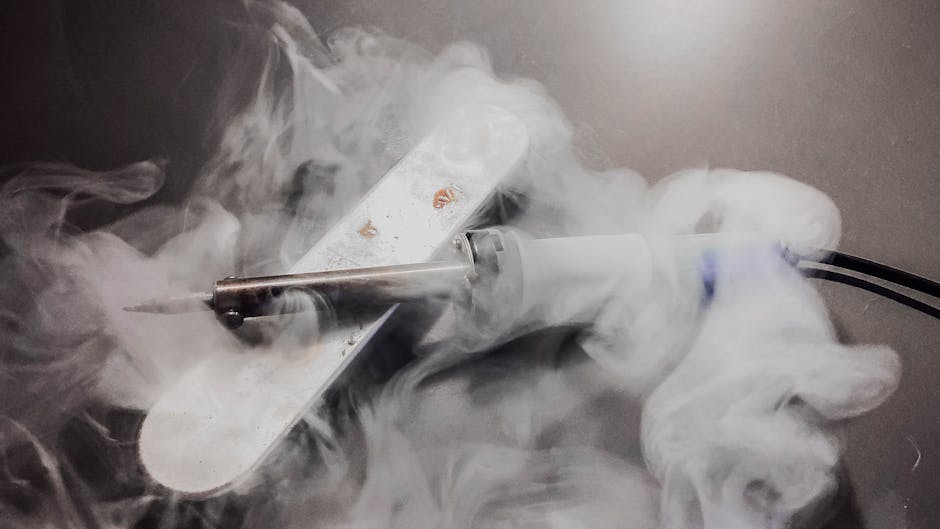
Soldering irons paired with a damp cloth give you precision heating for tiny dents where a full-sized iron would be overkill.
Heat guns can work too, but proceed with extreme caution – too much heat can damage or discolor your finish faster than you can say “oops.”
Pro Tips for Prevention
The best dent repair is the one you never have to do! Here are some simple ways to keep your wood surfaces dent-free:
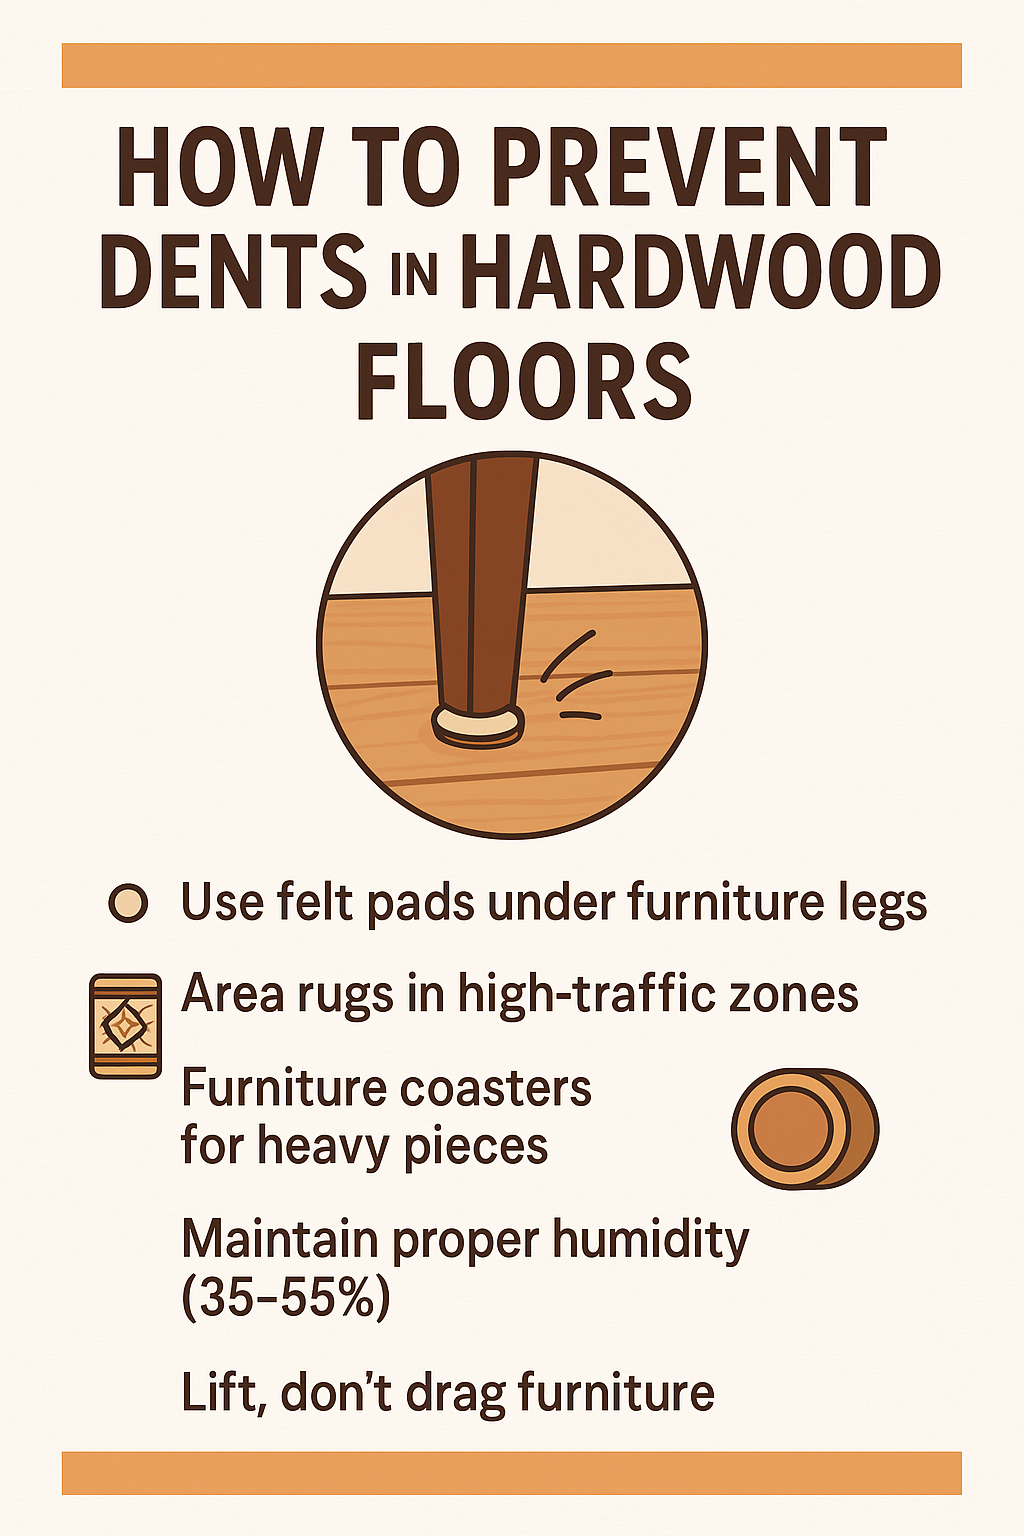
Felt pads under chair and table legs are inexpensive insurance against daily wear. Replace them regularly as they collect grit over time.
Area rugs in high-traffic zones protect your floors where they need it most – especially under dining tables where chairs slide in and out.
Furniture coasters distribute the weight of heavy pieces, preventing compression dents that form slowly over time.
Proper humidity levels (35-55%) keep wood resilient and less prone to damage. Too dry, and wood becomes brittle; too humid, and it gets soft and dent-prone.
And perhaps the simplest tip of all: lift, don’t drag your furniture. Those few extra seconds of proper technique can save hours of repair work later.
For deeper insights, check out the latest insights on dent-repair or our comprehensive DIY guide for repairing hardwood floor scratches.
Frequently Asked Questions about Fixing Dents in Wood
Will steaming work on a thick polyurethane floor finish?
That beautiful polyurethane finish that protects your floors also works against you when it comes to steam repairs. Think of poly like a raincoat for your wood—it’s designed to keep moisture out.
If you’re feeling brave, you could create tiny pinprick holes in the finish directly over the dent using a fine needle. This gives the steam a secret passage to the wood below. Just remember you’ll need to spot-refinish afterward.
For better results, I typically recommend lightly sanding the finish around the dent before attempting the steam method. Yes, it means refinishing that spot, but you’ll get much better results than fighting against that moisture barrier.
What if the dent doesn’t rise after five steam passes?
We’ve all been there—you’ve made multiple passes with the iron, but that stubborn dent just won’t budge. This usually means one of two things: either the wood fibers are actually broken (not just compressed), or the dent is simply too deep for steam to work its magic.
When steam fails, it’s time to switch to Plan B:
- Thoroughly clean the dented area
- Apply a quality wood filler or epoxy that matches your wood tone
- Allow it to dry completely (patience is key here)
- Sand it flush with the surrounding wood
- Apply matching finish to blend the repair
Sometimes what looks like failure is just impatience. Before grabbing the filler, try letting the steamed area dry completely overnight. I’ve seen dents that seemed unchanged suddenly appear much improved the next morning as the wood fully dries and settles.
Can I use this method on antique furniture?
Yes, but proceed with extra caution—think of it like performing surgery on a family heirloom. Antique pieces often have delicate finishes like shellac, old varnish, or French polish that can react dramatically to heat and moisture.
Always test on a hidden spot first. Use a lower iron setting than you would for modern furniture, and keep your steam applications brief. I recommend working in shorter bursts—maybe 3-5 seconds instead of 10—and checking progress frequently.
For valuable antiques, when in doubt, consult a professional. At Romero Hardwood Floors, we’ve seen well-intentioned DIY attempts cause more damage than the original dent. Some things are worth the investment in professional restoration, especially if the piece has significant monetary or sentimental value.
Fixing dents in wood is both science and art—sometimes knowing when to stop is as important as knowing how to start!
Conclusion
There’s something deeply satisfying about watching a dent in your beloved hardwood floor gradually rise back to its original form. Fixing dents in wood doesn’t require professional training or expensive equipment—just a household iron, a damp cloth, and a little patience.
At Romero Hardwood Floors Inc, we’ve seen countless Massachusetts homeowners light up with pride after successfully restoring their wood surfaces using these simple techniques. That’s why we encourage you to try these DIY approaches before calling in the cavalry. Not only will you save money, but you’ll also gain a newfound appreciation for the resilient nature of wood.
Of course, not every dent responds to the steam treatment. Some damage runs deeper or requires specialized attention—especially when dealing with valuable antiques or extensive damage. When your DIY efforts have reached their limit, that’s when our team of hardwood specialists steps in.
We’ve been restoring and refinishing hardwood floors throughout the North Shore and Greater Boston area since 2006, bringing craftsmanship, punctuality, and guaranteed results to every project. Our Hardwood Floor Repair and Refinishing service transforms even the most challenging floor situations into stunning, durable surfaces that improve your home’s beauty and value.
Wood is remarkably forgiving when treated with the right techniques. With a little steam, you can erase years of minor dings and dents—bringing back the smooth, flawless surface you fell in love with.
Looking for more wood wisdom?
– Step-by-Step Hardwood Floor Repair Techniques
– Repair Hardwood Floor Scratches: DIY Guide
– Hardwood Floor Repair and Refinishing
Romero Hardwood Floors Inc. – Proudly serving Beverly, Chelsea, Danvers, East Boston, Gloucester, Lynnfield, Malden, Manchester by the Sea, Marblehead, Medford, Melrose, Nahant, Peabody, Reading, Revere, Rockport, Salem, Saugus, Somerville, Stoneham, Swampscott, Wakefield, Winchester, Winthrop, Woburn, MA and beyond!