Hardwood Floor Varnishing: 5 Simple Steps to Success
Hardwood Floor Varnishing can transform a dull, worn-out floor into a stunning showpiece in any home or commercial space. Whether you’re tackling a DIY home improvement project or managing property repairs, achieving a flawless finish is essential. Quickly, here are the basic steps to varnish your hardwood floors:
- Prepare the Floor: Gather materials, clean the surface, and sand for smoothness.
- Apply Varnish: Start with the edges, then use a roller or applicator pad in a continuous motion.
- Let it Dry: Allow at least three hours for drying, avoiding fans to speed up the process.
As the owner of Romero Hardwood Floors Inc., I have over 15 years of experience in Hardwood Floor Varnishing and installation. My team and I are committed to delivering high-quality solutions that improve the beauty and functionality of your floors.

Basic Hardwood Floor Varnishing glossary:
– grey varnish for wooden floors
– removing old varnish from wood floors
– hard wearing wood floor varnish
Preparing Your Hardwood Floors
Essential Materials
Before you dive into Hardwood Floor Varnishing, gather all the essential materials you’ll need. This preparation will make your varnishing process smooth and efficient. Here’s what you need:
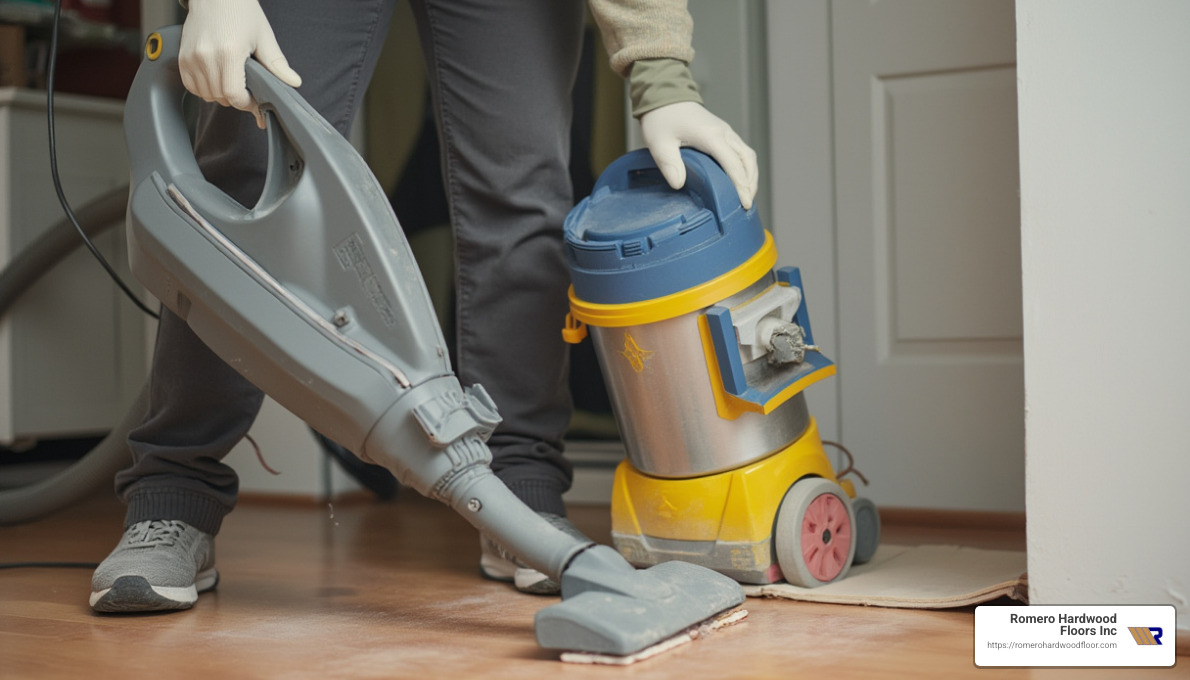
- Vacuum Cleaner: Crucial for removing dust and debris from the floor.
- Sandpaper: Use 150- to 220-grit for initial sanding and 320-grit for between coats if needed.
- Applicator Pad or Roller: A 10-millimeter roller works well for even varnish application.
- All-Purpose Cleaner: Ensures the floor is spotless before you start sanding.
Having these materials ready will save you time and help you achieve a professional finish.
Cleaning and Sanding
Cleaning and sanding are key steps in preparing your floors for varnishing. Start by removing all furniture from the room to avoid any obstacles. Next, vacuum the entire area to get rid of loose dust and dirt.
Cleaning: Use an all-purpose cleaner to wash the floor thoroughly. This removes grime and prepares the surface for sanding. Allow the floor to dry completely before moving to the next step.
Sanding: Sanding is crucial for a smooth finish. Use 150- to 220-grit sandpaper to gently sand the surface. This removes old finishes and smooths out imperfections. Once sanding is complete, vacuum the floor again to eliminate any dust created during the process.
By following these steps, you ensure that your floor is perfectly prepped for the varnish, setting the stage for a beautiful and durable finish.
Applying Varnish to Hardwood Floors
Starting with the Edges
When you begin Hardwood Floor Varnishing, start by applying varnish around the edges of the room. This step, while optional, helps you achieve a clean, uniform coat where the floor meets the baseboards.
Mix the Varnish: Before you start, make sure the varnish is well-mixed according to the manufacturer’s instructions. This ensures an even color and consistency.
Application Technique: Use a fine brush to apply the varnish along the edges. Work carefully to avoid getting varnish on the baseboards. If any spills occur, wipe them away immediately before they dry.
Applying the First Coat
Once the edges are done, it’s time to focus on the main floor area. This requires a smooth and consistent application to get the best results.
Roller or Applicator Pad: Choose between a roller or an applicator pad for the main application. A 10-millimeter roller is perfect for a wide, even spread. If you prefer, an applicator pad can also be used to apply the varnish directly onto the floor.
Continuous Motion: Start in one corner of the room and move towards the door. Pour the varnish into a paint tray if using a roller. Coat the roller evenly and apply the varnish in long, continuous strokes. Avoid applying pressure to prevent streaks.
Avoid Overlapping: Be cautious not to go over the same spot twice. This can create an uneven, thick layer that may not dry properly.
Letting the Varnish Dry
After applying the first coat, patience is key.
Drying Process: Allow the varnish to dry naturally. Avoid using fans or heaters to speed up the drying process, as this can lead to a poor finish.
Minimum Drying Time: The varnish needs at least three hours to dry completely. During this time, cover your materials and seal any leftover varnish to keep it fresh.
By following these steps, you ensure a smooth and professional finish on your hardwood floors. Next, we’ll explore the differences between varnish and polyurethane, helping you choose the right finish for your project.
Choosing Between Varnish and Polyurethane
When deciding between varnish and polyurethane for your flooring project, consider where the floor is located and the kind of durability you need. Both have their strengths and are suited to different environments and purposes.
Polyurethane for Indoor Use
Polyurethane is often the go-to choice for indoor hardwood floors. It’s a synthetic resin that creates a hard, protective shell over the wood. There are two main types of polyurethane: oil-based and water-based.
- Oil-Based Polyurethane: This is known for its durability and heat resistance. It’s ideal for high-traffic areas like living rooms and kitchens. It gives the floor a warm, amber glow, but it does have a strong odor and takes longer to dry.
- Water-Based Polyurethane: If you’re after a more natural look with less odor, water-based polyurethane is the better option. It dries faster and maintains the wood’s original color, but it can be more expensive and slightly less durable than its oil-based counterpart.
Overall, polyurethane is highly durable and resistant to scratches, making it perfect for indoor use where wear and tear are common.
Varnish for Outdoor Use
Varnish is typically reserved for outdoor projects due to its excellent UV protection. It shields wood from the sun’s harmful rays, making it ideal for decks, patios, and exterior furniture.
- UV Protection: Varnish contains resins and oils that protect wood from ultraviolet light damage, which helps prevent fading and discoloration.
- Application Process: Applying varnish can be a bit more challenging. It requires multiple coats and careful attention to avoid cracking, peeling, or bubbling. Proper application is crucial to ensure the varnish doesn’t become brittle over time.
While varnish offers great protection against the elements, it is less suited for indoor use due to its tendency to tint the wood and the more complex application process.
In summary, choose polyurethane for indoor projects where durability and ease of maintenance are priorities. Opt for varnish when working on outdoor surfaces that require robust UV protection. Next, we’ll dive into some frequently asked questions about hardwood floor varnishing to help you make the best choice for your home.
Frequently Asked Questions about Hardwood Floor Varnishing
Should you varnish hardwood floors?
Yes, varnishing hardwood floors can be a great choice for protecting and enhancing the natural beauty of your wood. Varnish provides a durable finish that safeguards against scratches and stains. However, many people prefer polyurethane for indoor use due to its superior durability and ease of maintenance. Polyurethane is especially favored in high-traffic areas because it forms a tough, resilient barrier that stands up well to wear and tear.
Is it better to varnish or oil wood?
Choosing between varnishing and oiling your hardwood floors depends on the look and maintenance level you desire. Varnish offers a glossy, protective finish that is highly durable but can sometimes alter the wood’s natural color. On the other hand, oil finishes, like tung oil, penetrate the wood, enhancing its grain and providing a more natural, matte appearance. Oil finishes are breathable and easier to repair, but they require more frequent maintenance to keep the floor looking fresh.
What is the cost of refinishing hardwood floors?
Refinishing hardwood floors is generally more cost-effective than replacing them. On average, refinishing costs range from $3 to $8 per square foot, depending on factors like the type of finish used, the condition of the existing floor, and regional labor costs. For example, if your floors have significant damage or require special treatments, the price may be higher. It’s important to get multiple quotes to ensure you’re getting the best price for your project.
Refinishing your floors not only revives their appearance but also adds value to your home, making it a worthwhile investment. Up next, we’ll explore more about hardwood floor refinishing and how to choose the right service for your needs.
Conclusion
At Romero Hardwood Floors Inc, we know that hardwood floor varnishing is more than just a task—it’s an art. Our expertise in flooring solutions ensures that your floors not only look stunning but also stand the test of time. Whether it’s a cozy home in Revere or a busy business in Boston, our services are custom to improve the beauty and value of your property.
Why Choose Romero Hardwood Floors Inc?
- Expert Craftsmanship: With years of experience, our team delivers precision and quality in every project.
- Competitive Pricing: We offer affordable rates without compromising on quality, ensuring you get the best value for your investment.
- Guaranteed Workmanship: Our commitment to excellence means you’re not just getting a service; you’re getting peace of mind.
Varnishing your hardwood floors is a smart investment that can significantly improve the value of your property. A well-maintained floor not only looks appealing but also attracts potential buyers, enhancing your home’s marketability.
If you’re considering refinishing your floors or need expert advice, we’re here to help. Our team at Romero Hardwood Floors Inc is ready to transform your space with our top-notch flooring solutions. Contact us today and take the first step toward beautiful, long-lasting hardwood floors.