Parquet Flooring Installation Guide: Top 5 Expert Tips
Parquet flooring installation guide: If you’re seeking a timeless blend of elegance and craftsmanship, you’ve found it. Parquet flooring is renowned for its intricate decorative patterns that add a touch of sophistication to any home. Here’s a quick summary of the parquet flooring installation steps for those eager to dive right in:
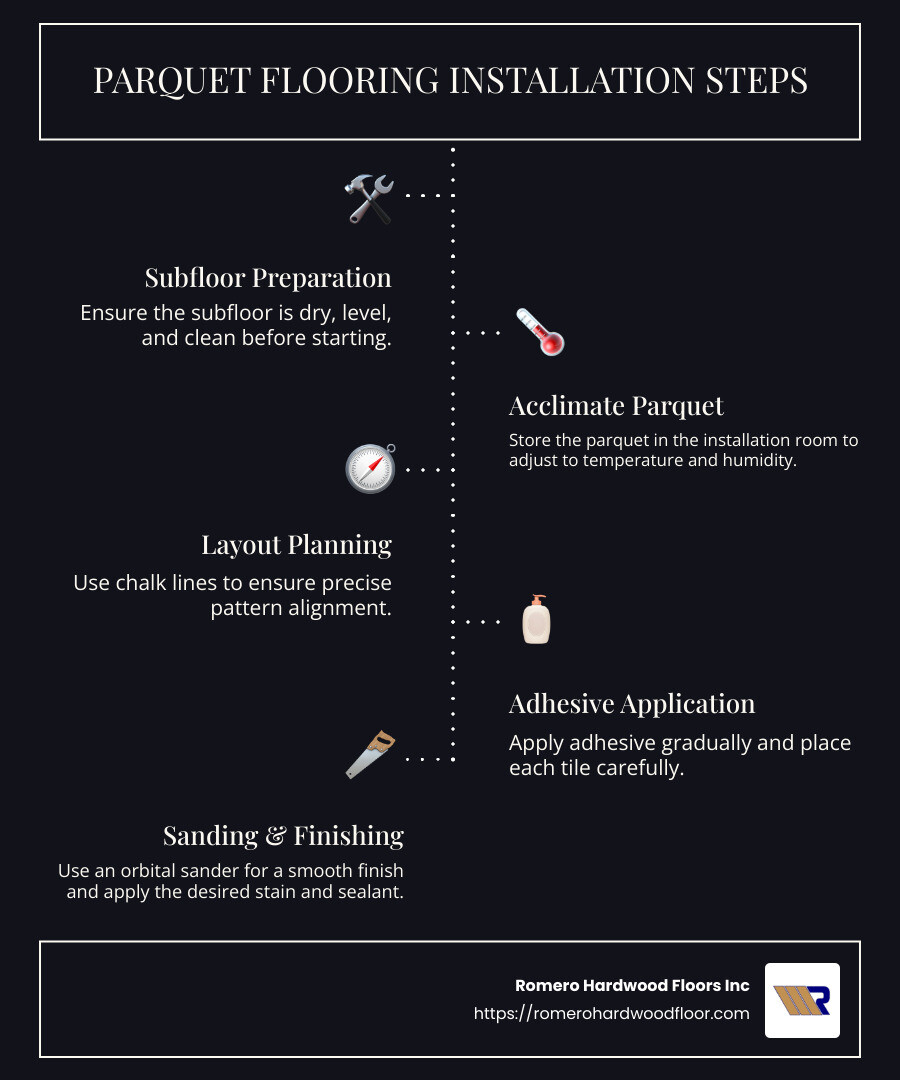
- Prepare the subfloor: Ensure it’s dry, level, and clean.
- Acclimate the parquet: Store the flooring in the room where it will be installed to adjust to temperature and humidity.
- Plan your layout: Use chalk lines for precise pattern alignment.
- Apply adhesive and install: Work in small sections, aligning each tile carefully.
- Sand and finish: Consider an orbital sander for a smooth finish.
What makes parquet flooring unique?
- Design Flexibility: From herringbone to basketweave, parquet offers endless visual possibilities.
- Historical Charm: Bring the elegance of 17th-century European palaces into your space.
- Durability: A quality parquet floor can last generations with proper care.
Hi there! I’m Francisco Romero, the owner of Romero Hardwood Floors Inc., based in Revere, MA. With over 15 years of experience in hardwood flooring, I specialize in changing spaces with stylish parquet flooring installation. Stay with us as we dig deeper into the Parquet flooring installation guide, exploring the beauty and precision of this exquisite flooring choice.
Parquet flooring installation guide word roundup:
– Chevron pattern hardwood floors
– Floor pattern design ideas
– Hardwood Floor Installation Patterns
Understanding Parquet Flooring
Parquet flooring stands out for its geometric designs that captivate and add depth to any room. Unlike traditional flooring, parquet tiles are crafted in intricate patterns, offering a unique visual appeal.
Geometric Designs
The beauty of parquet lies in its versatility. The flooring is composed of small wood pieces arranged in patterns like squares, triangles, and lozenges. Each design tells a story, changing a simple floor into a piece of art.
One of the most popular patterns is the herringbone pattern. This design features rectangular blocks laid in a zigzag pattern, creating a dynamic and neat look. The herringbone pattern is not just visually appealing; it also adds a sense of movement and direction to a space.
Engineered Wood
Modern parquet flooring often uses engineered wood, which combines layers of wood for added stability and durability. Engineered wood is less prone to expansion and contraction with humidity changes, making it an excellent choice for parquet. This innovation retains the classic charm of parquet while offering practical benefits for today’s homes.

Why Choose Parquet?
Parquet flooring isn’t just about looks. It’s about bringing a piece of history into your home. Originating in 17th-century France and gracing the floors of European palaces, parquet has a timeless appeal. Its ability to blend with both traditional and modern interiors makes it a favorite among homeowners.
Key Benefits:
- Design Flexibility: Choose from a variety of patterns to suit your style.
- Historical Charm: Infuse your space with the elegance of a bygone era.
- Durability: Engineered wood ensures longevity and resilience.
Parquet flooring is more than just a flooring option; it’s a statement of style and sophistication. We’ll explore how to prepare for a parquet flooring installation guide, ensuring your new floor is as flawless as it is beautiful.
Preparing for Installation
Before diving into the parquet flooring installation guide, it’s crucial to lay a solid foundation. This involves two key steps: preparing your subfloor and acclimatizing your parquet flooring. Both are essential to ensure a long-lasting and beautiful floor.
Subfloor Requirements
Subfloor preparation is the backbone of any successful parquet flooring installation. A well-prepared subfloor ensures your parquet tiles lay flat and stay secure. Here’s what you need to know:
- Concrete and Plywood: These are ideal surfaces for parquet flooring. However, they each require specific preparation. For concrete, ensure it’s clean and dry. Use a moisture meter to check for any dampness. If moisture is present, consider applying a damp-proof membrane. For plywood, make sure it’s structurally sound and securely fastened.
- Leveling: Uneven subfloors can lead to an unstable parquet floor. Use a floor leveller to smooth out any bumps or dips. For concrete, a belt sander can help reduce peaks, while a latex bonding agent can aid in leveling. Always aim for deviations no greater than 2mm.
- Moisture Content: Moisture is the enemy of wood flooring. Use tests like the Plastic Sheet Test or a Handheld Moisture Meter to detect any moisture in your subfloor. Keeping moisture at bay helps prevent warping and ensures adhesives work effectively.
Acclimatizing Parquet Flooring
Once your subfloor is ready, it’s time to acclimatize your parquet flooring. This step helps the wood adjust to the room’s temperature and humidity, minimizing the risk of warping.
- Humidity Control: Maintain consistent humidity levels between 36-60% and a temperature of 65-75°F. This stability is crucial for the wood to adapt properly. Use a hygrometer to monitor conditions.
- Storage Guidelines: Store your parquet blocks in the room where they will be installed for at least a week. Ensure they are off the ground and have good air circulation. This allows the wood to adjust naturally to the room’s environment.
By diligently preparing your subfloor and allowing your parquet flooring to acclimatize, you set the stage for a smooth installation process. Next, we’ll dig into the step-by-step installation of parquet flooring, ensuring every tile is perfectly placed.
Parquet Flooring Installation Guide
Step-by-Step Installation
Installing parquet flooring can transform your space with its timeless elegance. Here’s a step-by-step guide to help you achieve a professional finish.
- Chalk Lines
Begin by snapping chalk lines to guide your tile placement. These lines ensure your pattern remains straight and consistent. Measure from the center of the room to establish your starting point, then snap lines at right angles to create a grid. - Adhesive Application
Select a high-quality adhesive suitable for your parquet type. Urethane-based or modified-silane adhesives are often recommended. Follow the manufacturer’s instructions for application, using a notched trowel to spread the adhesive evenly. Remember to wear safety gear like respirators and gloves, as adhesives can be potent.
- Tile Placement
Start laying tiles at the intersection of your chalk lines. Align the first tile carefully, pressing it into the adhesive. Continue placing tiles, mixing them from different boxes to ensure color consistency. Use your hands to adjust each tile, maintaining alignment with your grid lines. - Pattern Alignment
Parquet flooring often features intricate patterns like herringbone or chevron. Aligning these patterns correctly is crucial for a polished look. Check your progress frequently against your chalk lines to prevent drift. - Expansion Gaps
Leave a small gap between the tiles and the wall to allow for natural expansion. This prevents buckling and warping over time. Use spacers to maintain a consistent gap around the room’s perimeter.
Tools and Equipment Needed
Here’s a checklist of essential tools and equipment for a successful parquet flooring installation:
- Tape Measure
For accurate measurements and ensuring your chalk lines are precise. - Rubber Mallet
Use this to gently tap tiles into place without damaging them. - Moisture Meter
A crucial tool to check both subfloor and tile moisture levels, ensuring they are within acceptable limits before installation. - Trowel
A notched trowel is necessary for spreading adhesive evenly across your subfloor. - Chalk Line Reel
To create straight, guiding lines for your tile layout. - Safety Equipment
Includes knee pads, safety goggles, and masks to protect yourself during the installation.
By following this Parquet Flooring Installation Guide, you can achieve a stunning and durable floor. Each step, from chalk lining to tile placement, plays a vital role in the installation process. Next, we’ll explore the final touches needed to sand and finish your parquet floors for a flawless finish.
Sanding and Finishing Parquet Floors
Once your parquet flooring is installed, the next step is to sand and finish it. This process improves the beauty and longevity of your floor. Let’s explore the sanding process and the finishing touches that will make your parquet floor shine.
Sanding Process
Sanding parquet floors is a bit different from sanding regular hardwood floors due to the intricate patterns. Here’s how to do it right:
- Grit Sequence
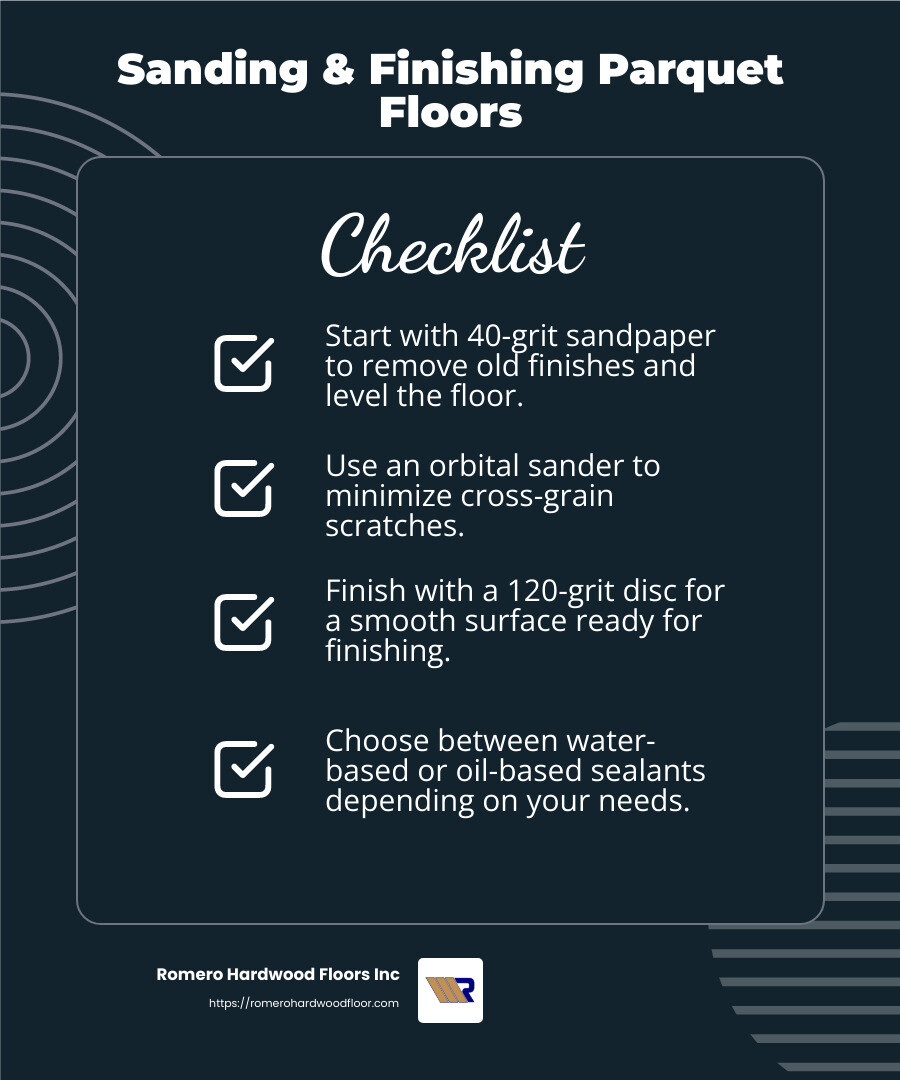
Start with a coarse grit, like 40-grit, to remove any old finishes and level the floor. Next, switch to a 60-grit for the second pass, this time sanding diagonally in the opposite direction. Finally, use an 80-grit sandpaper along the longest part of the room for a smooth finish. - Orbital Sander
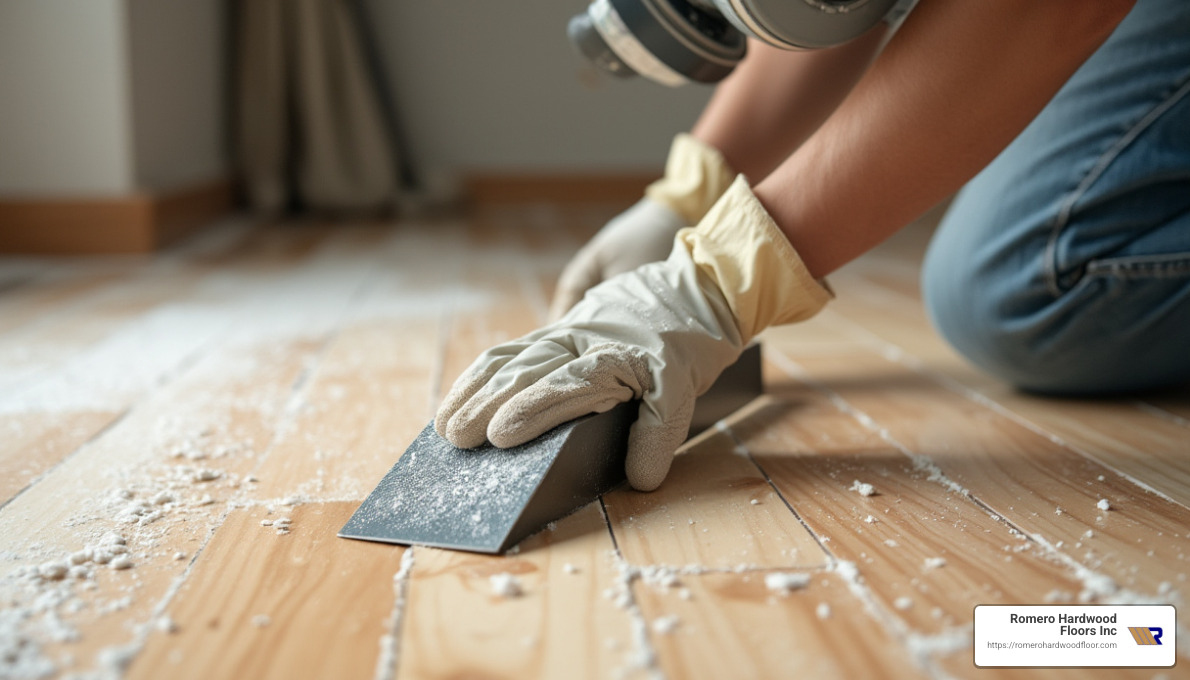
An orbital sander, such as the American Sanders OBS-18, is ideal for parquet floors. It minimizes cross-grain scratches and creates a uniform surface. If you’re only working on one project, renting an orbital sander is a cost-effective option. - Edge Sanding
Use an edging sander with the same grit sequence for the room’s perimeter. Sand in the direction of the grain to avoid scratches and achieve a seamless look. - Final Buffing
Finish with a 120-grit disc backed by a hardplate for buffing. This step ensures your floor is perfectly smooth and ready for finishing.
Finishing Touches
With the sanding complete, it’s time to focus on the finishing touches that protect and beautify your parquet floor.
- Staining
If your parquet is made of a single wood species, like white oak, consider staining for a uniform look. However, avoid staining if your parquet consists of multiple wood species, as they absorb stain differently. - Sealing
Choose between water-based or oil-based sealants. Water-based sealants dry quickly and have minimal odor, while oil-based options improve the wood grain and provide more durability. Follow the manufacturer’s instructions for application. - Maintenance Tips
To keep your parquet floor looking pristine, clean it regularly with a damp mop. Avoid excess moisture, which can damage the wood. Place felt pads under furniture legs to prevent scratches.
By following these steps, you’ll achieve a stunning parquet floor that improves your home’s aesthetic. Next, we’ll address some frequently asked questions about parquet flooring installation.
Frequently Asked Questions about Parquet Flooring Installation
What do you put under parquet flooring?
When installing parquet flooring, it’s crucial to start with the right subfloor. Suitable materials include concrete, plywood, and oriented strand board (OSB). These provide a stable base for your parquet tiles.
To prevent moisture from damaging your beautiful parquet, consider using a moisture barrier. This is especially important if your subfloor is concrete, as it can release moisture over time. A plastic sheet or a damp-proof membrane can be effective solutions to keep your parquet safe and dry.
Is parquet flooring difficult to install?
Installing parquet flooring can be a bit challenging, but it’s not impossible for a determined DIYer. Here are some common challenges and tips to help you succeed:
- Precision is Key: Parquet tiles need to be laid with precision to maintain their intricate patterns. Use chalk lines to guide your layout and keep everything in line.
- Adhesive Application: Applying adhesive correctly is crucial. Spread it evenly and work in small sections to prevent it from drying out before you lay the tiles.
- DIY Tips: If you’re doing it yourself, make sure to have all the necessary tools, such as a rubber mallet and moisture meter. Take your time, and don’t rush the process. If you’re ever in doubt, consult a professional.
Which way should you lay parquet flooring?
Choosing the right direction for your parquet flooring can make a big difference in the look and feel of your room. Here are some pointers:
- Pattern Direction: The direction of the parquet pattern can affect the room’s perception. A herringbone pattern running parallel to the longest wall can make a room appear larger.
- Room Focal Points: Consider the room’s focal points. Aligning the pattern towards a fireplace or a large window can improve the space’s visual appeal.
By understanding these aspects, you can ensure your parquet flooring not only looks great but also lasts for years. Next, we’ll explore the conclusion and how Romero Hardwood Floors Inc can help you achieve the perfect parquet installation.
Conclusion
At Romero Hardwood Floors Inc, we believe that installing parquet flooring is more than just a home improvement project—it’s a way to improve your property’s aesthetic and value. Our expert installation services ensure that your parquet flooring is laid with precision and care, bringing out the natural beauty and intricate patterns that parquet is known for.
Why Choose Romero Hardwood Floors Inc?
We bring over a decade of experience to every project, making us a trusted name in the flooring industry. Our team is dedicated to providing top-notch service, from initial consultation to final installation. We understand that each home is unique, and we tailor our services to meet your specific needs.
- Expert Installation: Our skilled professionals handle every step of the process, ensuring your parquet flooring is installed correctly and efficiently. We take pride in our attention to detail and commitment to quality workmanship.
- Enhancing Property Value: Parquet flooring is not only beautiful but also a smart investment. It adds a touch of elegance and sophistication to any room, making it a sought-after feature for potential buyers. With our expert installation, you can be confident that your parquet flooring will stand the test of time.
- Customer Satisfaction: We prioritize your satisfaction. From the moment you contact us, we work closely with you to ensure your vision becomes a reality. Our competitive pricing and punctual service make us the go-to choice for homeowners in the Revere, MA area and beyond.
For more information on our parquet flooring installation services and to explore the various patterns we offer, visit our Hardwood Floor Installation Patterns page.
By choosing Romero Hardwood Floors Inc, you’re not just getting a floor—you’re investing in a beautiful and lasting foundation for your home. Let us help you transform your space with the timeless charm of parquet flooring.
