The Ultimate DIY Guide to Finishing Hardwood Floors
Finishing Hardwood Floors: Ultimate, Perfect 2025
Revitalize Your Home: Understanding Hardwood Floor Finishing
When you’re considering finishing hardwood floors, you’re looking to protect, restore, and beautify your home’s most enduring asset. This process involves applying a fresh, durable layer to the wood.
Why is this important?
- Protection: It creates a shield against daily wear, spills, and scratches.
- Restoration: It brings back the original luster and warmth of aged or worn floors.
- Value: A well-finished floor significantly increases your home’s appeal and market value.
- Customization: It offers the chance to change your floor’s color or sheen to match your evolving style.
Hardwood floor finishing breathes new life into a space, erasing years of wear and tear. It’s a transformative process that can make an old room feel brand new again.
As Francisco Romero, owner of Romero Hardwood Floors Inc., I’ve dedicated over 15 years to changing spaces with premium quality hardwood floors, specializing in expert finishing hardwood floors for residential and commercial clients since 2006. This guide will walk you through everything you need to know to achieve stunning results.

Finishing hardwood floors vocabulary:
Is DIY Floor Refinishing Right for You? Cost vs. Professional Services
Tackling finishing hardwood floors on your own can be deeply satisfying—and easier on your wallet—but it is no small task. Expect a long weekend (or more) of heavy equipment, flying dust, and plenty of knee-bending detail work. If you do not own the necessary tools or have never run a drum sander, think twice; a single mistake can mean deep gouges you will see forever.
Traditional solid hardwood can usually be refinished up to 10 times, so you have options:
- DIY: Perfect if you have the time, stamina, and desire to learn. Be ready for dust, fumes, and a steep learning curve.
- Professional: Ideal when you want predictable, warrantied results with none of the mess or stress.
Romero Hardwood Floors Inc. has helped Greater Boston–area homeowners since 2006. Browse our Hardwood Floor Refinishing Companies page to see what sets us apart.
Average DIY Costs
Internet research shows small DIY projects (≈275 sq ft) can start around $500 for equipment rental and supplies. A whole-house refinish (≈2,000 sq ft) might land anywhere from $1,000 to $2,400+ once you add sanding belts, stain, and finish.
These figures are broad online averages, not a quote from Romero Hardwood Floors Inc. Actual costs swing widely—sometimes above $2,500—based on project size and materials.
Average Professional Costs
Pro service usually runs $3–$4 per sq ft nationwide, but complex layouts, extensive repairs, premium finishes, or high-cost regions can push pricing to $12 per sq ft or more. For precise numbers, request a written estimate; our free quotes are quick and obligation-free. See more on pricing at Cost to Sand and Restain Hardwood Floors.
Choosing the Right Finish for Your Hardwood Floors
Finish affects appearance, durability, indoor air quality, and maintenance. Below is a streamlined look at todays most popular options (see a deeper dive at Best Hardwood Floor Finish). If youd like a broader, non-commercial overview of finishing techniques, the Wood finishing article on Wikipedia is a helpful external resource.
| Finish Type | Durability | Dry Time | Look/Color | VOCs | Typical Cost* |
|---|---|---|---|---|---|
| Water-Based Poly | High | 312 hrs | Clear | Low | $$ $$$ |
| Oil-Based Poly | High | 848 hrs | Amber tone | High | $$ |
| Hard Wax Oil | Moderate | 1224 hrs | Natural/matte | Low | $$ $$$ |
*Online averages only; premium products can be 30 higher.
Surface vs. Penetrating Finishes
- Surface finishes (water-/oil-based poly, varnish) build a hard film on top of the woodeasy to clean but harder to spot-repair.
- Penetrating finishes (hard-wax oils, natural oils) soak in, leaving a low-sheen, easily repairable surface that feels like bare wood.
Quick Pros & Cons
- Water-Based Poly: Fast dry, low smell, crystal clear; costlier and needs more coats.
- Oil-Based Poly: Rock-solid, warm amber glow; slow dry and high fumes.
- Hard Wax Oil: Soft matte look and spot repairs; requires periodic refresher coats.
- Acid/Moisture-Cured: Super tough but extremely high VOChire a pro.
- Aluminum Oxide (factory finish): 25-year wear layer on prefinished boards; cannot be applied on-site.
Sheen & Color
Lower sheens (matte or satin) hide everyday wear better than semi- or high-gloss. Stains allow dramatic color changes; always test on a hidden area first. Find stain inspiration at Choosing Hardwood Floor Color.
The Complete Guide to Finishing Hardwood Floors: A Streamlined Step-by-Step
Below is a condensed roadmap. Follow manufacturer instructions for any product you use, and never skip safety gear.
Essential Tools & Materials
• Drum or orbital floor sander
• Edger sander & buffer
• Shop vac with clean filter
• Plastic sheeting & tape
• Sandpaper (36–120 grit)
• Wood filler, tack cloths, stain, finish
• Respirator, goggles, ear protection, gloves
Step 1: Prep the Room
Remove all furniture, seal doorways/vents with plastic, and gently pry off quarter-round or base molding (label for re-install). Set any nail heads below the surface and vacuum debris. 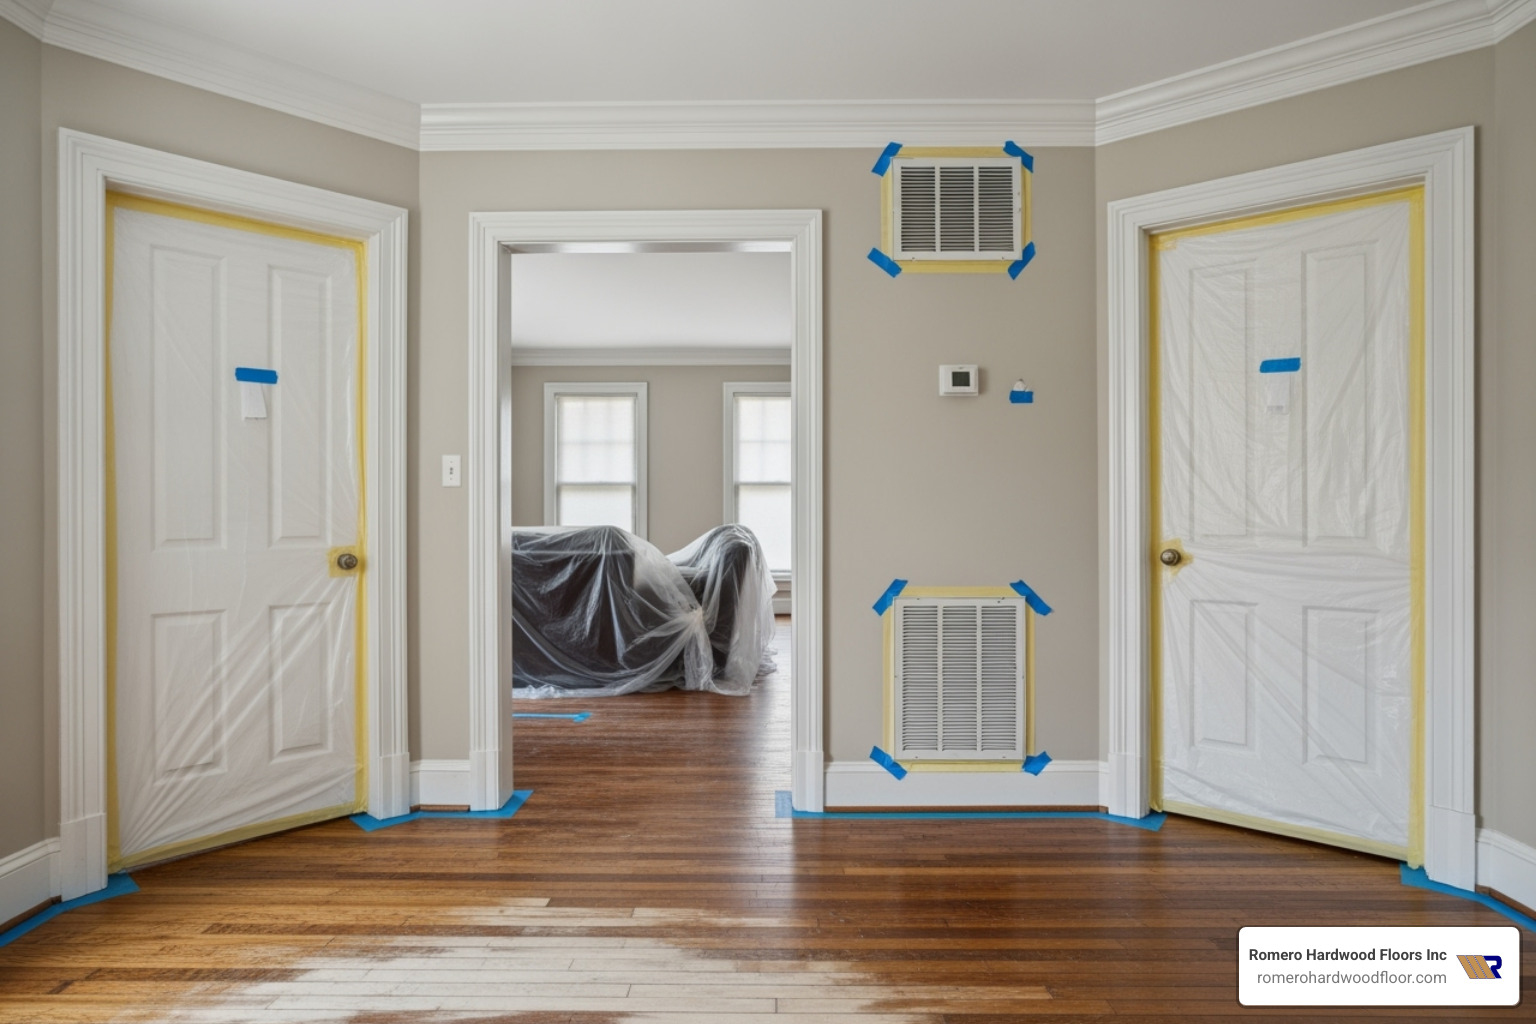
Step 2: Repair Imperfections
Patch deep gouges with trowel-grade filler; use putty for small nail holes. Let products dry fully. 
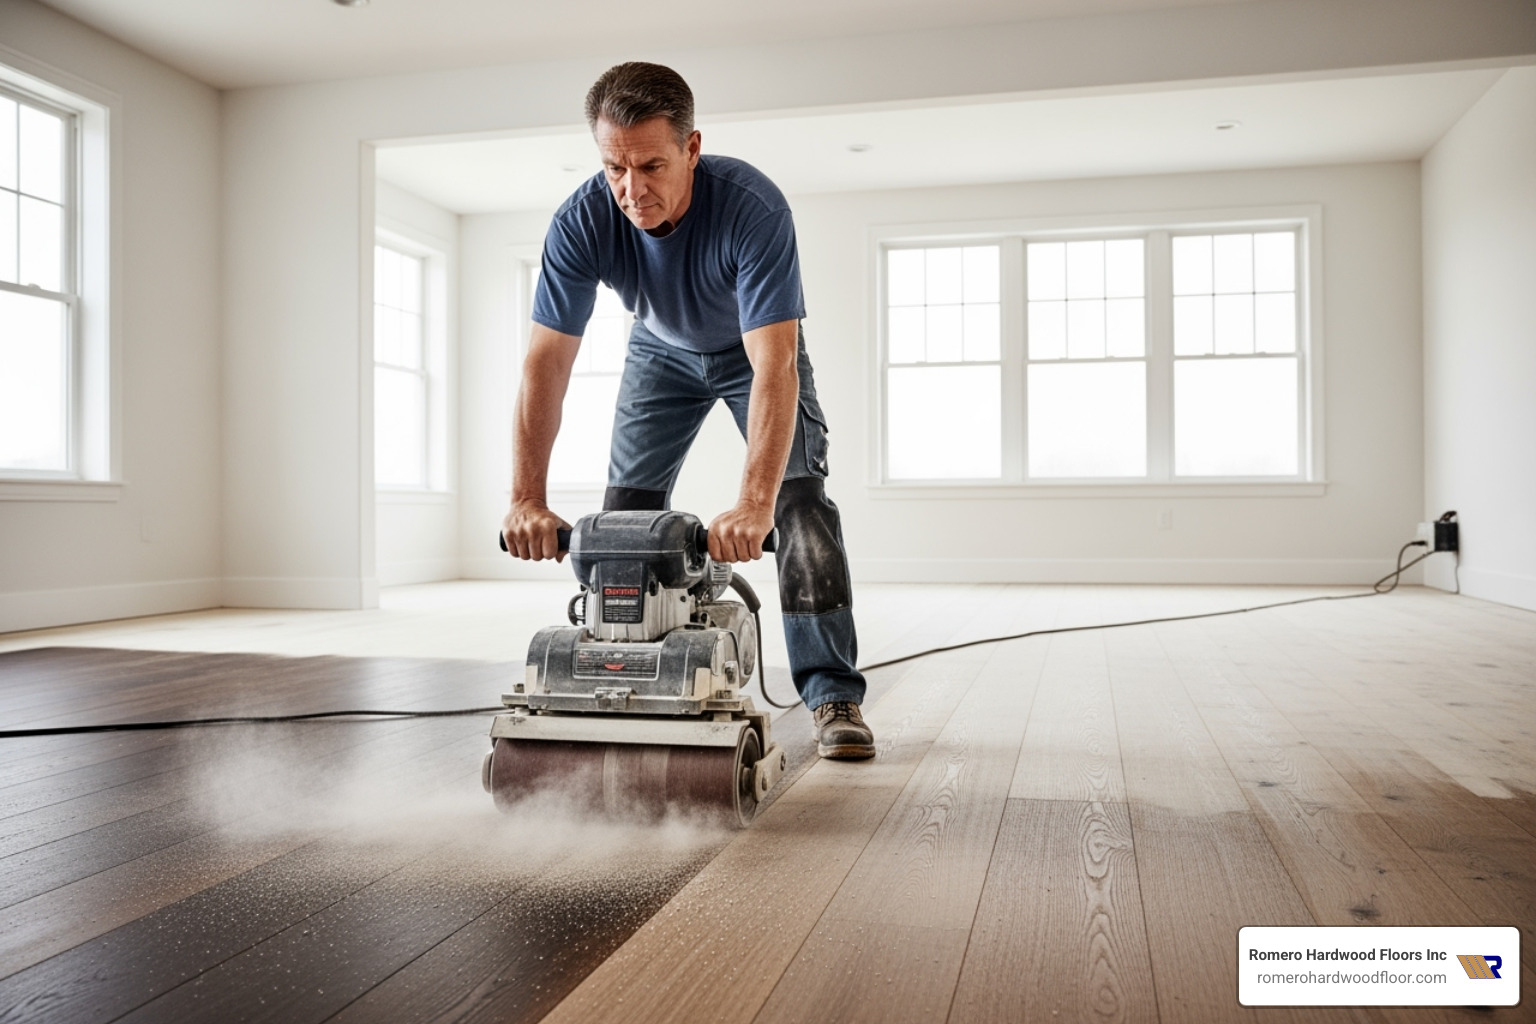
Step 3: Sanding
- Start with 36–40 grit to remove finish. Keep the drum moving—no dwell marks.
- Edge-sand perimeter with same grit.
- Progress through 60, 80, then 120 grit, vacuuming between passes.
- Screen-buff with 120 grit for a uniform scratch pattern.

Step 4: Final Cleaning
Vacuum every surface—walls included—then wipe the floor with tack cloths. For darker, more even stain results on open-grain species, lightly mist the floor (“water-popping”) and allow to dry. 
Step 5: Stain (Optional)
Apply stain with a lambswool applicator, working with the grain in small sections. Wipe excess promptly and let dry—often 24 hours. 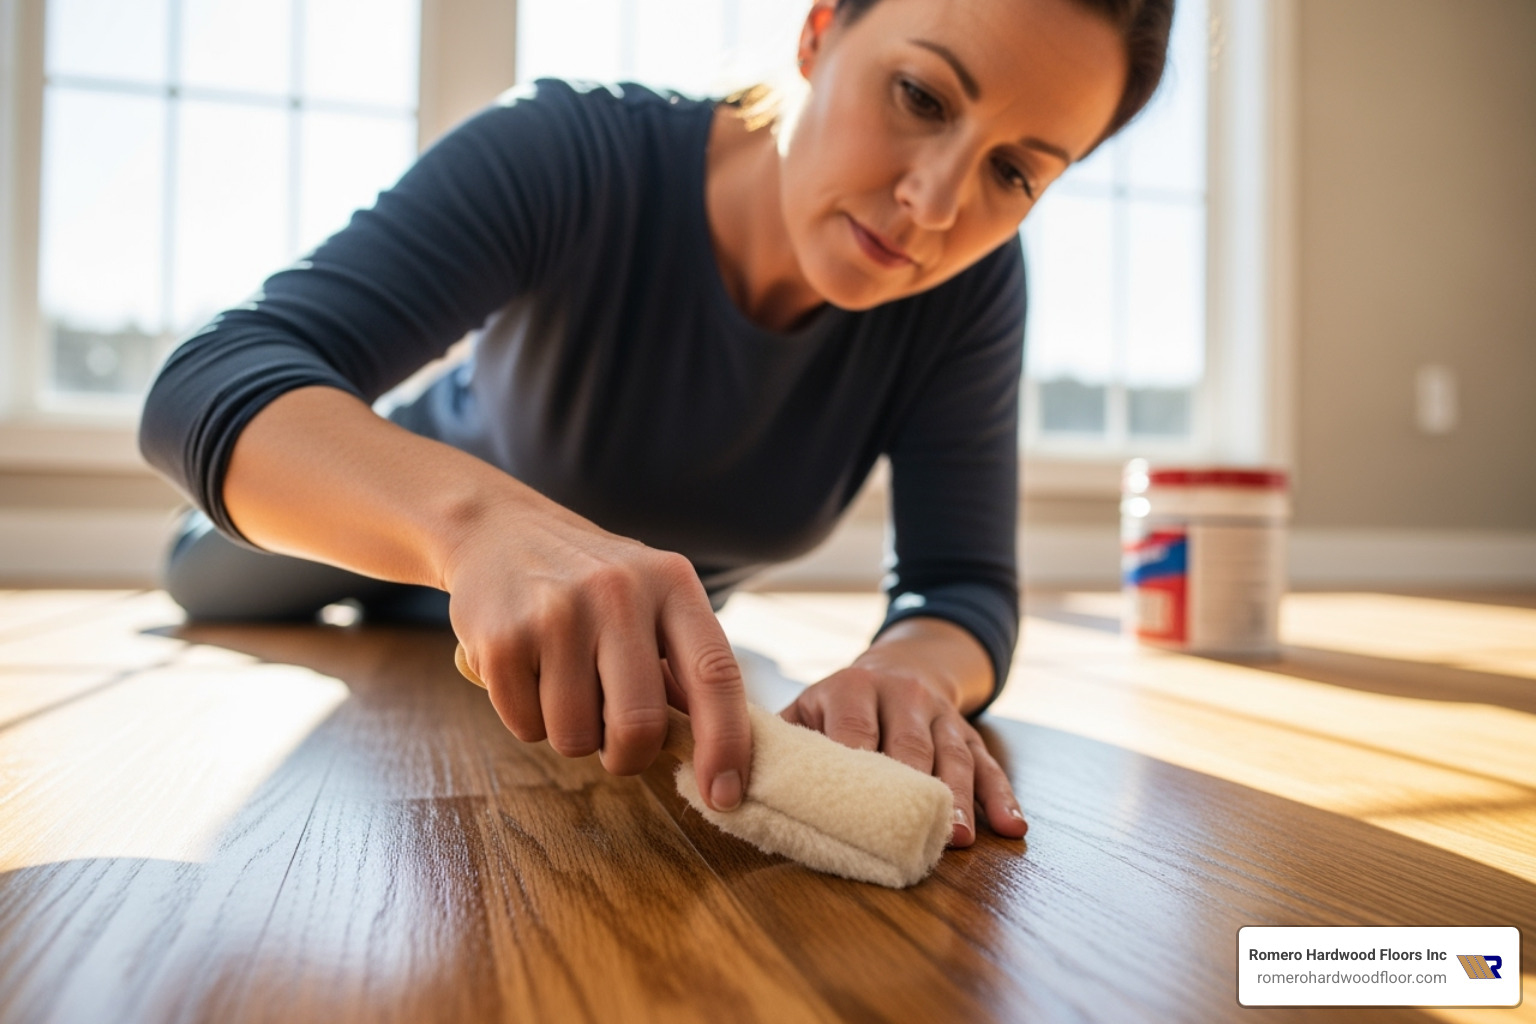
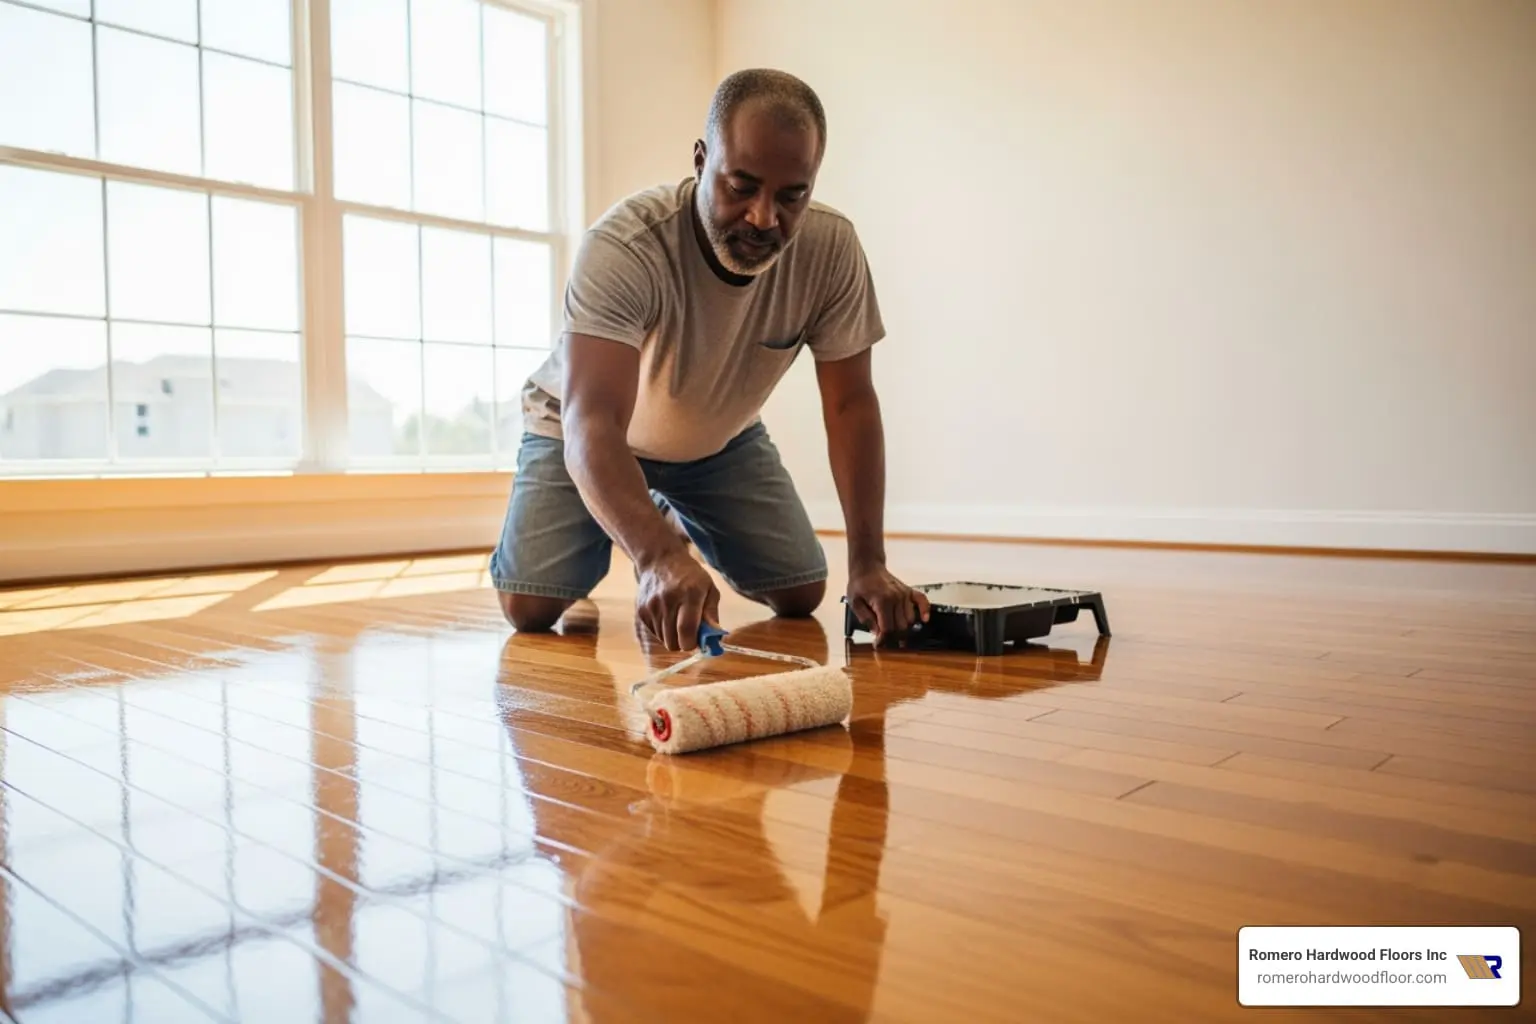
Step 6: Apply Finish
Using a T-bar, roller, or lambswool pad, lay down thin, even coats from the far wall toward your exit. Keep a wet edge to avoid lap marks.
- Water-based poly: 4 coats; recoat ~3 hrs.
- Oil-based poly: 3 coats; recoat ~8 hrs.
Between coats, abrade lightly with a buffer (220 screen or maroon pad), vacuum, and tack. 
Once the final coat is down, keep traffic light until cured (see next section). For expanded how-to content, visit Hardwood Floor Varnishing.
Curing, Maintenance, and Safety—The Short Version
- Dry vs. Cure: “Dry-to-touch” (3–8 hrs) lets you recoat. Full cure—when the finish reaches max hardness—takes 3–7 days; delay heavy furniture or area rugs until then.
- Ventilation & PPE: Open windows, run fans, and wear a respirator, goggles, ear protection, and gloves. Oily rags can self-ignite—lay them flat outdoors to dry before disposal.
- Routine Care: Dust-mop or vacuum (soft brush) often, damp-mop sparingly with approved cleaners like Bona. Avoid wax, oil soaps, or silicone products on polyurethane finishes.
- Protect: Felt pads under furniture, entry mats, and a no-heels policy prevent early wear. Quick “buff & recoat” every few years keeps the surface fresh.
For more detail, see our Wooden Floor Maintenance Tips and recommended Hardwood Floor Cleaning Products.
Frequently Asked Questions about Finishing Hardwood Floors
You’ve probably got some burning questions about finishing hardwood floors, and honestly, that’s completely normal! After helping homeowners transform their floors for over 15 years, I’ve heard just about every question imaginable. Let me share the answers to the most common ones.
How many times can you refinish a hardwood floor?
This is hands down the most popular question we get, and the answer depends on what type of flooring you have under your feet.
Solid hardwood floors are the champions of longevity. These beauties can typically be sanded and refinished up to 10 times throughout their lifespan. That’s because they’re solid wood all the way through – there’s plenty of material to work with when we sand away scratches and wear. Think of it like a thick book where you can keep removing pages and still have plenty left to read.
Engineered hardwood floors are a different story entirely. The number of times you can refinish them depends completely on how thick that top veneer layer is. Some engineered floors with paper-thin veneers (less than 2mm) might not be refinishable at all, or maybe just once if you’re lucky. However, those with thicker veneers (3mm or more) can usually handle 1 to 3 refinishing cycles.
Here’s a pro tip: if you have prefinished engineered floors with aluminum oxide finishes, the refinishing process can be tricky. These factory-applied finishes are incredibly durable but require special techniques to work with. For more details on this challenge, check out Engineered Hardwood Floor Refinishing.
What’s the difference between refinishing, resurfacing, and recoating?
I get this question a lot, and honestly, it’s no wonder people are confused! These terms get tossed around like they mean the same thing, but they’re actually quite different processes.
Refinishing is the full treatment – we’re talking about sanding your floors down to bare wood, removing every trace of old finish, stain, and surface damage. It’s like giving your floors a complete makeover. Once we’ve sanded everything away, we apply new stain (if you want a color change) and several fresh coats of protective finish. This is what you need when your floors have deep scratches, significant wear, or when you’re ready for a completely new look.
Resurfacing is a term that often gets used interchangeably with refinishing, especially when we’re talking about restoring the surface of your floor. You can learn more about this process at Floor Resurfacing.
Recoating (sometimes called “buff and coat” or “screen and coat”) is like giving your floors a spa day instead of major surgery. This process works when your existing finish is still in decent shape but has lost its shine or has minor surface scratches. We lightly scuff up the existing finish to create a good bonding surface, then apply one or two fresh topcoats. It won’t fix deep scratches or change your floor’s color, but it’s much faster, less messy, and easier on your wallet than a full refinish.
How long does it take for the smell to go away?
Ah, the smell question! This one really depends on what type of finish you choose for your finishing hardwood floors project.
Water-based finishes are the gentle giants of the flooring world. They have low VOCs and barely any odor at all. Any smell that does exist usually disappears within a few hours to a day, especially if you keep the windows open and fans running.
Oil-based finishes are a whole different animal. These contain higher VOCs and produce some pretty strong fumes. The smell can be quite intense during application and might stick around for several days or even a few weeks. I always tell my clients to plan accordingly – maybe visit the in-laws for a weekend!
The key with oil-based finishes is proper ventilation is absolutely crucial. Open those windows, get the fans going, and create a good cross-breeze. It not only helps clear the air faster but also helps the finish cure properly.
One thing I’ve learned over the years is that most people are surprised by how much the smell can vary from project to project. Factors like humidity, temperature, and how well-ventilated your space is all play a role in how quickly those fumes dissipate.
Conclusion
There’s something truly magical about seeing a tired, worn hardwood floor come back to life. As we’ve explored, finishing hardwood floors isn’t just about making them look pretty again; it’s a powerful way to restore their beauty, make them incredibly durable, and significantly increase your home’s value. It’s an investment that pays dividends in both aesthetics and long-term protection.
We’ve walked through every step, from the initial prep work to choosing the perfect finish and applying it with care. We’ve seen that tackling a DIY refinishing project can be incredibly rewarding, giving you a deep sense of accomplishment. However, it’s also a big undertaking – demanding a lot of time, elbow grease, and meticulous attention to detail. It’s certainly not for the faint of heart, and mistakes can be costly.
For those who dream of a flawless, professional result without the hassle, stress, or steep learning curve, expert help is truly invaluable. That’s where we come in! Romero Hardwood Floors Inc., based in Revere, MA, has been proudly providing expert flooring solutions for homes and businesses since 2006. With over 15 years in the business, we’re known for our competitive pricing, punctuality, and guaranteed workmanship.
So, if you’re ready to transform your home with a beautiful, long-lasting finish that stands the test of time, let our team handle the hard work. Find the difference professional expertise makes! Consider our trusted hardwood floor refinishing services near you and let us make your hardwood floors shine like never before.