
⭐⭐⭐⭐⭐ 130+ Google Reviews | MA HIC License 201133 | MA Construction Supervisor License CS115759
Hardwood Flooring Services Across Greater Boston and the North Shore
Nine core services. One contractor. Every job handled by Romero Hardwood Floors — MA licensed, insured, and backed by a 1-year conditional workmanship warranty.
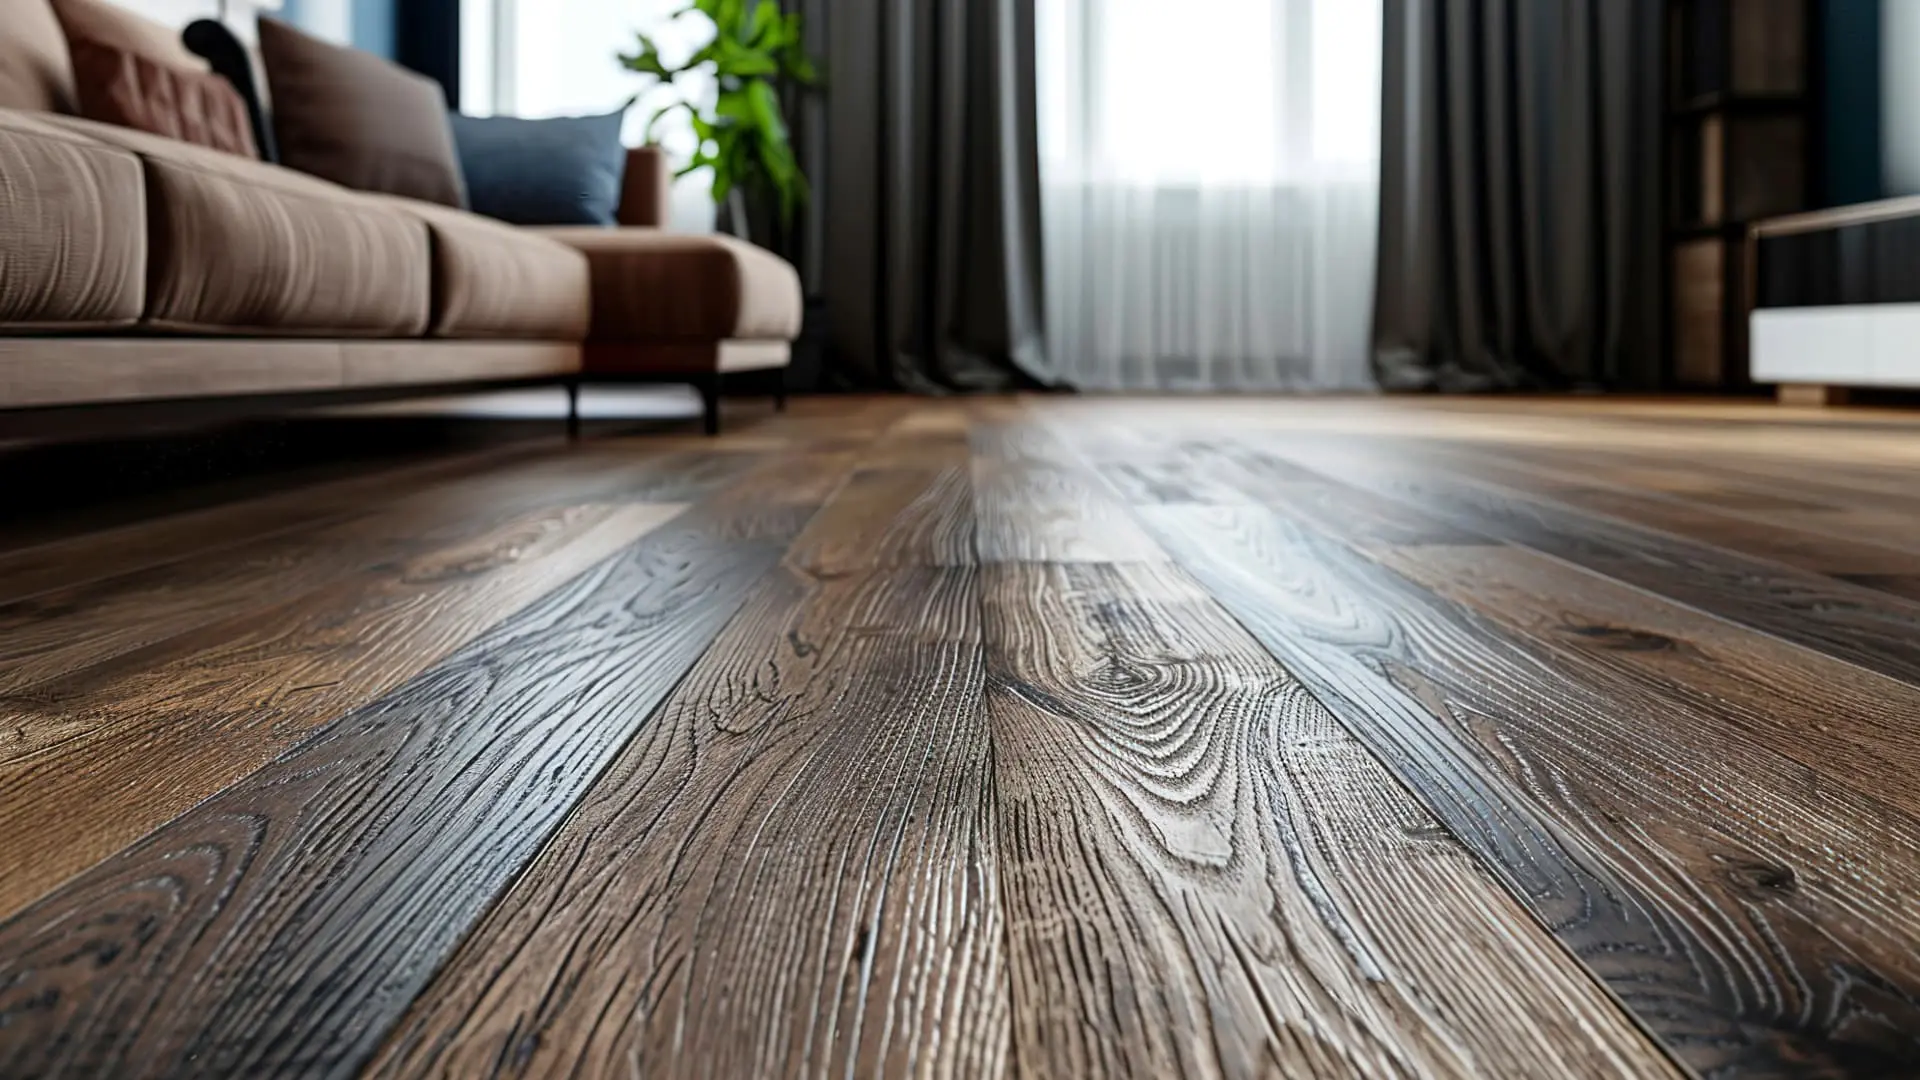
Hardwood Flooring Services in the Greater Boston Area
One Contractor. Every Flooring Service Your Home Needs.
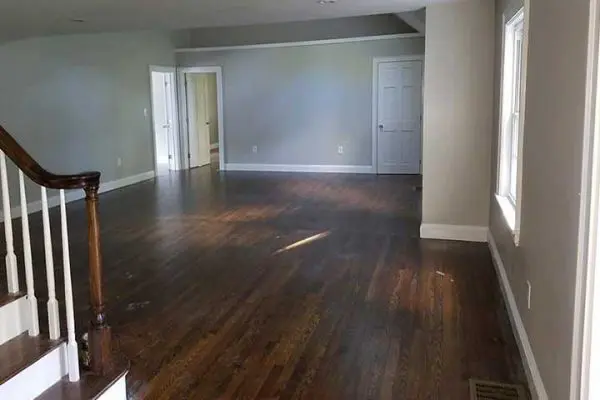
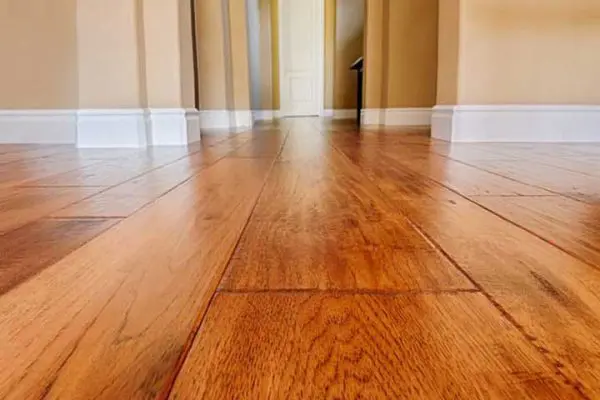
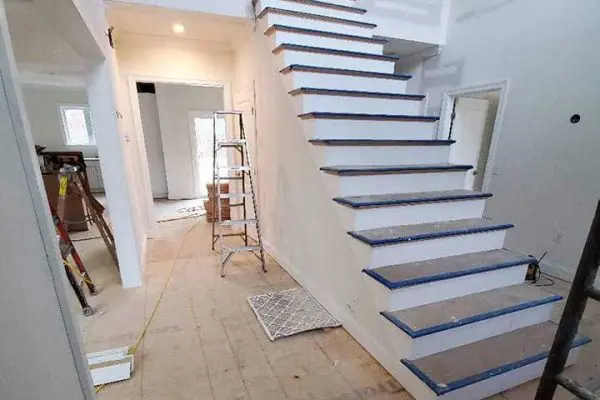
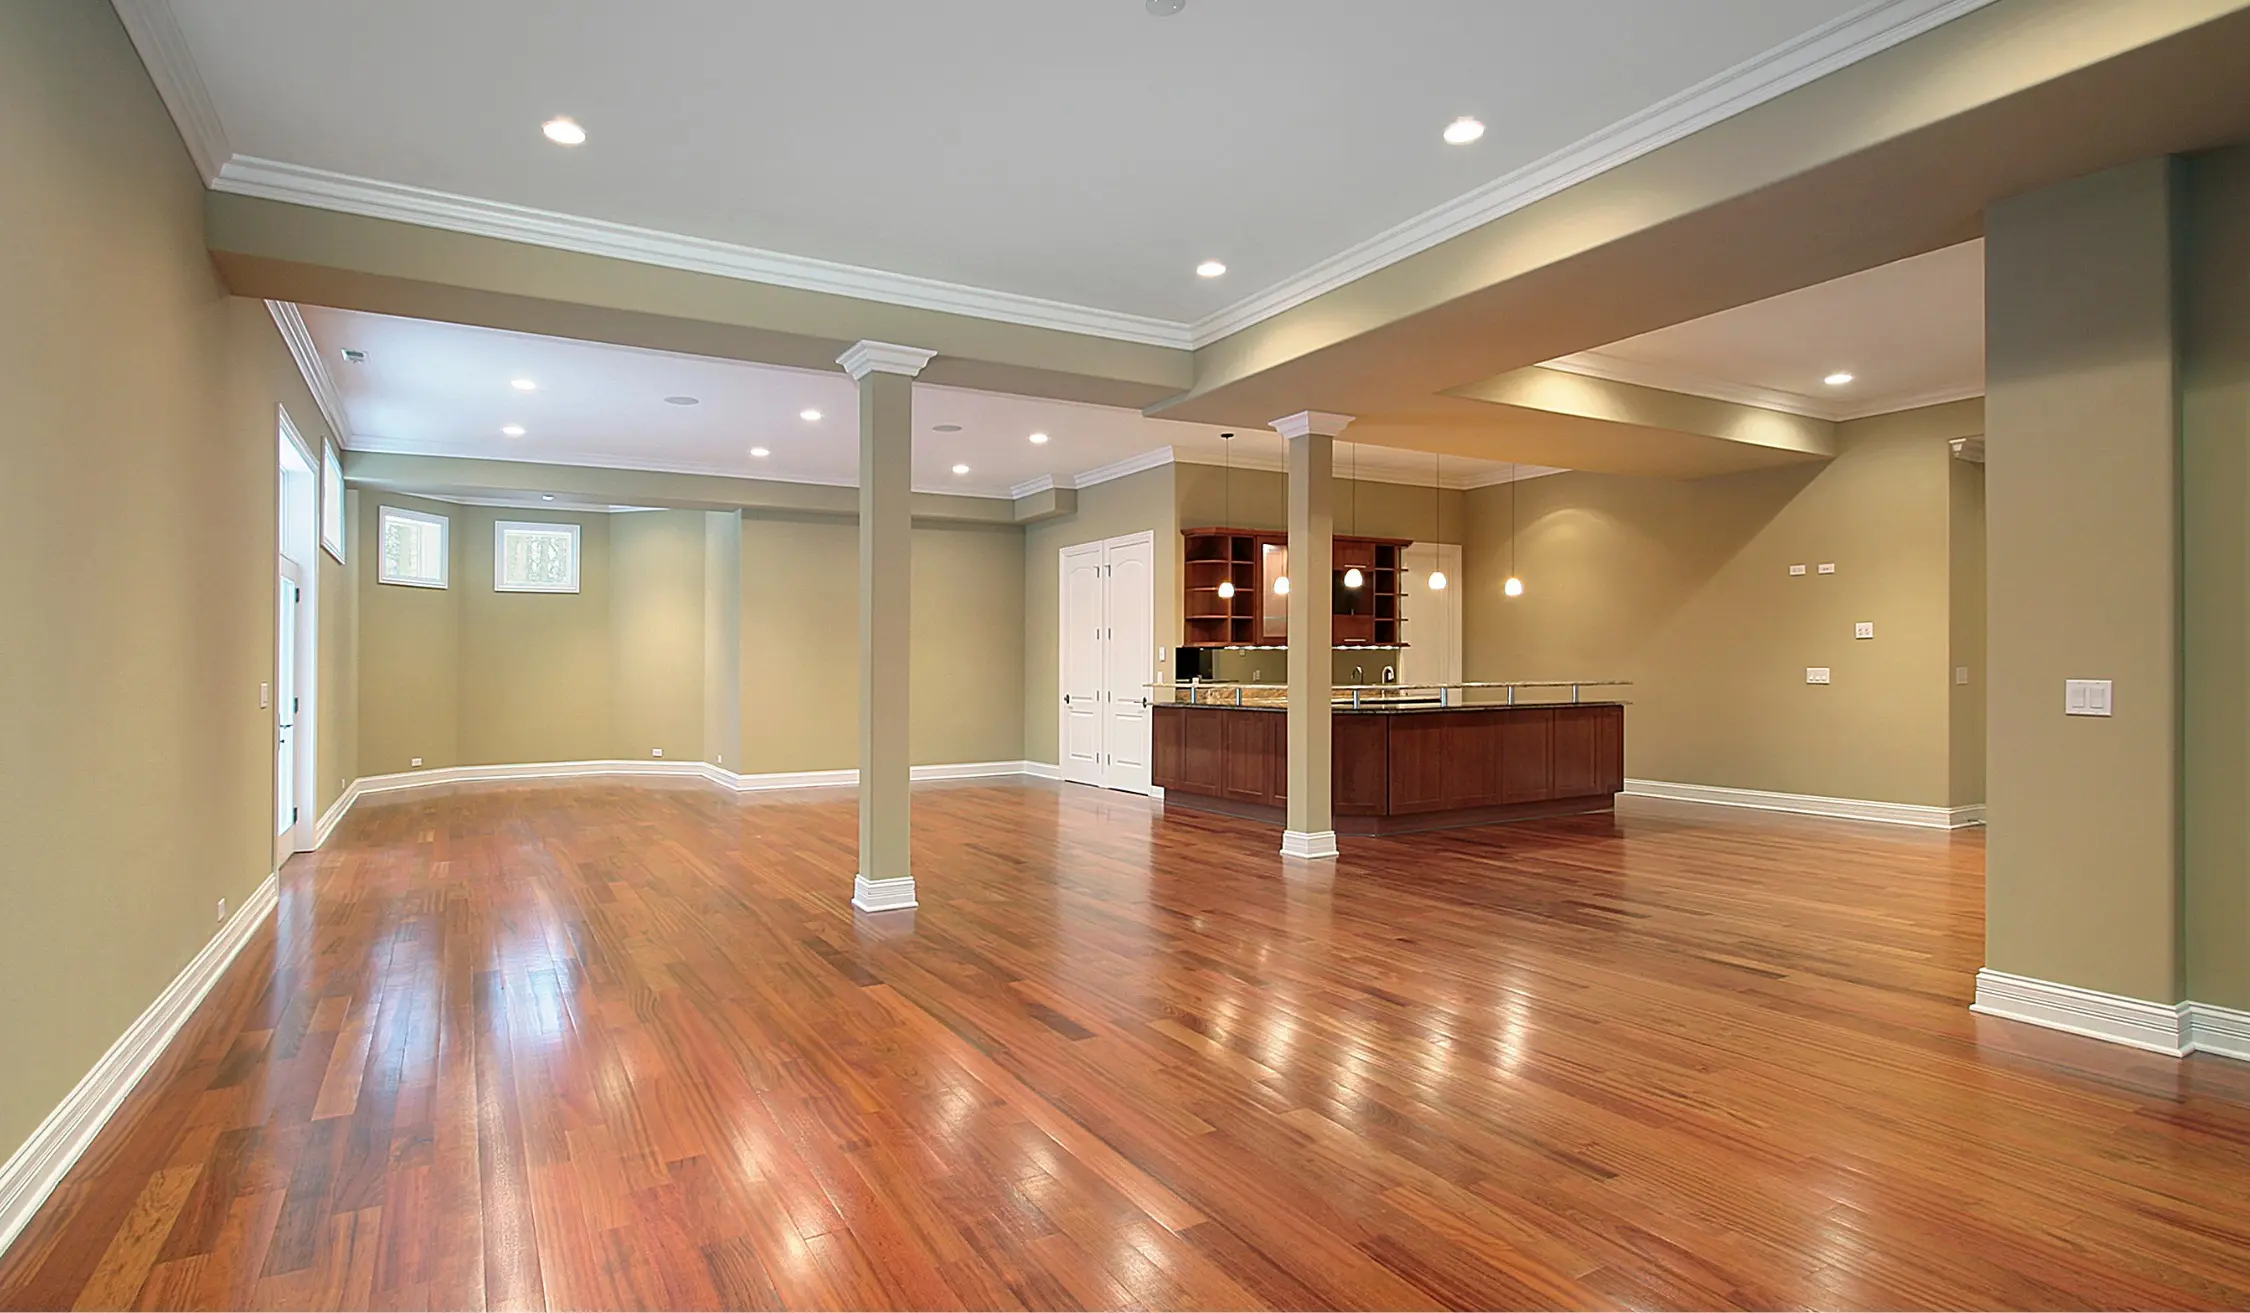
Most flooring contractors do one or two things. Romero Hardwood Floors does everything a residential homeowner in Greater Boston could need — from pulling up old carpet and installing new solid hardwood, to sanding down a century-old floor and bringing it back to its original character, to replacing water-damaged boards without the repair showing.
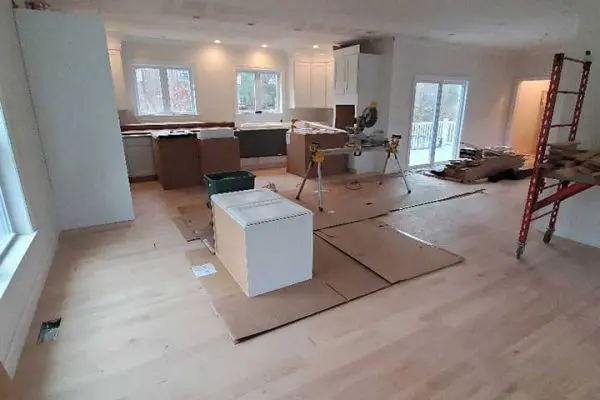
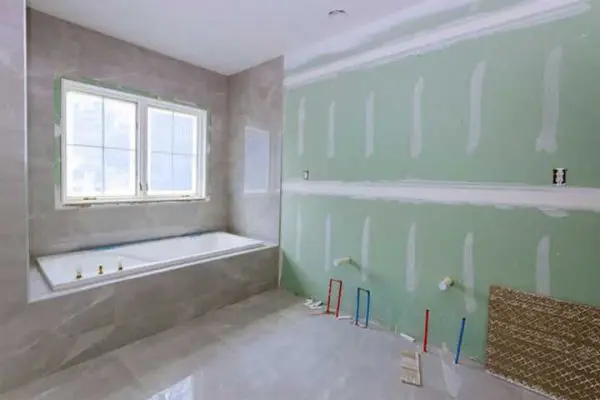
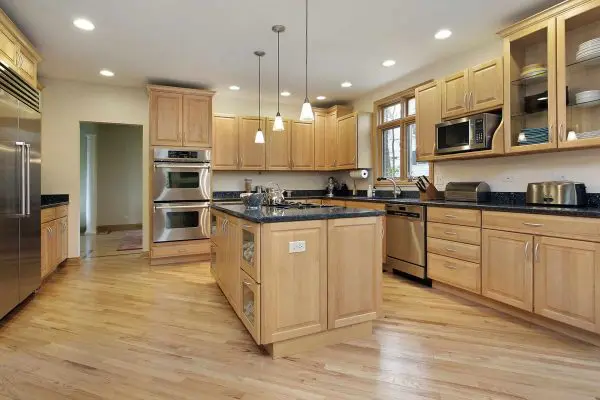
Add custom pattern work — herringbone, chevron, parquet, and inlays — that most local contractors simply don't offer. Add full bathroom and kitchen remodeling for homeowners who want to tackle a larger renovation without managing two separate contractors. The result is a single point of contact, a single standard of quality, and a single person who's accountable for everything that happens in your home.
Romero Hardwood Floors has been doing this work in Greater Boston and North Shore homes since 2006. Every service on this page is something he has installed, refinished, repaired, or restored hundreds of times — in triple-deckers in Somerville, in historic colonials along the North Shore, in newer construction in Newton and Lexington, and in homes across every county in the region.
Flooring and Remodeling Services
for Greater Boston Homeowners
Materials and Brands
Materials and Finishes Used on Every Job
The quality of a finished floor depends on two things equally: the skill of the installer and the quality of the materials used. Romero Hardwood Floors works with proven materials across every service category.
Flooring Types Installed: Solid hardwood | Engineered hardwood | Luxury vinyl plank (LVP) | Laminate | Tile
Finish Types Available: Water-based polyurethane | Oil-based polyurethane | Low-VOC water-based finishes | Penetrating oil finishes | Screen-and-recoat compatible finishes
Eco-Friendly Options: Low-VOC water-based finish products are available on every refinishing and staining job — recommended for homes with children, pets, or anyone with sensitivities to chemical fumes.
Romero Hardwood Floors will walk you through the specific options during the estimate, including sheen levels and compatibility with your existing floor species and color.
Craftsmanship Behind Every Floor
There's a reason homeowners across Greater Boston and the North Shore have trusted Romero Hardwood Floors with their homes for nearly two decades. Watch Romero Hardwood Floors explain exactly what that means in practice — and what you can expect from the moment you call to the moment we finish.
Why Choose Us
Homeowners Across Greater Boston Choose Romero Hardwood Floors

Our Process
From First Contact to Finished Floor — How Romero Works
The process below applies across all nine services. Details vary by job type — the standard doesn't.
Free In-Home Estimate
Every job starts here. Our team visits your home, assesses the floors or the space, explains your options clearly, and delivers a written estimate within 24 hours. No cost, no commitment.
Scheduling & Prep
Once you decide to move forward, Romero helps you finalize material choices — wood species, finish type, stain color, or pattern — based on your space and your goals. The job is scheduled and confirmed with automated reminders sent as the date approaches
Installation or Service
The work proceeds at the pace the job requires — not the pace of a contractor trying to squeeze in another job that week. Any mid-job discoveries are communicated to you immediately with options.
Final Walkthrough & Sign-Off
We walk the completed job with you before the project is closed. Every concern gets addressed. The warranty starts the day you sign off.
Our Portfolio
Work Completed Across Greater Boston and the North Shore
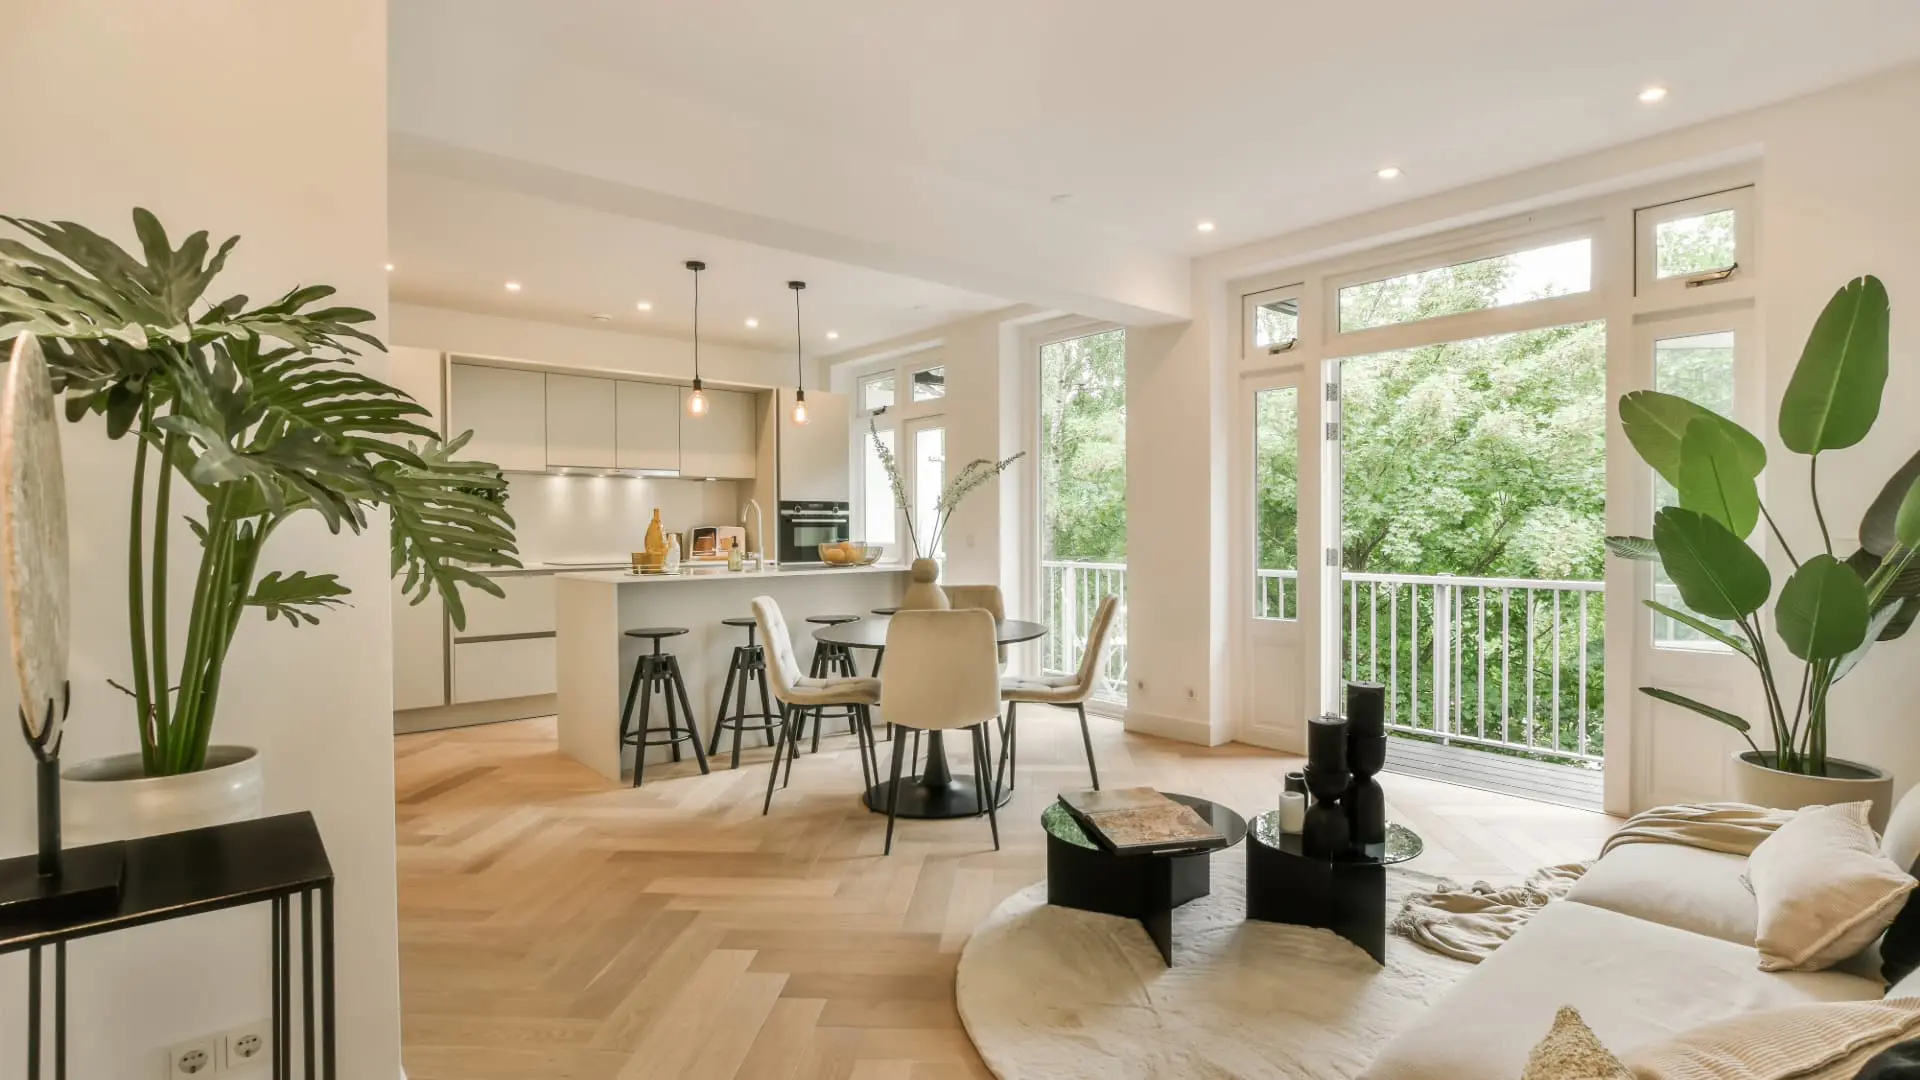
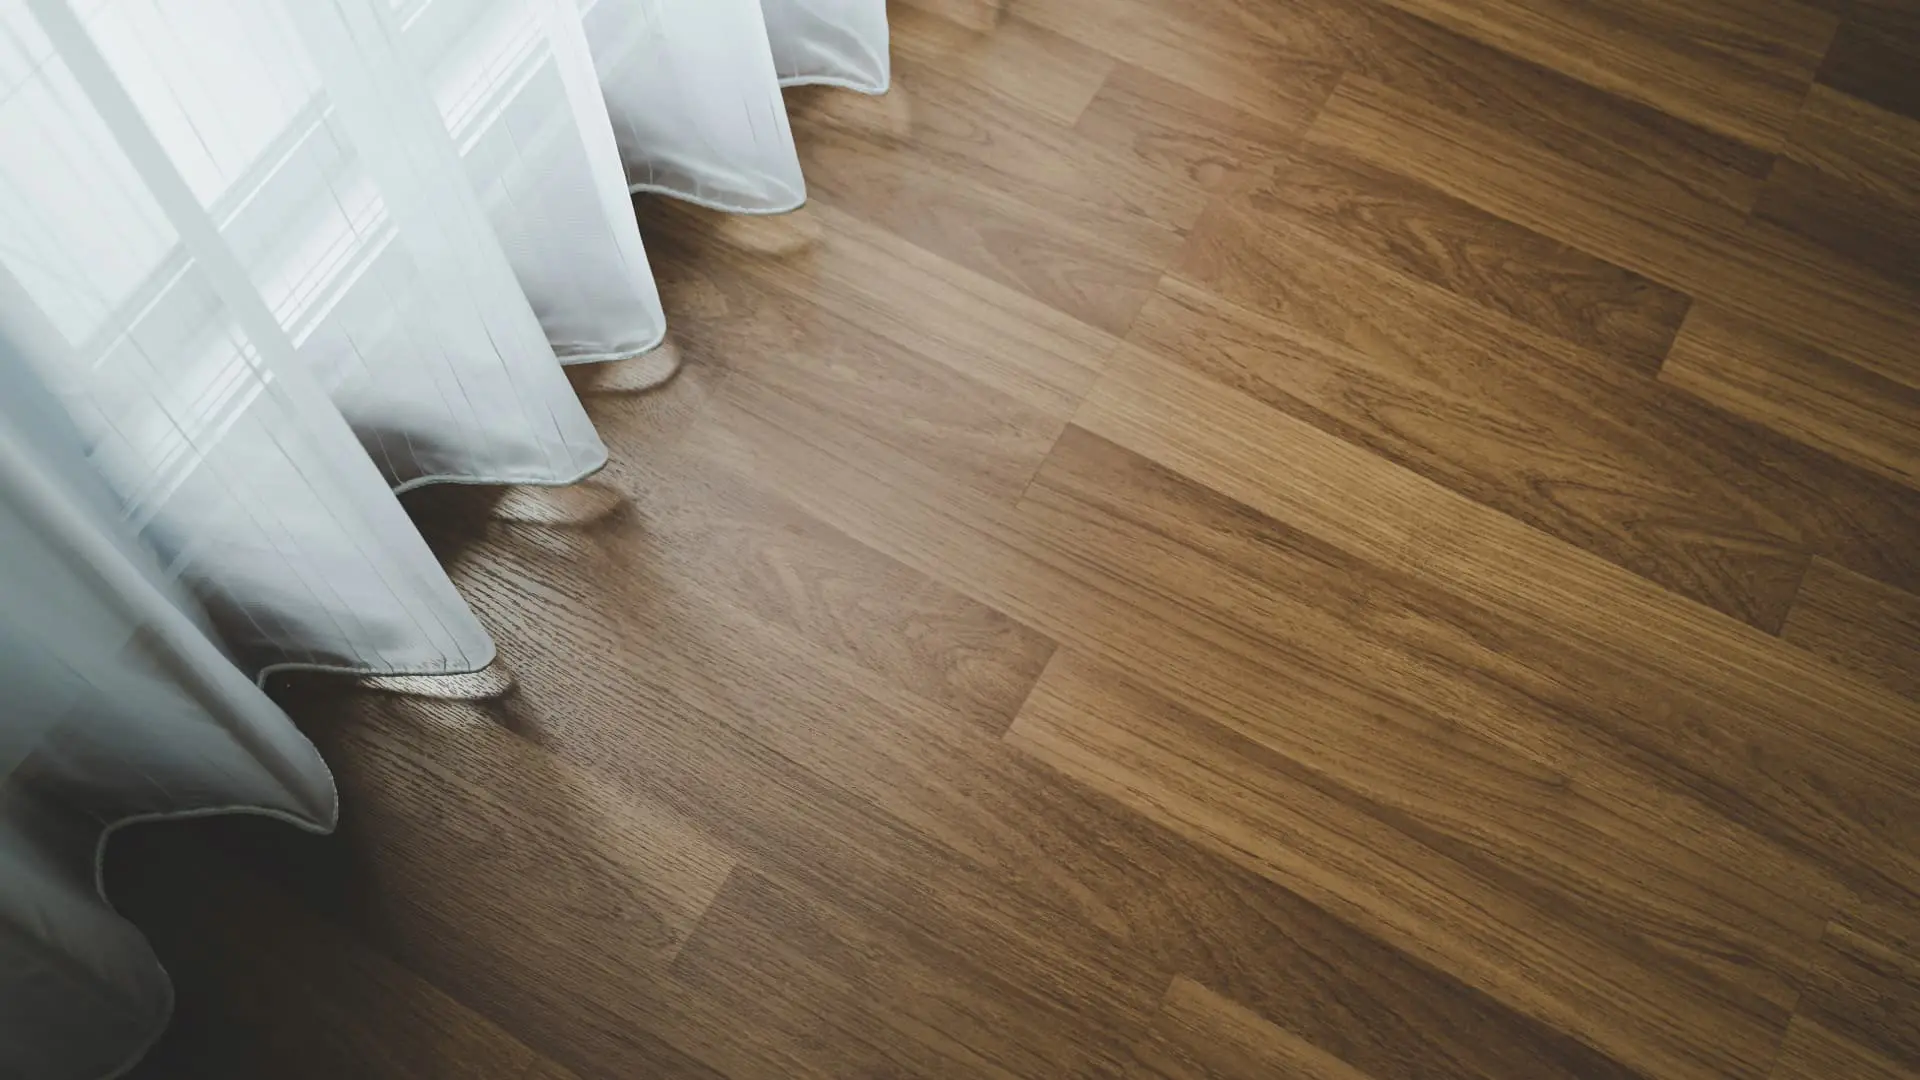
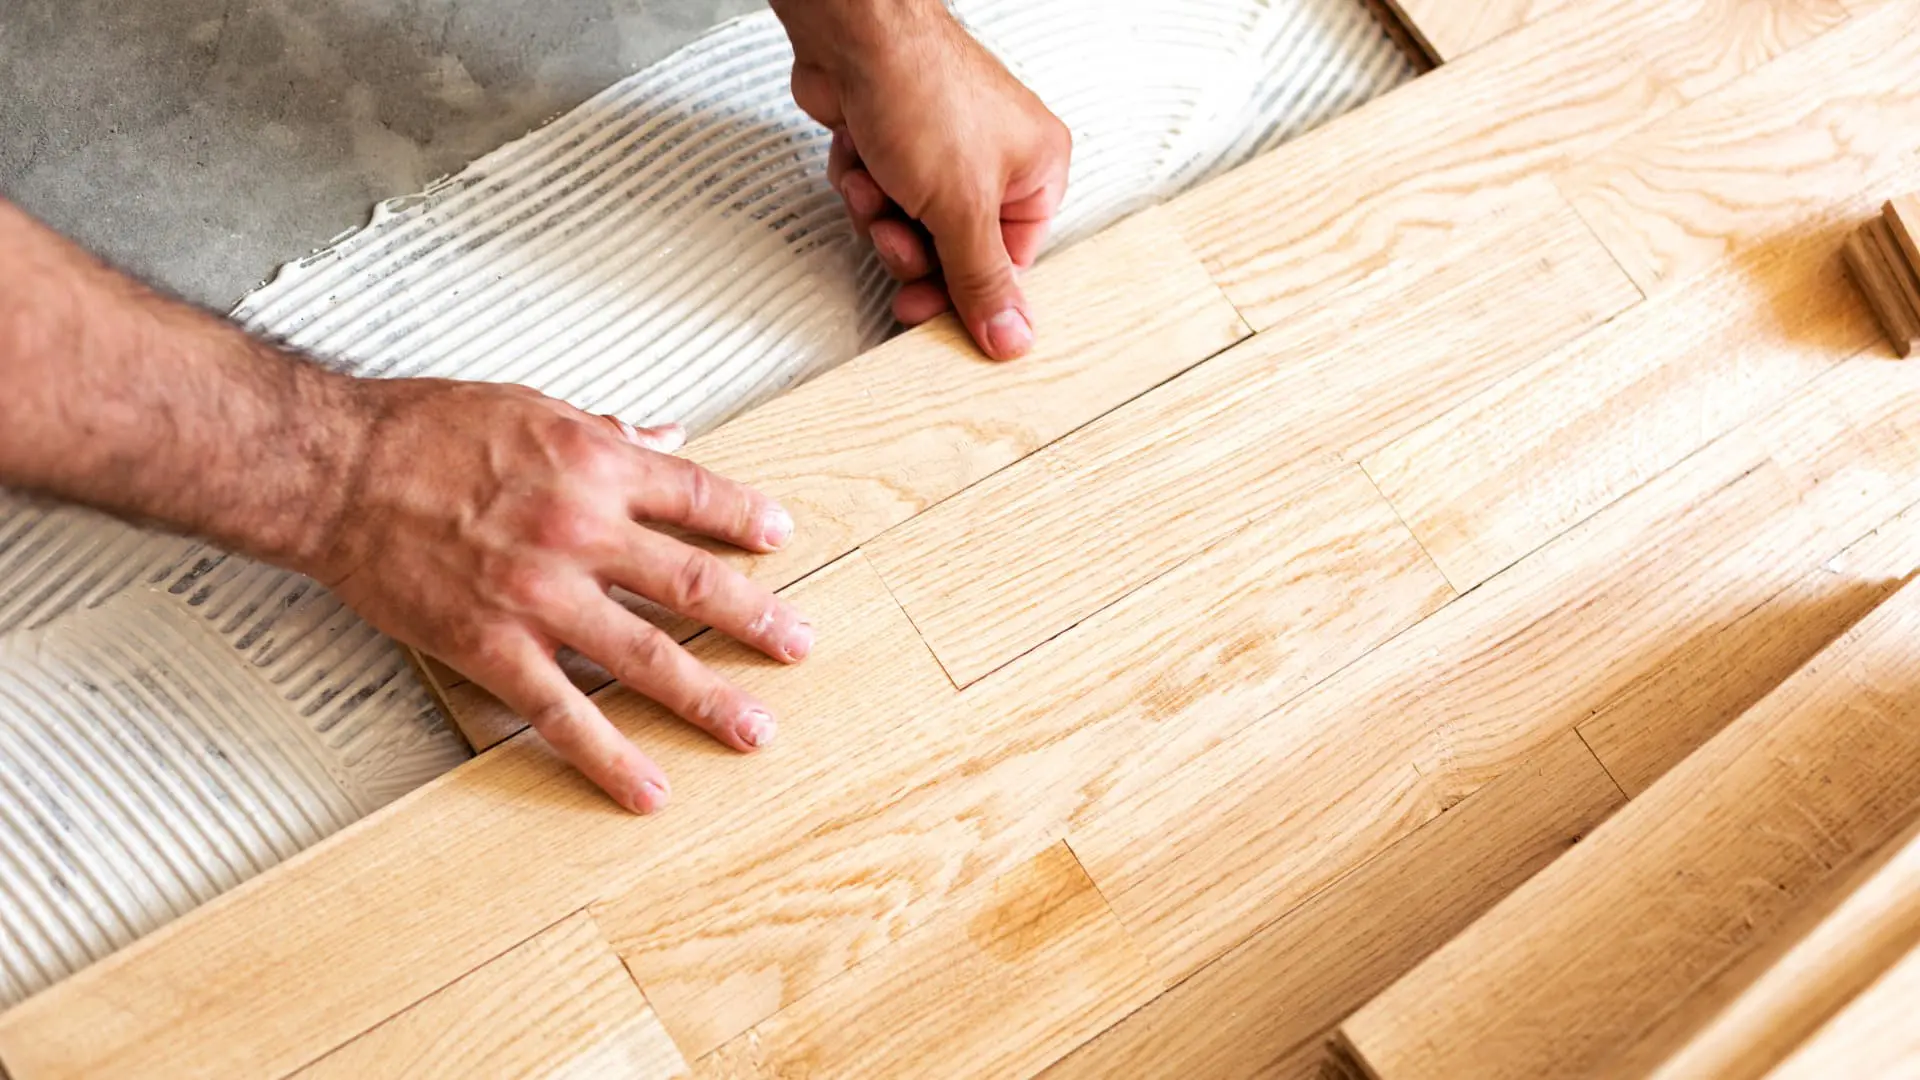
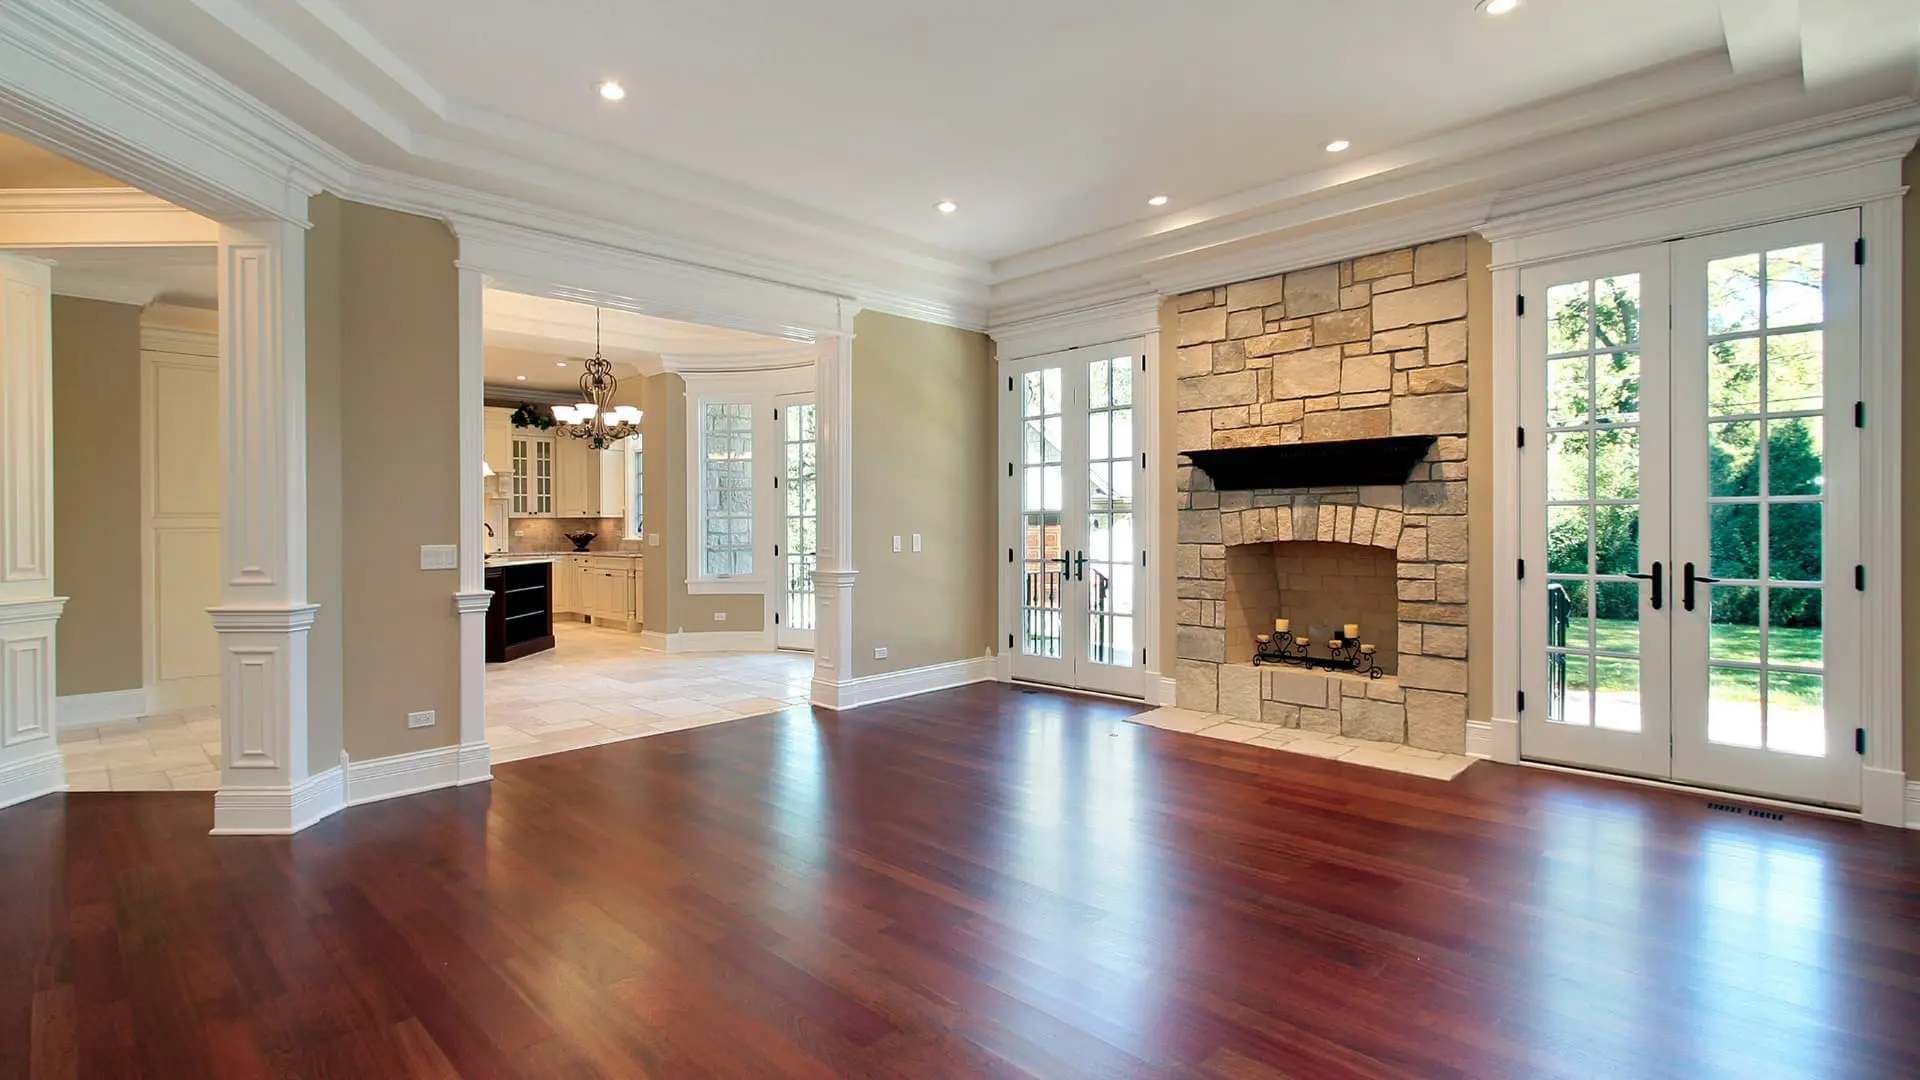
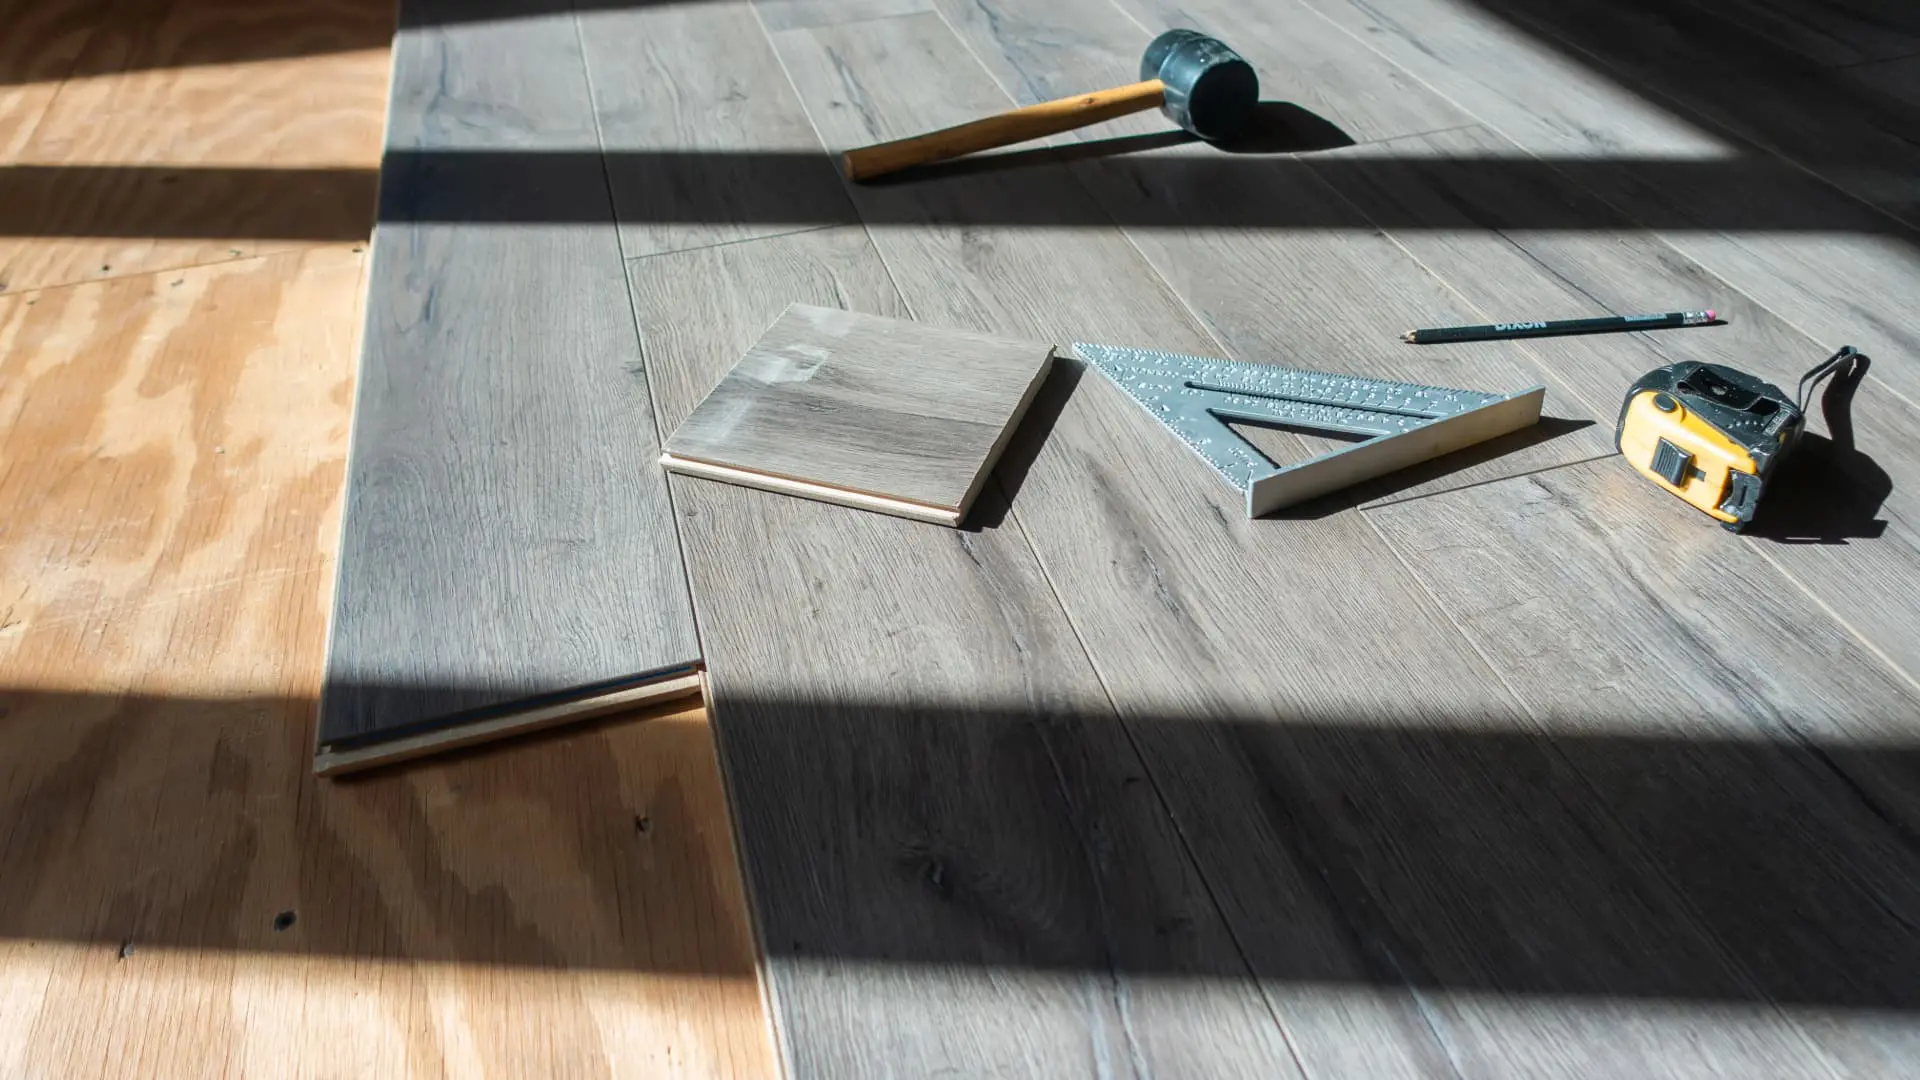
Completed floors across a range of service types, home styles, and communities throughout Greater Boston and the North Shore. Captions include service type and city where available.
Romero Hardwood Floors Service Area
Communities Served Across Greater Boston, the North Shore, and Southern New Hampshire
The communities Romero Hardwood Floors serves aren't interchangeable. A Victorian triple-decker in Somerville presents completely different flooring conditions than a 1950s colonial in Saugus or a newer build in Lexington. Original pine subfloors from the 1890s behave differently than modern OSB. Homes in coastal communities near the North Shore have moisture considerations that inland homes don't.
Romero Hardwood Floors has worked across enough of Greater Boston's housing stock, in Essex, Middlesex, Suffolk, and Norfolk counties, and now into Southern New Hampshire, to understand those differences and factor them into every estimate and every job.
Areas We Serve
Massachusetts - Greater Boston & North Shore
New Hampshire - Southern, NH
Don't see your city? Call (617) 913-0155 or submit an estimate request. Romero Hardwood Floors serves communities beyond this list and can confirm if your address falls within the service territory.
Testimonials
What Homeowners Are Saying
Conditional Workmanship Warranty
Every service Romero Hardwood Floors provides — installation, refinishing, repair, staining, remodeling — is covered by a 1-year conditional warranty on workmanship. The warranty covers defects that result from how the job was performed. It doesn't cover normal wear, subsequent damage, or events outside the scope of the original project.
Recent Posts
Hardwood Floor Tips & Guides for Greater Boston Homeowners
How to Care for Hardwood Floors After Refinishing or Installation
Replacing Carpet With Hardwood Floors: What the Project Actually Involves
Solid Hardwood vs. Engineered Hardwood: Which Is the Right Choice for Your Home
How to Choose the Right Hardwood Floor Stain Color for Your Home
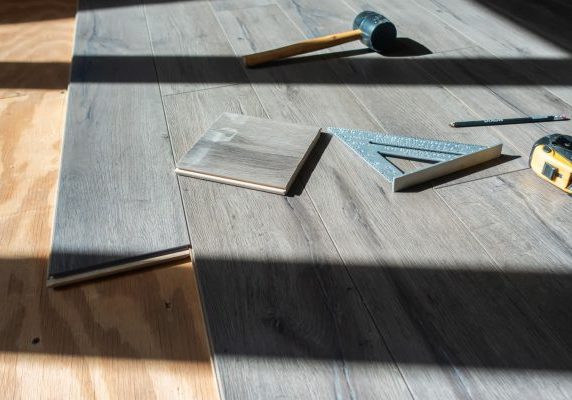
Don’t Replace, Repair: Expert Hardwood Floor Solutions
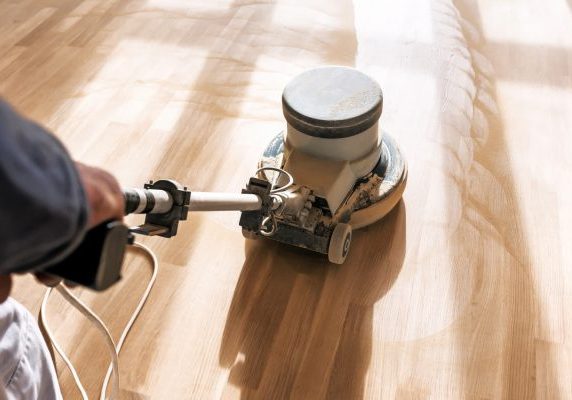
A Homeowner’s Guide to the Professional Hardwood Floor Refinishing Process
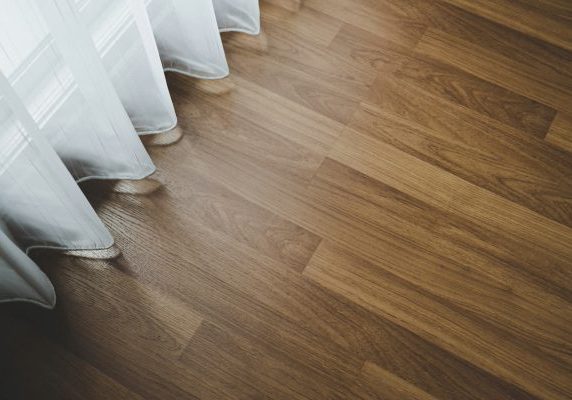
Hardwood Floor Repair vs. Refinishing vs. Replacement: How to Know Which You Need
Frequently Asked Questions
Flooring Questions & Answers for Homeowners in Greater Boston
Both — and everything in between. Romero Hardwood Floors offers nine residential services: hardwood floor installation, refinishing and restoration, repair, staining, maintenance and care, laminate and LVP installation, custom pattern installation, and full bathroom and kitchen remodeling. Francisco has been performing all of these services for Greater Boston homeowners since 2006. The free in-home estimate is the right place to determine which service applies to your situation — and sometimes the answer is more than one.
The free in-home estimate answers this directly. Francisco will look at the current condition of your floors — finish wear, structural integrity, subfloor condition, and any damage — and tell you honestly what the floors need. In many cases, refinishing accomplishes what a homeowner thought required full replacement. In others, a targeted repair is the right scope. Francisco will explain the options and the tradeoffs so you can make an informed decision.
Dustless sanding applies specifically to refinishing and restoration work — it's not relevant to installation or repair services in the same way. On refinishing jobs, it's standard. On installation jobs where sanding is part of the finishing process for unfinished flooring, the same containment approach is used. Francisco will confirm how the dustless system applies to your specific job during the estimate.
Low-VOC finishing options are available on all jobs that involve applying a floor finish — refinishing, staining, new installation with site-finished hardwood, and recoating. These products are Francisco's standard recommendation for homes with children, pets, or occupants with sensitivities. There's no quality penalty for choosing a low-VOC product — in many cases the cure time is actually faster than traditional oil-based finishes.
It depends on the time of year and current project volume. Francisco will give you a realistic scheduling window during the estimate conversation. The estimate visit itself can typically be scheduled within a few days of your initial contact. For larger projects — full-floor installations, full remodels — scheduling a few weeks out is common during busier seasons.
Yes. Romero Hardwood Floors serves homeowners in key Southern New Hampshire communities including Nashua, Manchester, Salem NH, Derry, Londonderry, and Bedford. Every service available in Massachusetts is available in the covered NH markets. No license is required for Francisco's scope of work in New Hampshire.
Refinishing refers to the standard process of sanding a floor down to bare wood, applying stain if desired, and finishing with a new protective topcoat. Restoration goes further — addressing structural damage, repairing or replacing boards that are beyond what sanding alone can fix, filling gaps, and working with antique or historically significant flooring that requires a different approach than a standard refinishing job. Both are available through Romero Hardwood Floors and are often assessed together during the estimate visit.
Color and finish matching is one of the more technically demanding parts of repair work, and it's something Romero has done extensively. Results depend on the species of wood, the age of the existing finish, and how the floor has weathered over time — a perfect match isn't always achievable, but a close match that doesn't draw attention usually is. Romero Hardwood Floors will be upfront during the estimate about what's achievable for your specific floor.
For most jobs, Romero's crew will handle furniture movement and space preparation. You'll want to plan for the work area to be inaccessible during the job and, on refinishing work, for a curing period after the final coat is applied before furniture and foot traffic return. Romero Hardwood Floors will provide specific preparation guidance when the job is scheduled — it varies by service type and the products being used.
Call (617) 913-0155 or submit the estimate request form. Francisco responds directly to schedule your free in-home estimate. The visit takes 15–45 minutes depending on scope, and you'll have a written estimate in hand within 24 hours of the visit.
Our Portfolio
Recent Work Across Greater Boston and the North Shore
Your Free Estimate Is One Call Away
Nine services. One licensed, insured contractor. A 1-year conditional workmanship warranty on every job. Francisco covers Greater Boston, the North Shore, and Southern New Hampshire — and every estimate starts with a free in-home visit, no pressure and no commitment required.