
How to Choose the Right Hardwood Floor Stain Color for Your Home
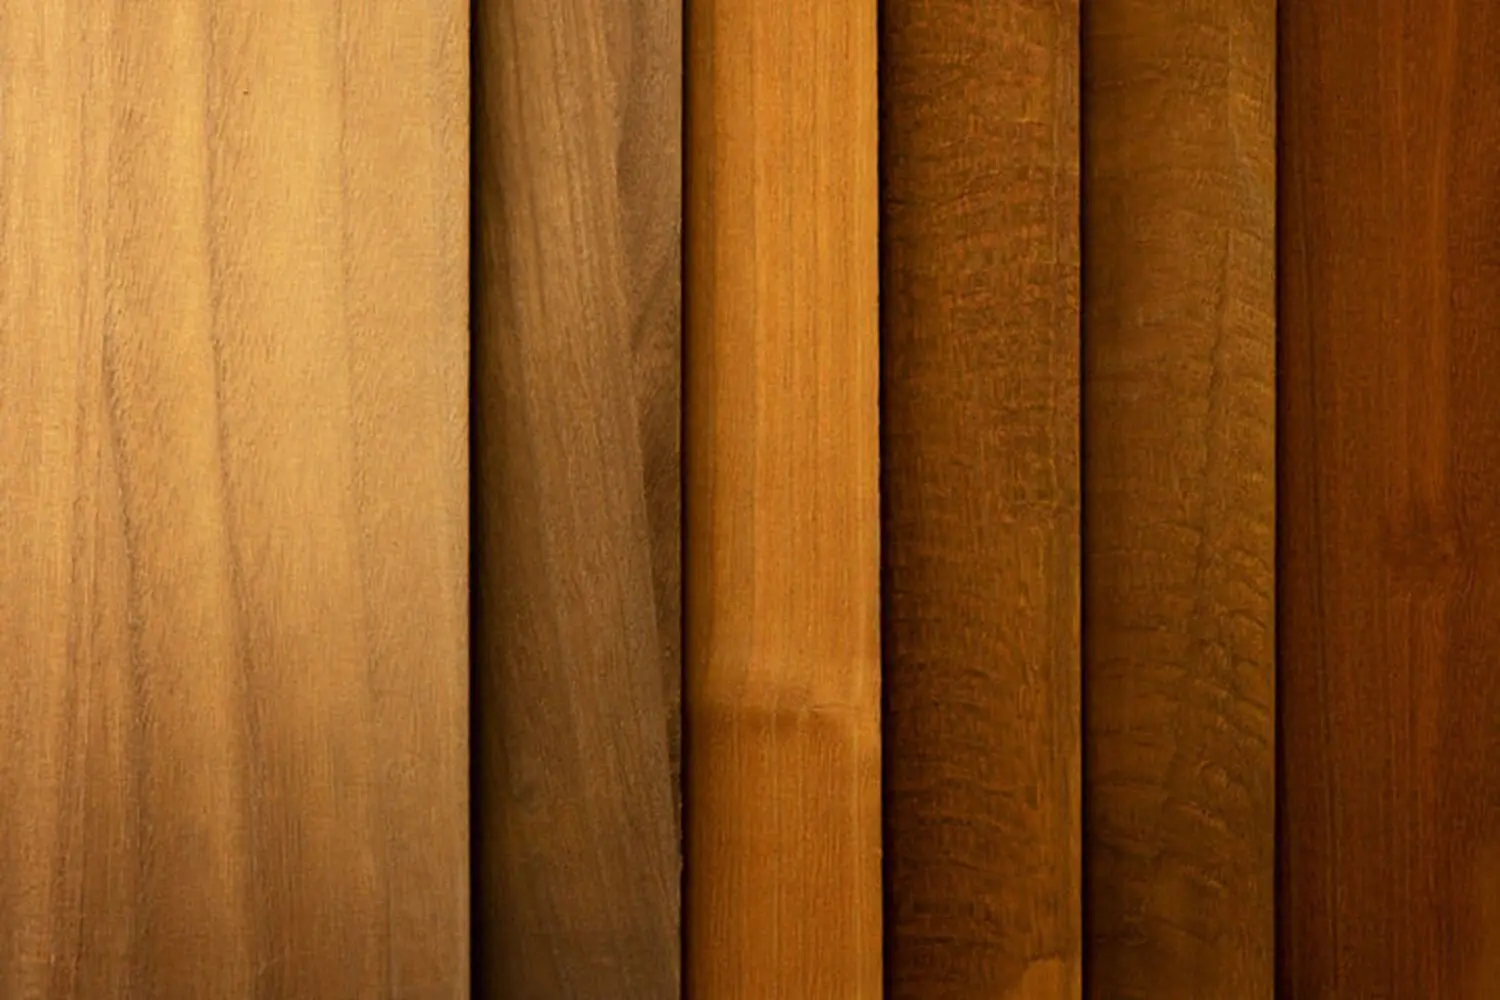
You have decided to stain your hardwood floors. Now you are staring at dozens of color options on a fan deck and none of them look quite right, or they all look right, or you cannot tell what any of them will actually look like once they are covering the floor wall to wall. That moment of overwhelm is normal. It is also where most homeowners get into trouble, because they try to solve a multi-variable problem by going with their gut on a single variable.
Knowing how to choose hardwood floor stain color is less about finding a color you like and more about working through the factors that determine what will actually look right in your specific space. Wood species, room lighting, existing finishes, and how you live in your home all shape the final result. Work through those factors in order and the decision becomes much more manageable.
Is Staining the Right Choice for Your Floor?
Before any color conversation starts, this question needs an answer. Not every hardwood floor is a good candidate for stain, and getting that sorted first saves a lot of time.
Species matters. Maple has a tight, closed grain that resists stain penetration and absorbs unevenly, often producing a blotchy or streaked result. Certain exotic hardwoods have the same problem. For these floors, a clear finish is typically the better path.
Condition matters too. Floors with deep damage, significant board cupping, or structural issues need repair before refinishing. Stain color is irrelevant until the surface is sound.
Red oak and white oak, the two species most commonly found in Newton homes and across Greater Boston, take stain well and give the homeowner genuine flexibility over color direction. If your floors are one of these species and in good condition, the full range of color options is on the table.
One more thing worth naming at this stage: if your floor is in excellent condition with attractive natural grain and warm color, going with a clear coat and no stain at all is a legitimate choice. Not a fallback. A choice.
The Difference Between Stain and Finish
These two terms get used interchangeably in conversation, but they do different things, and confusing them leads to misaligned expectations at the end of a project.
Stain penetrates the wood fiber and adds color. It changes the appearance of the floor but provides no protection on its own. Finish, whether polyurethane, oil-based, or water-based, sits on top of the wood and provides the protective layer. It determines sheen and how the floor holds up to daily use.
Every refinished hardwood floor gets both: stain first if a color change is desired, then finish coats over the top.
Sheen level affects how the color reads once the finish is applied. A satin finish over a medium brown stain will read differently than a semi-gloss over the same color. The higher the sheen, the more light reflects off the surface, which can make darker stains appear richer and lighter stains appear more washed out.
The homeowner chooses both stain color and finish sheen. These are two separate decisions, and understanding that distinction prevents surprises at the end of the project.
How to Choose Hardwood Floor Stain Color: A Step-by-Step Framework
Narrowing from overwhelming to clear is a five-step process. Each consideration builds on the one before it. Work through them in order and you will arrive at a short list of real candidates rather than a roomful of possibilities.
Step 1: Start With Your Wood Species
Species is the single biggest constraint on color options. More than personal taste, more than what you have seen in a magazine or on a renovation show.
Red oak has a prominent open grain with a warm pink or reddish undertone that is part of the wood itself. It takes stain readily, but that warm undertone influences the final result. Cooler grays and ash tones will fight against it. Warm browns, ambers, and medium naturals work with it.
White oak has a tighter grain and a more neutral base tone. It handles a wider range of colors, including cooler grays and true naturals, more predictably than red oak. White oak is increasingly common in Newton renovations, but red oak remains dominant in homes built before the 1990s.
The practical implication is important: the same stain color applied to red oak and white oak produces two noticeably different results. A color that looks perfect on a white oak sample board may read completely differently on a red oak floor. Species first, everything else second.
Step 2: Read the Light in Your Room
A stain that looks rich and warm on a four-inch sample can look flat, cold, or oppressively dark once it covers the floor wall to wall in a real room. Lighting is why.
Natural light varies significantly depending on which direction a room faces:
- North-facing rooms receive indirect, cooler light throughout the day. Warm-toned stains can read muddy. Medium browns can look darker than expected.
- South-facing rooms get stronger, warmer light. Colors stay truer to the sample and darker stains hold up well.
- East-facing rooms get warm morning light and cooler afternoon light.
- West-facing rooms reverse that pattern.
Newton’s center-entrance colonials frequently have north-facing formal rooms that receive very different light than south-facing kitchens or family rooms. What works beautifully in one room of the same house may not work in another.
Artificial lighting compounds this. Warm LED bulbs pull warmth out of any stain. Cool-toned LEDs can make warm browns appear gray. Samples should be checked at different times of day and under the lighting conditions the room actually experiences, not just in bright midday light.
Step 3: Work Around Your Fixed Elements
The floor has to live with everything in the room that is not changing: cabinetry, trim color, countertops, wall color, stair railings. Those fixed elements are the reference points the floor color needs to coordinate with.
A principle that holds up consistently in practice: avoid matching the floor color too closely to the cabinetry or trim. High contrast between floor and fixed elements creates definition. Low contrast creates visual flatness.
Some general coordination patterns worth keeping in mind:
- Warm-toned floors (honey, amber, medium brown) pair well with warm-toned cabinetry and cream or off-white trim
- Cooler-toned floors (gray, ash, true brown without red) work better with white trim, painted cabinetry, and more contemporary finishes
- Very dark floors create strong contrast with light-colored trim and furniture, which can work well in formal spaces but may feel heavy in smaller rooms
Newton homes frequently have existing architectural details such as crown molding, wainscoting, and built-ins that should inform the floor color choice rather than compete with it. If walls are staying as-is, work the floor color outward from what is already fixed. If walls are being repainted, choose the floor first and select wall color around it.
Step 4: Factor in How You Actually Live in the Space
Color is not just about aesthetics. It is about how the floor performs visually under daily conditions in a home that is actually being used.
- Very dark stains (espresso, dark walnut, ebony) show dust, pet hair, and fine debris constantly. In homes with dogs, cats, or high foot traffic, dark floors require noticeably more frequent cleaning to look presentable.
- Very light stains and natural finishes show scratches and scuffs more readily. Surface wear stands out against a pale, even tone.
- Mid-tone stains (medium browns, warm naturals, provincial tones) are the most forgiving for everyday life. They conceal dust better than dark stains and hide scratches better than light ones.
If low maintenance is a priority, this factor alone can eliminate a significant portion of the color range before you have even looked at a single sample.
Step 5: Test Stain Colors on Your Actual Floor
After working through species, light, fixed elements, and lifestyle, the field should have narrowed to two to four serious candidates. This is where on-site testing takes over from reasoning.
A professional applies small sections of each candidate color directly onto the prepared floor. Not a sample board. Not a chip from a fan deck. The actual wood in the actual room, under the actual light the room receives.
Evaluate the samples at different times of day and under both natural and artificial light. Step back and look from across the room rather than crouching over the sample up close. The way a color reads from the doorway is the way it will read every day.
If none of the candidates land quite right, custom stain mixing is a standard option. A professional can blend colors to produce a tone that coordinates precisely with the fixed elements in the space. Romero offers color matching and custom stain mixing as part of the refinishing process, which means the right color does not have to be one that already exists on a fan deck.
Why On-Site Samples Beat Swatches Every Time
The on-site sample step is the single most important thing a homeowner can do before committing to a stain color, and it is worth taking a moment to explain why.
Showroom sample boards are prepared on a specific piece of wood, often a neutral species, under controlled lighting conditions. The color on the homeowner’s actual floor can differ enough to matter, especially with red oak’s warm undertone or with any species that absorbs unevenly.
The most common source of stain regret is committing to a color based on a swatch or an online photo, then seeing it cover 1,200 square feet of floor under real conditions for the first time.
If the color is wrong, correcting it means sanding back down and starting over. A full additional refinishing cycle. The on-site sample step exists precisely to avoid that outcome.
This is not an unusual or inconvenient request. It is a standard part of a professional refinishing consultation, and any experienced contractor should offer it as a matter of course.
Great Floors Start With the Right Questions — Not Just the Right Color
Stain color becomes a manageable decision once you stop treating it as purely a matter of taste and start working through the real variables. Species sets the constraints. Light reveals how the color will actually read in the room. Fixed finishes define the coordination challenge. Daily life determines what will hold up. The on-site sample confirms the final call.
The place where all of this comes together is the in-home consultation, where the species gets assessed, samples get tested in the actual space, and color matching or custom mixing can happen if the right color is not already on the fan deck.
If you are planning a staining project in Newton or anywhere in the Greater Boston area, request an estimate from Romero Hardwood Floor. The team can evaluate your floors, bring color options suited to your specific wood species and space, and test samples before any commitment is made. Color matching and custom stain mixing are part of what they offer, so the color you end up with is the one that actually works in your home.