
DIY Hardwood Floors: How Do You Install Them?
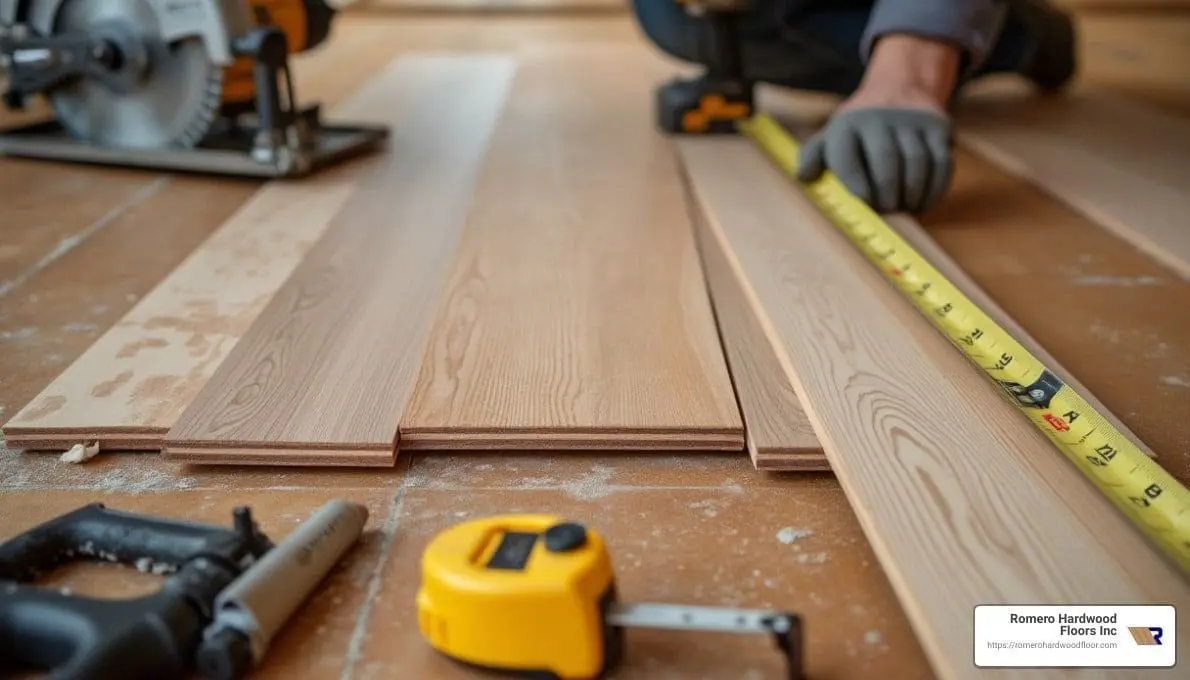
How Do You Install Hardwood Floors? 10 Best Tips 2024
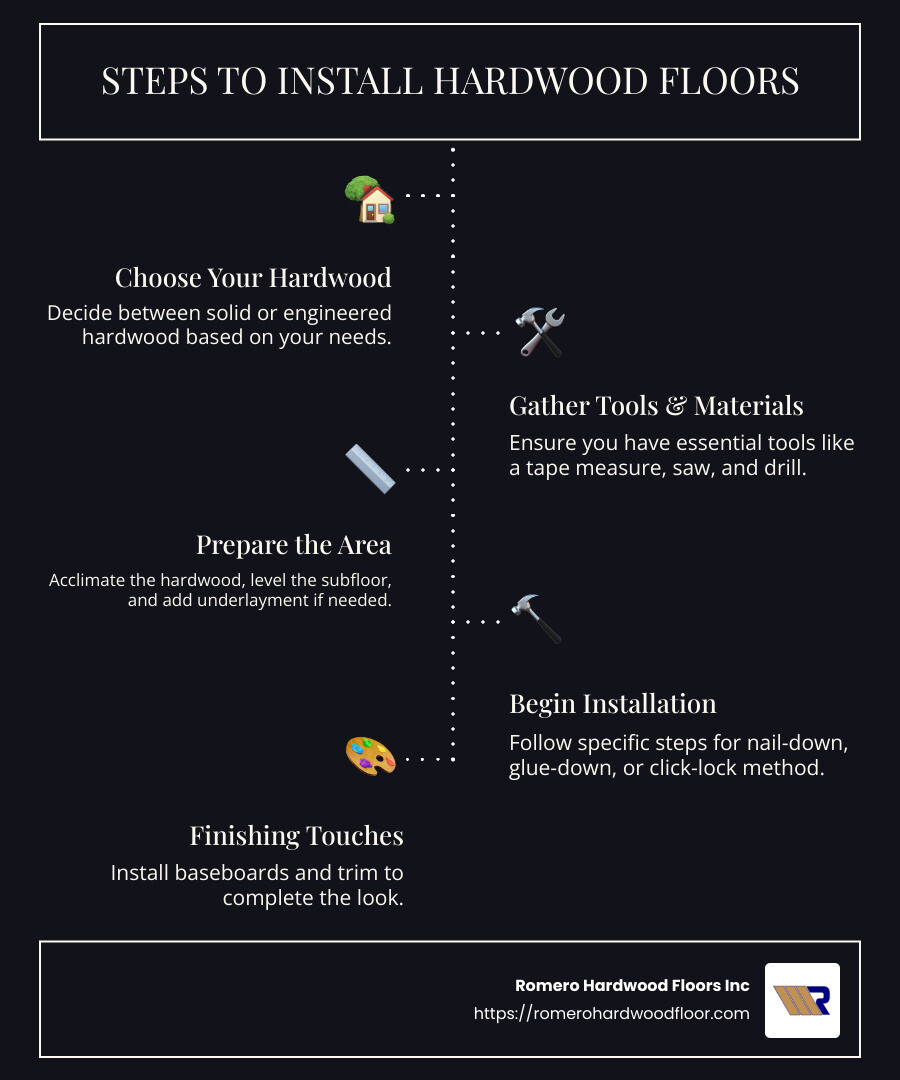
How do you install hardwood floors in your home? For those looking to improve their living space with warmth and elegance, hardwood flooring is an excellent choice. Installing them might seem like a daunting task, but with the right tools and approach, it turns into an exciting DIY project. Here’s a quick rundown of the process:
- Choose Your Hardwood: Decide between solid or engineered hardwood based on your needs.
- Gather Tools and Materials: Ensure you have essential tools like a tape measure, saw, drill, and the flooring materials.
- Prepare the Area: Acclimate the hardwood, level the subfloor, and install any underlayment needed.
- Begin Installation: Depending on the method (nail-down, glue-down, or click-lock), follow the specific steps for a smooth finish.
- Finishing Touches: Install baseboards and trim to complete the look.
Installing hardwood floors doesn’t just upgrade your home’s aesthetics; it adds long-term value and durability. These floors are low-maintenance and, with proper care, can last for generations, making them a smart investment for any home.
My name is Francisco Romero, and I’m the proud owner of Romero Hardwood Floors Inc., based in Revere, MA. With over 15 years of experience, I’ve guided countless projects to perfection. My team and I specialize in changing spaces with top-quality hardwood flooring solutions, catering to both residential and commercial clients. If you’re wondering how do you install hardwood floors the right way, you’re in safe hands with us.
Easy how do you install hardwood floors word list:
– diy hardwood floor installation
– hardwood floor installation patterns
– how to install hardwood floors on concrete
Types of Hardwood Flooring
Choosing the right type of hardwood flooring is crucial for both the look and functionality of your home. Let’s explore the two main types: solid hardwood and engineered hardwood.
Solid Hardwood
Solid hardwood is exactly what it sounds like—a single piece of wood from top to bottom. It’s a classic choice and offers several advantages:
- Durability: Solid hardwood can be sanded and refinished multiple times, making it a long-lasting option.
- Aesthetic Appeal: It provides a rich, natural look that improves any room.
- Variety of Species: Available in popular options like oak, maple, and walnut, each with unique grain patterns and colors.
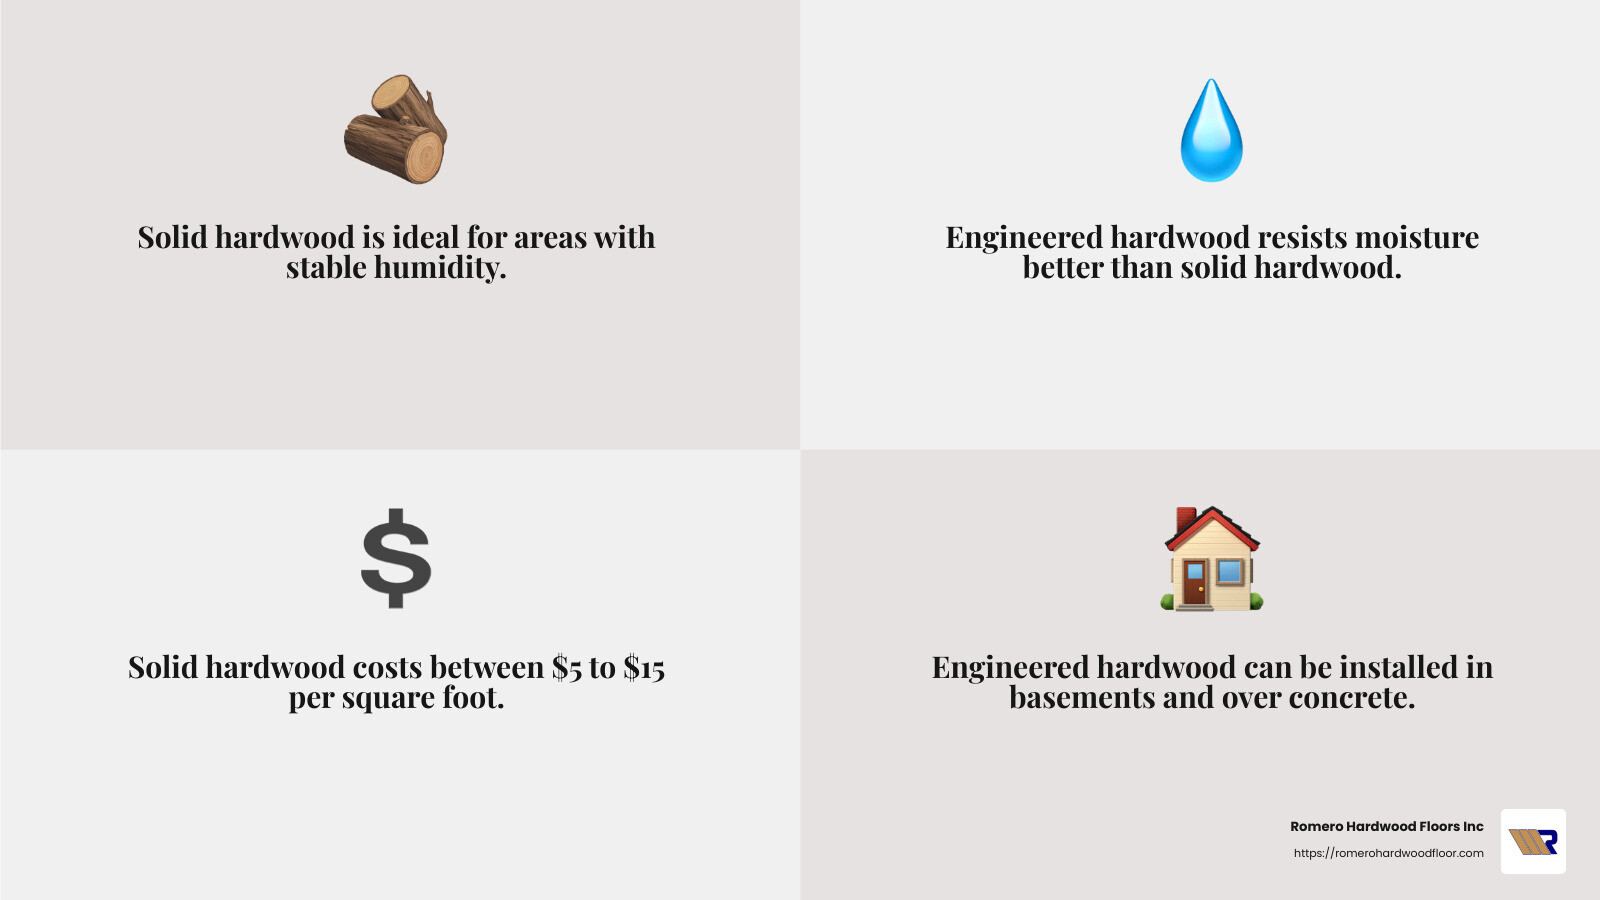
However, solid hardwood is sensitive to moisture and is best suited for areas with stable humidity levels. It’s typically more expensive, with costs ranging from $5 to $15 per square foot.
Engineered Hardwood
Engineered hardwood consists of a top layer of real wood veneer attached to multiple layers of plywood or high-density fiberboard. This construction offers some unique benefits:
- Moisture Resistance: Engineered hardwood is more stable in humid environments, making it suitable for basements or over concrete subfloors.
- Versatility: It can be installed in more areas of the home than solid hardwood.
- Cost-Effective: Generally more affordable than solid hardwood, with prices between $3 and $10 per square foot.
However, it can only be sanded and refinished once or twice, limiting its lifespan compared to solid hardwood.
Pros and Cons
Here’s a quick comparison of solid and engineered hardwood:
| Feature | Solid Hardwood | Engineered Hardwood |
|---|---|---|
| Durability | High (refinishable) | Moderate (limited refinishes) |
| Moisture Resistance | Low | High |
| Installation Areas | Above ground level | Anywhere, including basements |
| Cost | Higher | Lower |
Cost Considerations
When budgeting for hardwood flooring, consider not just the material cost but also installation expenses. Solid hardwood might require professional installation, especially for nail-down methods, while engineered hardwood can be more DIY-friendly with click-lock options.
Selecting the right hardwood flooring involves balancing aesthetics, functionality, and budget. Whether you choose solid or engineered hardwood, both add timeless beauty and value to your home.
Preparing for Installation
Before you start installing your hardwood floors, preparation is key. This involves acclimating the hardwood, removing baseboards, ensuring a level subfloor, and considering a moisture barrier and underlayment. Let’s break these steps down.
Acclimate Hardwood
Hardwood expands and contracts with changes in temperature and humidity. To prevent issues like gaps or buckling, it’s crucial to acclimate your hardwood flooring.
How to Acclimate:
- Place the planks in the room where they will be installed.
- Remove any plastic packaging and stack the boards with spacers to allow air circulation.
- Let them sit for three to seven days. Use a moisture meter to ensure the wood’s moisture content is within 2% of the subfloor’s moisture content.
Remove Baseboards
Removing baseboards is a necessary step to ensure your flooring fits seamlessly against the wall:
- Use a pry bar to carefully remove baseboards without damaging them.
- If you plan to reuse them, take extra care. Removing them allows you to lay the flooring closer to the wall, hiding the expansion gap.
Level Subfloor
A level subfloor is essential for a successful installation. Uneven surfaces can lead to squeaks and other issues:
- Inspect the subfloor for damage, moisture, or unevenness. Repair any damaged areas.
- Use a long level to identify high or low spots. Sand down high spots or fill low areas with a leveling compound.
Moisture Barrier
Especially important if you’re installing over concrete, a moisture barrier protects your floors from water vapor:
- For concrete subfloors, apply a moisture barrier. Options include 15 to 30 lb asphalt-saturated felt or a silicone vapor shield.
- Even with waterproof hardwood, a moisture barrier is a good precaution.
Underlayment
Underlayment can help with sound dampening and provide a smoother surface for your floor:
- Choose an underlayment that suits your flooring type and subfloor. It acts as a cushion and can help reduce noise.
- Underlayment is particularly important for floating floors, like those installed with the click-lock method.
By carefully preparing your space, you set the stage for a smooth and successful hardwood floor installation. In the next section, we’ll explore the various installation methods available.
How Do You Install Hardwood Floors?
When it comes to installing hardwood floors, there are three main installation methods to consider: nail-down, glue-down, and click-lock. Each method has its own set of tools and techniques, so let’s dive into each one.
Nail-Down Installation Method
The nail-down method is a classic choice for solid hardwood floors, especially when you’re working with a wood subfloor. Here’s how you do it:
- Tools Needed: Hammer, flooring nails, nail punch, pneumatic floor nailer (optional), and a jigsaw for cutting around obstacles.
- Steps:
- Pilot Holes: Start by drilling pilot holes at a 45-degree angle on the tongue edge of each board. This helps prevent the wood from splitting.
- Flooring Nails: Insert nails into the pilot holes along every floor joist. This ensures a strong hold.
- Stagger Joints: As you lay each row, make sure the joints are staggered by at least 6 inches from the previous row. This adds stability and a more natural look.
- Expansion Gap: Leave a ¾-inch gap between the flooring and the wall to allow for expansion. This is crucial to prevent buckling.
Glue-Down Installation Method
The glue-down method is ideal for hardwood floors over a concrete subfloor. It provides a solid, noise-reducing base.
- Tools Needed: Trowel, flooring adhesive, rubber mallet, and spacers.
- Steps:
- Adhesive Application: Spread the adhesive evenly using a trowel. Work in small sections to avoid the glue drying before you lay the boards.
- Lay the First Row: Position the first row of planks along a starting line. Use spacers to maintain the expansion gap.
- Rubber Mallet: Use a rubber mallet to gently tap each board into place, ensuring a snug fit.
- Spacers: Keep spacers at the edges to maintain the necessary expansion gap.
Click-Lock Installation Method
The click-lock method is popular for engineered hardwood and is often referred to as a “floating floor” because it doesn’t attach to the subfloor.
- Tools Needed: Tapping block, plastic mallet, and spacers.
- Steps:
- Floating Floor Setup: Begin by laying the first row of planks, using spacers to maintain the expansion gap.
- Click and Lock: Align the next board’s tongue with the previous board’s groove. Use a tapping block and plastic mallet to click and lock them together.
- Continue the Process: Repeat the process across the room, ensuring the floor remains level and the joints are staggered.
- Expansion Gap: As with the other methods, maintain an expansion gap around the room’s perimeter.
By choosing the right installation method for your specific situation, you can achieve a professional-looking finish that improves your home’s beauty and value. Next, we’ll discuss some essential tips to ensure your hardwood floor installation is a success.
Tips for a Successful Installation
Installing hardwood floors can be a rewarding DIY project, but to achieve a professional look, it’s important to follow some key tips. Here’s how you can ensure a successful installation:
Measure Your Room
Before you start, measure the length and width of your room carefully. This helps you calculate the total square footage and ensures you buy enough materials. Add 10% extra to account for waste and mistakes. This extra material can be crucial when you make cuts or encounter unexpected obstacles.
Stagger End Joints
When laying the boards, make sure to stagger the end joints. This means the end of one board should not line up with the end of the board in the next row. Aim for at least 6 inches of separation between joints in adjacent rows. This not only strengthens the floor but also provides a natural and appealing look, avoiding an H-pattern or stair-step effect.
Mix Boards
For a consistent and natural appearance, mix boards from different boxes. This helps distribute any variations in color or grain pattern evenly across the floor. Laying out boards from different boxes before installation can help you visualize the final look and make necessary adjustments.
Use Safety Gear
Safety should always be a priority. When cutting boards or using power tools, wear safety goggles and gloves. Hearing protection is also recommended when using loud equipment like saws or nailers. Protecting yourself ensures you can focus on the quality of the installation without worrying about accidents.
Consider Professional Help
While installing hardwood floors can be a fun DIY project, sometimes it’s best to call in the pros. If you’re dealing with complex layouts, tricky cuts, or simply feel unsure about the process, hiring a professional can save you time and potential headaches.
Professionals have the experience and tools to handle any challenges that arise, ensuring a flawless finish. As noted in the research, hiring a professional can also prevent costly mistakes, especially with prefinished flooring, where errors are difficult to fix.
By following these tips, you’ll be well on your way to achieving a beautiful hardwood floor that improves your home’s aesthetic and value. Next, we’ll address some frequently asked questions to further guide you in your hardwood floor installation journey.
Frequently Asked Questions about Installing Hardwood Floors
Can you install hardwood floors yourself?
Yes, you can install hardwood floors yourself! Many homeowners take on this project to save money and enjoy the satisfaction of a DIY job well done. However, skill level is important. If you’re comfortable with basic carpentry and have some experience with tools, you’re likely ready to tackle it. For beginners, starting with a click-lock installation method might be easier since it involves fewer tools and less precision compared to nail-down or glue-down methods.
Here’s a quick list of essential tools required for DIY installation:
- Tape measure: For accurate room measurements.
- Chalk line: To mark straight lines on the subfloor.
- Circular saw or table saw: For cutting boards to size.
- Tapping block and pull bar: To fit boards snugly without damaging them.
- Safety gear: Goggles, gloves, and hearing protection.
What do you put down before hardwood floors?
Before installing hardwood floors, preparing the subfloor is crucial. Depending on your subfloor type, you might need:
- Underlayment: This can provide a smooth surface for the hardwood and add a layer of insulation. It’s especially important for floating floors like click-lock installations.
- Moisture barrier: If you’re installing over a concrete subfloor, a moisture barrier is essential to prevent water damage. This can be a plastic sheet or a specially designed underlayment with moisture-blocking properties.
- Sound dampening: Some underlayments come with sound-dampening qualities, which is great if you want to reduce noise, especially in multi-story homes.
Do you need to nail or glue hardwood floor?
The choice between nailing or gluing your hardwood floor largely depends on the type of flooring and the subfloor you’re working with. Each method has its pros and cons:
- Nail-down: Ideal for solid hardwood floors and requires a wood subfloor. This method provides a very stable and permanent installation. However, it requires more tools and skill, making it less suitable for beginners.
- Glue-down: Suitable for both solid and engineered hardwood, especially on concrete subfloors. It offers a quieter floor and is good for reducing noise. However, it can be messy and requires careful application of adhesive.
- Click-lock: This is a floating floor method and doesn’t require nails or glue. It’s perfect for DIYers because it’s straightforward and forgiving. Plus, it works well over various subfloors, including those that aren’t perfectly level.
Choosing the right installation method is key to ensuring your floor not only looks great but also lasts for many years. Consider your subfloor type, personal skill level, and the specific hardwood product when making your decision.
Conclusion
Installing hardwood floors yourself can be a fulfilling project that improves your home’s beauty and value. While it requires careful planning and some skill, the satisfaction of completing a DIY project is best. Plus, you’ll save on labor costs, making it a budget-friendly option.
Many homeowners find the click-lock installation method particularly appealing due to its simplicity and ease. It’s a great starting point for those new to DIY flooring projects. This method doesn’t require nails or glue, making it less daunting and more forgiving for beginners.
However, if you prefer a more permanent solution or are dealing with specific subfloor conditions, nail-down or glue-down methods might be more suitable. These methods, while more complex, provide a stable and long-lasting floor. Choosing the right method depends on your skill level and the specific needs of your space.
If tackling this project seems overwhelming, or if you want to ensure a flawless finish, consider hiring professionals. At Romero Hardwood Floors Inc, we specialize in hardwood flooring installations. With our expertise, you can be confident that your floors will be installed to the highest standards, enhancing your home’s value and appeal.
Whether you decide to go the DIY route or hire professionals, installing hardwood floors is a worthwhile investment in your home. The key to a successful installation is preparation, patience, and choosing the right method for your specific situation. Happy flooring!