
How to Care for Hardwood Floors After Refinishing or Installation
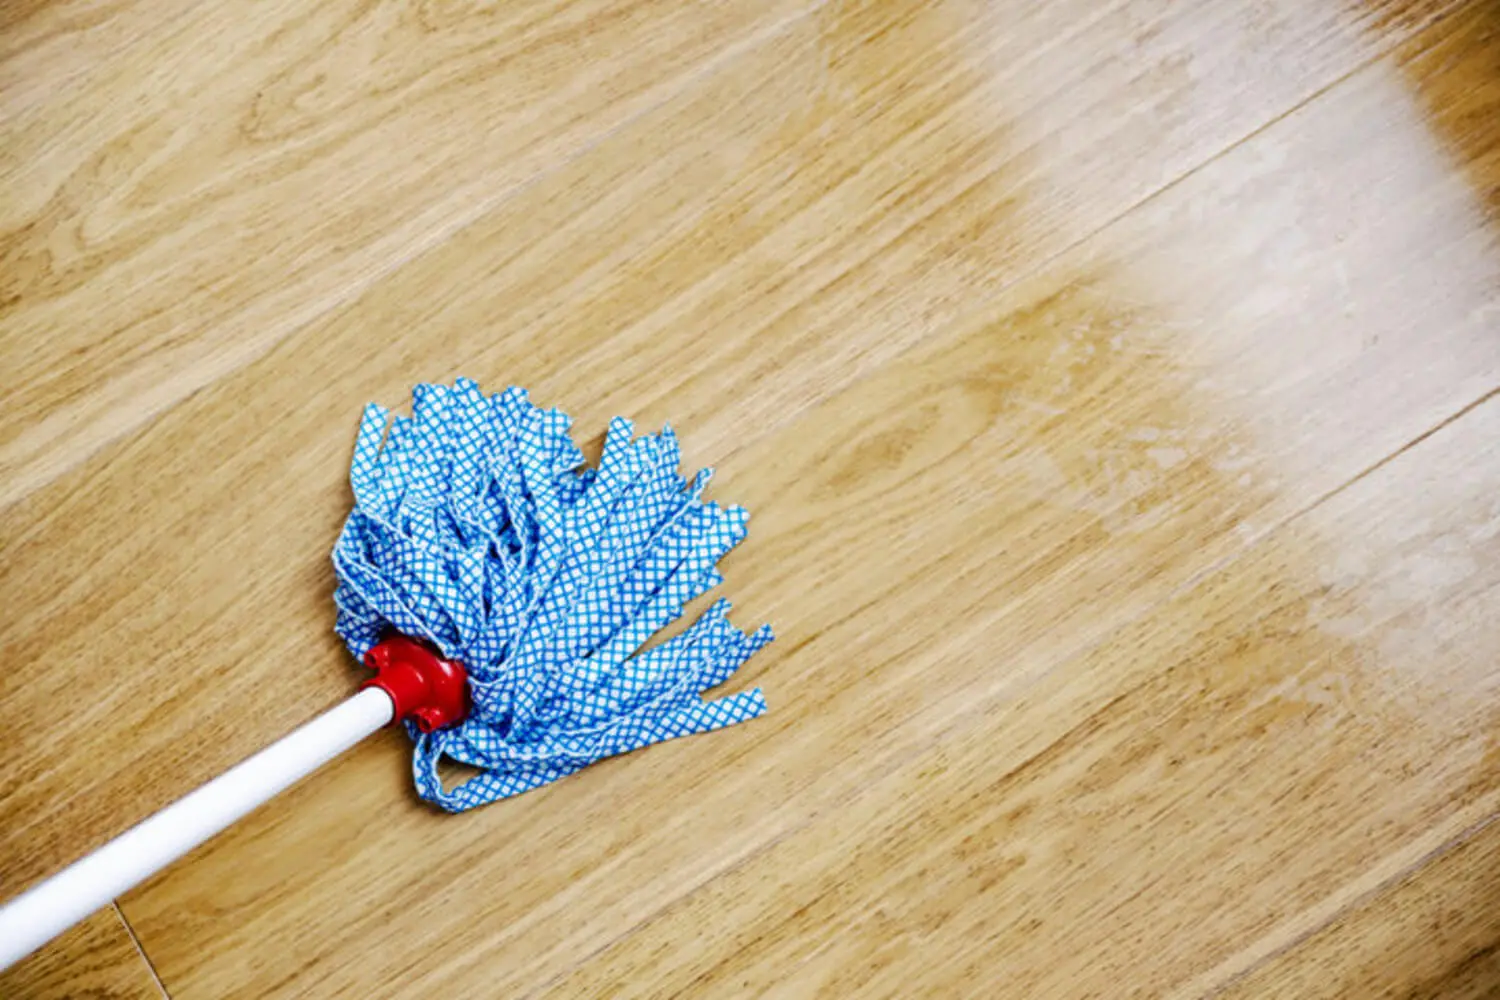
You just invested in hardwood floors. Whether the crew just finished refinishing your existing floors or installed new ones, you want to know how to care for hardwood floors after refinishing or installation without making a mistake that costs you. The finish looks done. In many ways it is. But it is not fully cured, and what you do in the next 30 days matters more than almost anything that follows.
This guide covers two phases. The first is the immediate post-project window, broken into specific timeframes. The second is the ongoing habits that keep your floors looking good for years.
Why the Curing Period Changes Everything
The finish on your floors goes through two distinct stages: drying and curing. These are not the same thing.
Drying happens within hours. The finish firms up and stops feeling tacky. Curing is the chemical process that follows — the finish develops its full hardness and protective properties over days and weeks. Water-based polyurethane reaches full cure in 7 to 14 days. Oil-based polyurethane takes 3 to 4 weeks.
During the curing period, the finish is harder than it was when wet. It is not yet as tough as it will be once fully cured. Furniture legs, area rugs, moisture, and cleaning products can all leave permanent marks in this window. Understanding this transitional state is what makes the phase-specific guidance below worth following.
The First 48 Hours: What the Floor Needs Right After the Crew Leaves
The first 24 hours require the most restraint. Do not walk on the floor at all during this window. The finish is still in its earliest drying stage and foot traffic leaves impressions.
- Open windows and doors if weather allows. Ventilation helps fumes dissipate and the finish dry properly.
- Do not place any furniture, objects, or appliances on the floor. Even light contact leaves marks.
- After 24 hours, light foot traffic in socks is acceptable. No shoes, no bare feet, no pets.
- Keep traffic to an absolute minimum through the full 48-hour window.
The First Week: What Changes and What Restrictions Remain
After 48 hours the floor handles careful household movement in socks. The curing process is still active. Significant restrictions remain.
- No furniture: even lightweight pieces concentrate weight through legs in a way that dents a curing finish permanently
- No area rugs: rugs trap moisture and prevent even curing; they can bond to the surface and damage the finish on removal
- No wet cleaning of any kind: liquid introduced to a curing finish can weaken it permanently; dry sweep only if cleaning is needed
- No pets: pet nails scratch a curing finish more easily than a fully hardened one
- No high heels: the concentrated pressure of a heel tip can dent a floor that would resist the same force once cured
The First 30 Days: When Normal Life Can Resume
After the first week, normal household activity can resume carefully. The full 30-day window still matters for the highest-contact elements.
Furniture can return after week one with felt pads on every leg. Lift pieces into place — never slide them. Area rugs should wait two to four weeks. They trap moisture during curing and can bond to or discolor a finish that has not fully hardened.
Pets can return after the first week. Keep nails trimmed. Introduce them gradually. Avoid wet mopping or steam cleaning for the full 30 days. Damp mopping with a well-wrung mop is acceptable after the first two weeks if needed.
One thing worth knowing during this window: the stain color on your floor affects what you notice day to day. Darker stains show dust and debris more visibly than lighter ones during this period. By day 30, the finish reaches full cure and normal care routines begin.
How to Care for Hardwood Floors Day to Day: Building a Cleaning Routine
Once the cure period ends, your daily cleaning routine becomes the primary protection tool. Consistent, gentle maintenance prevents the grit buildup that scratches the surface over time.
- Sweep or dust mop daily in high-traffic areas. Fine particles act like sandpaper under foot traffic. This is the most common cause of finish wear.
- Vacuum weekly in lower-traffic areas using a hardwood floor setting or soft-bristle attachment. Never use a beater bar or rotating brush.
- Damp mop with a well-wrung mop and a hardwood-safe cleaner. The mop should feel barely damp. Standing moisture damages the finish over time.
- Blot spills immediately. Do not wipe — wiping spreads liquid. Blotting lifts it. Speed matters.
What to Use and What to Avoid: Hardwood Floor Cleaning Do’s and Don’ts
The wrong product strips a polyurethane finish, leaves residue, or creates buildup that dulls the floor permanently. Use products formulated specifically for polyurethane-finished hardwood. Use a barely damp mop and dry microfiber cloths for spot cleaning.
Avoid these products entirely:
- Steam mops: heat and moisture penetrate the finish and can cause bubbling, peeling, or warping underneath
- Vinegar and water: vinegar breaks down polyurethane over time and dulls the finish with every application — it is one of the most commonly recommended DIY solutions and one of the most damaging
- Oil soaps: leave residue that builds up and prevents new finish from bonding during future recoating
- Ammonia-based or multi-surface cleaners: formulated for surfaces that handle more aggressive chemistry than polyurethane
- Wax: incompatible with modern polyurethane; applying wax to a polyurethane floor prevents recoating entirely
Protecting Your Floors From Furniture, Pets, and Daily Wear
Three sources cause most of the daily wear that shortens a finish’s life: furniture legs, pet nails, and footwear. All three are manageable.
- Apply felt pads to every furniture leg that touches the floor. Check pads every few months and replace them when worn or gritty. A grit-covered pad does more damage than no pad at all.
- Always lift furniture when moving it. Never drag.
- Keep pet nails trimmed. Long nails are one of the most consistent sources of surface scratches. Consider nail caps for dogs on hardwood frequently.
- Remove shoes at the door. High heels concentrate full body weight on a tip the size of a pencil eraser.
- Place area rugs in entryways, hallways, and kitchen paths after the cure period. These zones take the most wear.
Managing Humidity and Temperature in a New England Home
Hardwood floors move with the seasons. This is normal wood behavior, not a defect. Significant or rapid humidity changes cause visible gapping or surface stress.
Wakefield’s seasonal cycle creates a predictable pattern. Dry winter air from heating systems causes wood to contract and boards to develop small gaps. Summer humidity causes expansion and gaps to close. The target indoor relative humidity for hardwood floors is 35 to 55 percent year-round.
In winter, run a humidifier. Wakefield homeowners with forced-air heating lose indoor humidity fast once the heat runs consistently. In summer, run a dehumidifier or air conditioning to keep humidity below 55 percent. Elevated summer humidity causes swelling and can push boards against each other, stressing edges and finish. Avoid dramatic temperature swings in floored rooms in both seasons.
How to Protect Your Floors From Sun Fading
Direct sunlight fades and discolors hardwood floors over time. UV exposure breaks down the finish and oxidizes the wood, producing uneven color changes that are permanent.
The effect shows fastest in rooms with large south or west-facing windows and on lighter-stained or natural-finish floors where color shift is most visible. Three practical steps reduce UV exposure:
- Use curtains, blinds, or shades during peak sun hours. Reducing intensity and duration slows fading significantly.
- Apply UV-filtering window film to windows in sun-heavy rooms. This cuts UV transmission without blocking natural light.
- Rotate area rugs periodically. Rugs protect the floor beneath them. Without rotation, a visible line develops where the rug edge sits and the surrounding floor fades.
Fading is cumulative and irreversible without refinishing. Sun management is one of the few habits that prevents a problem cleaning cannot fix.
When to Schedule a Maintenance Recoat vs. a Full Refinish
Most homeowners wait until floors look bad before calling a professional. Proactive recoating prevents floors from reaching that point.
A maintenance recoat, also called a screen and recoat, involves lightly abrading the existing finish and applying a new topcoat. It refreshes the protective layer without sanding down to bare wood. Schedule one every 3 to 5 years in average-traffic homes, more often in high-traffic areas.
A full refinish becomes necessary when the finish wears through to bare wood, deep scratches penetrate past the finish into the wood, or staining cannot be addressed by recoating. If you want to understand what each stage of a full refinish involves, the process has more steps than most homeowners expect. Homeowners who recoat on a regular schedule postpone full refinishing by years.
How to Know When Your Floors Need Professional Attention
Most floor issues develop gradually. The homeowner notices something is off but is not sure whether it needs a professional or just better maintenance.
These signs warrant a professional assessment:
- Finish wearing through to bare wood in high-traffic areas
- Deep scratches or gouges that go past the finish into the wood
- Boards that squeak, move, or feel soft underfoot — may point to subfloor issues
- Cupping or crowning across multiple boards — indicates moisture problems
- Finish that looks cloudy, peeling, or flaking rather than just dull
- Water staining or discoloration that does not respond to cleaning
Some of these signs point to repair or full refinishing rather than recoating. If you are unsure which path applies, understanding when repair, refinishing, or replacement is the right call can help you figure out where your floors stand before making the call.
Your Floors Are Worth Protecting
The first 30 days are the most critical window. The long-term habits are what determine whether your floors stay beautiful for years or need attention ahead of schedule. Both phases are simple once you know what they involve.
If you notice signs that your finish needs professional attention, or if your floors are due for a maintenance recoat, Romero Hardwood Floor serves Wakefield and the Greater Boston area with protective coating applications and screen and recoat services.
Reach out for an estimate and get a clear answer on what your floors need next.